Good for grounding, energy, digestion and detox, “Yogi Tea” is one of our favorite beverages.
Our friend (and Kundalini Yoga teacher) Warren Armstrong introduced us to this marvelous tea. It was popularized in America by followers of Yogi Bhajan. Warren serves it after Gong Healing sessions to help restore balance and equilibrium. It is also excellent for reducing inflammation. I sometimes drink it to help with joint pain or muscle soreness.
I researched recipes online and brewed several batches before arriving at our variation on the process. We brew two quarts at a time, and keep it in the refrigerator to drink either cold (diluted with a little water) or hot (warmed in the microwave with almond milk and honey or raw sugar).
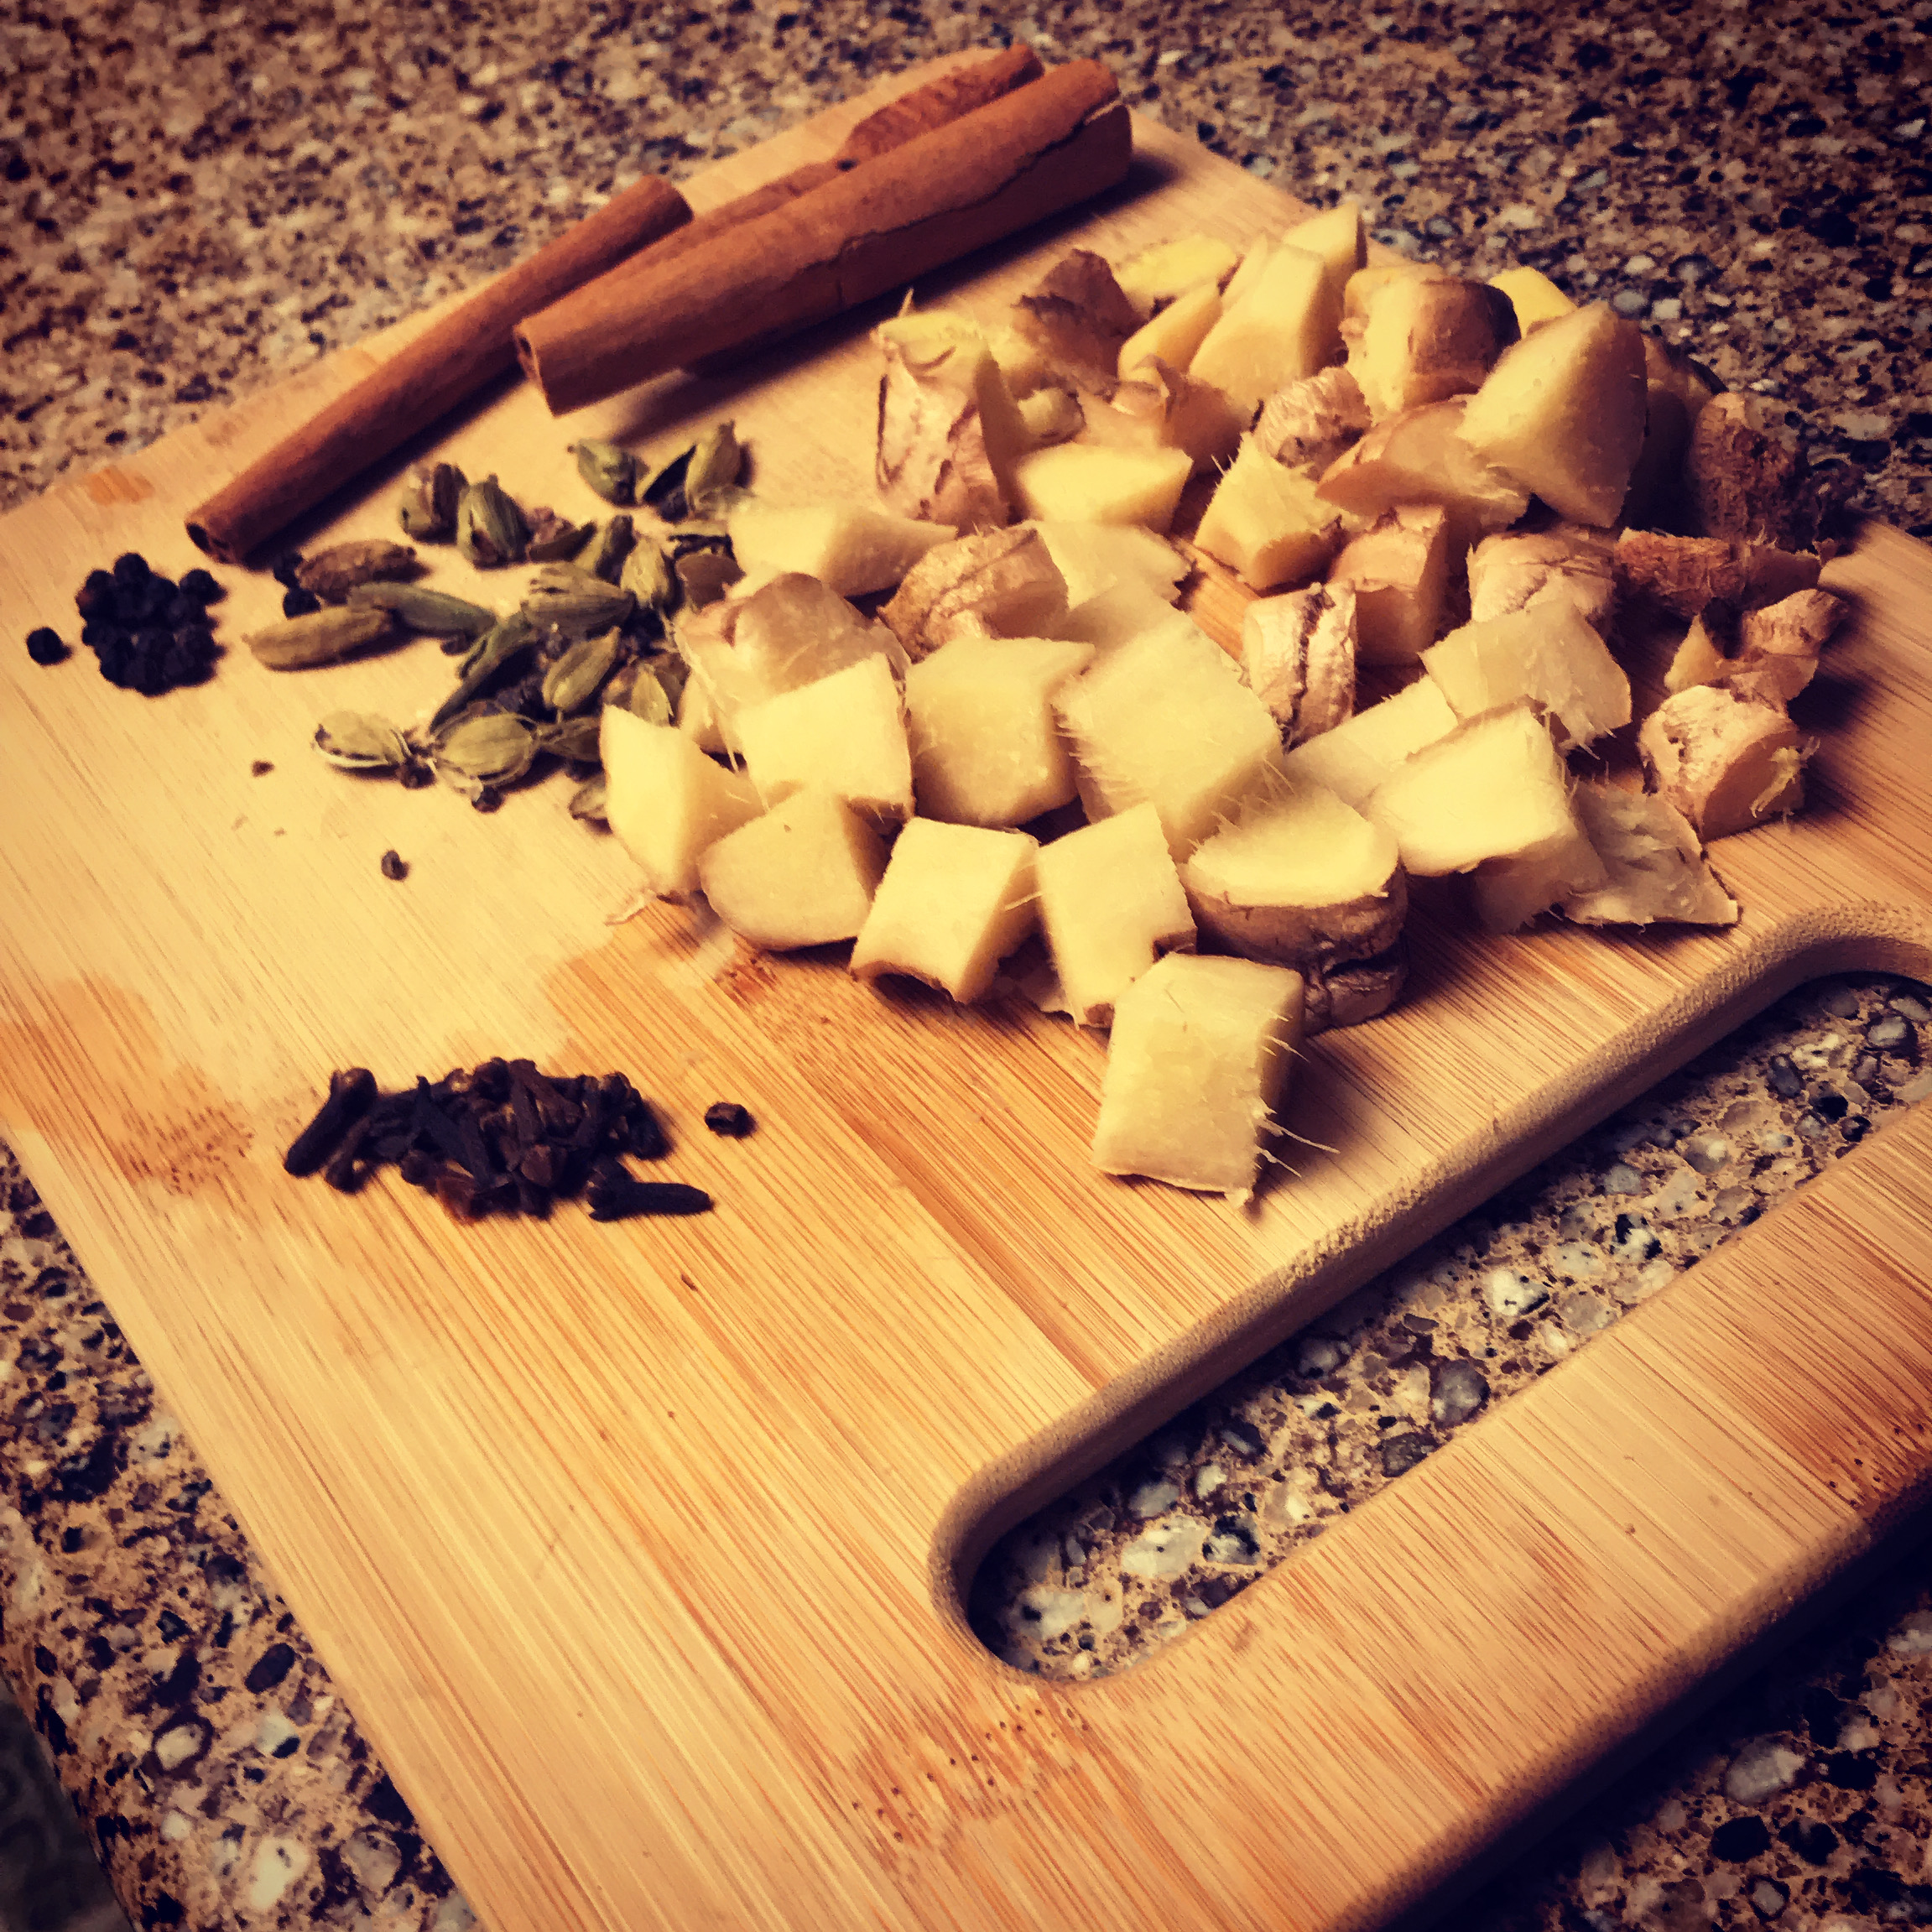
- 15 whole cloves
- 20 black peppercorns
- 3 sticks of cinnamon
- 20 green cardamom pods
- 1 piece of fresh ginger, chopped
- 2 bags black tea
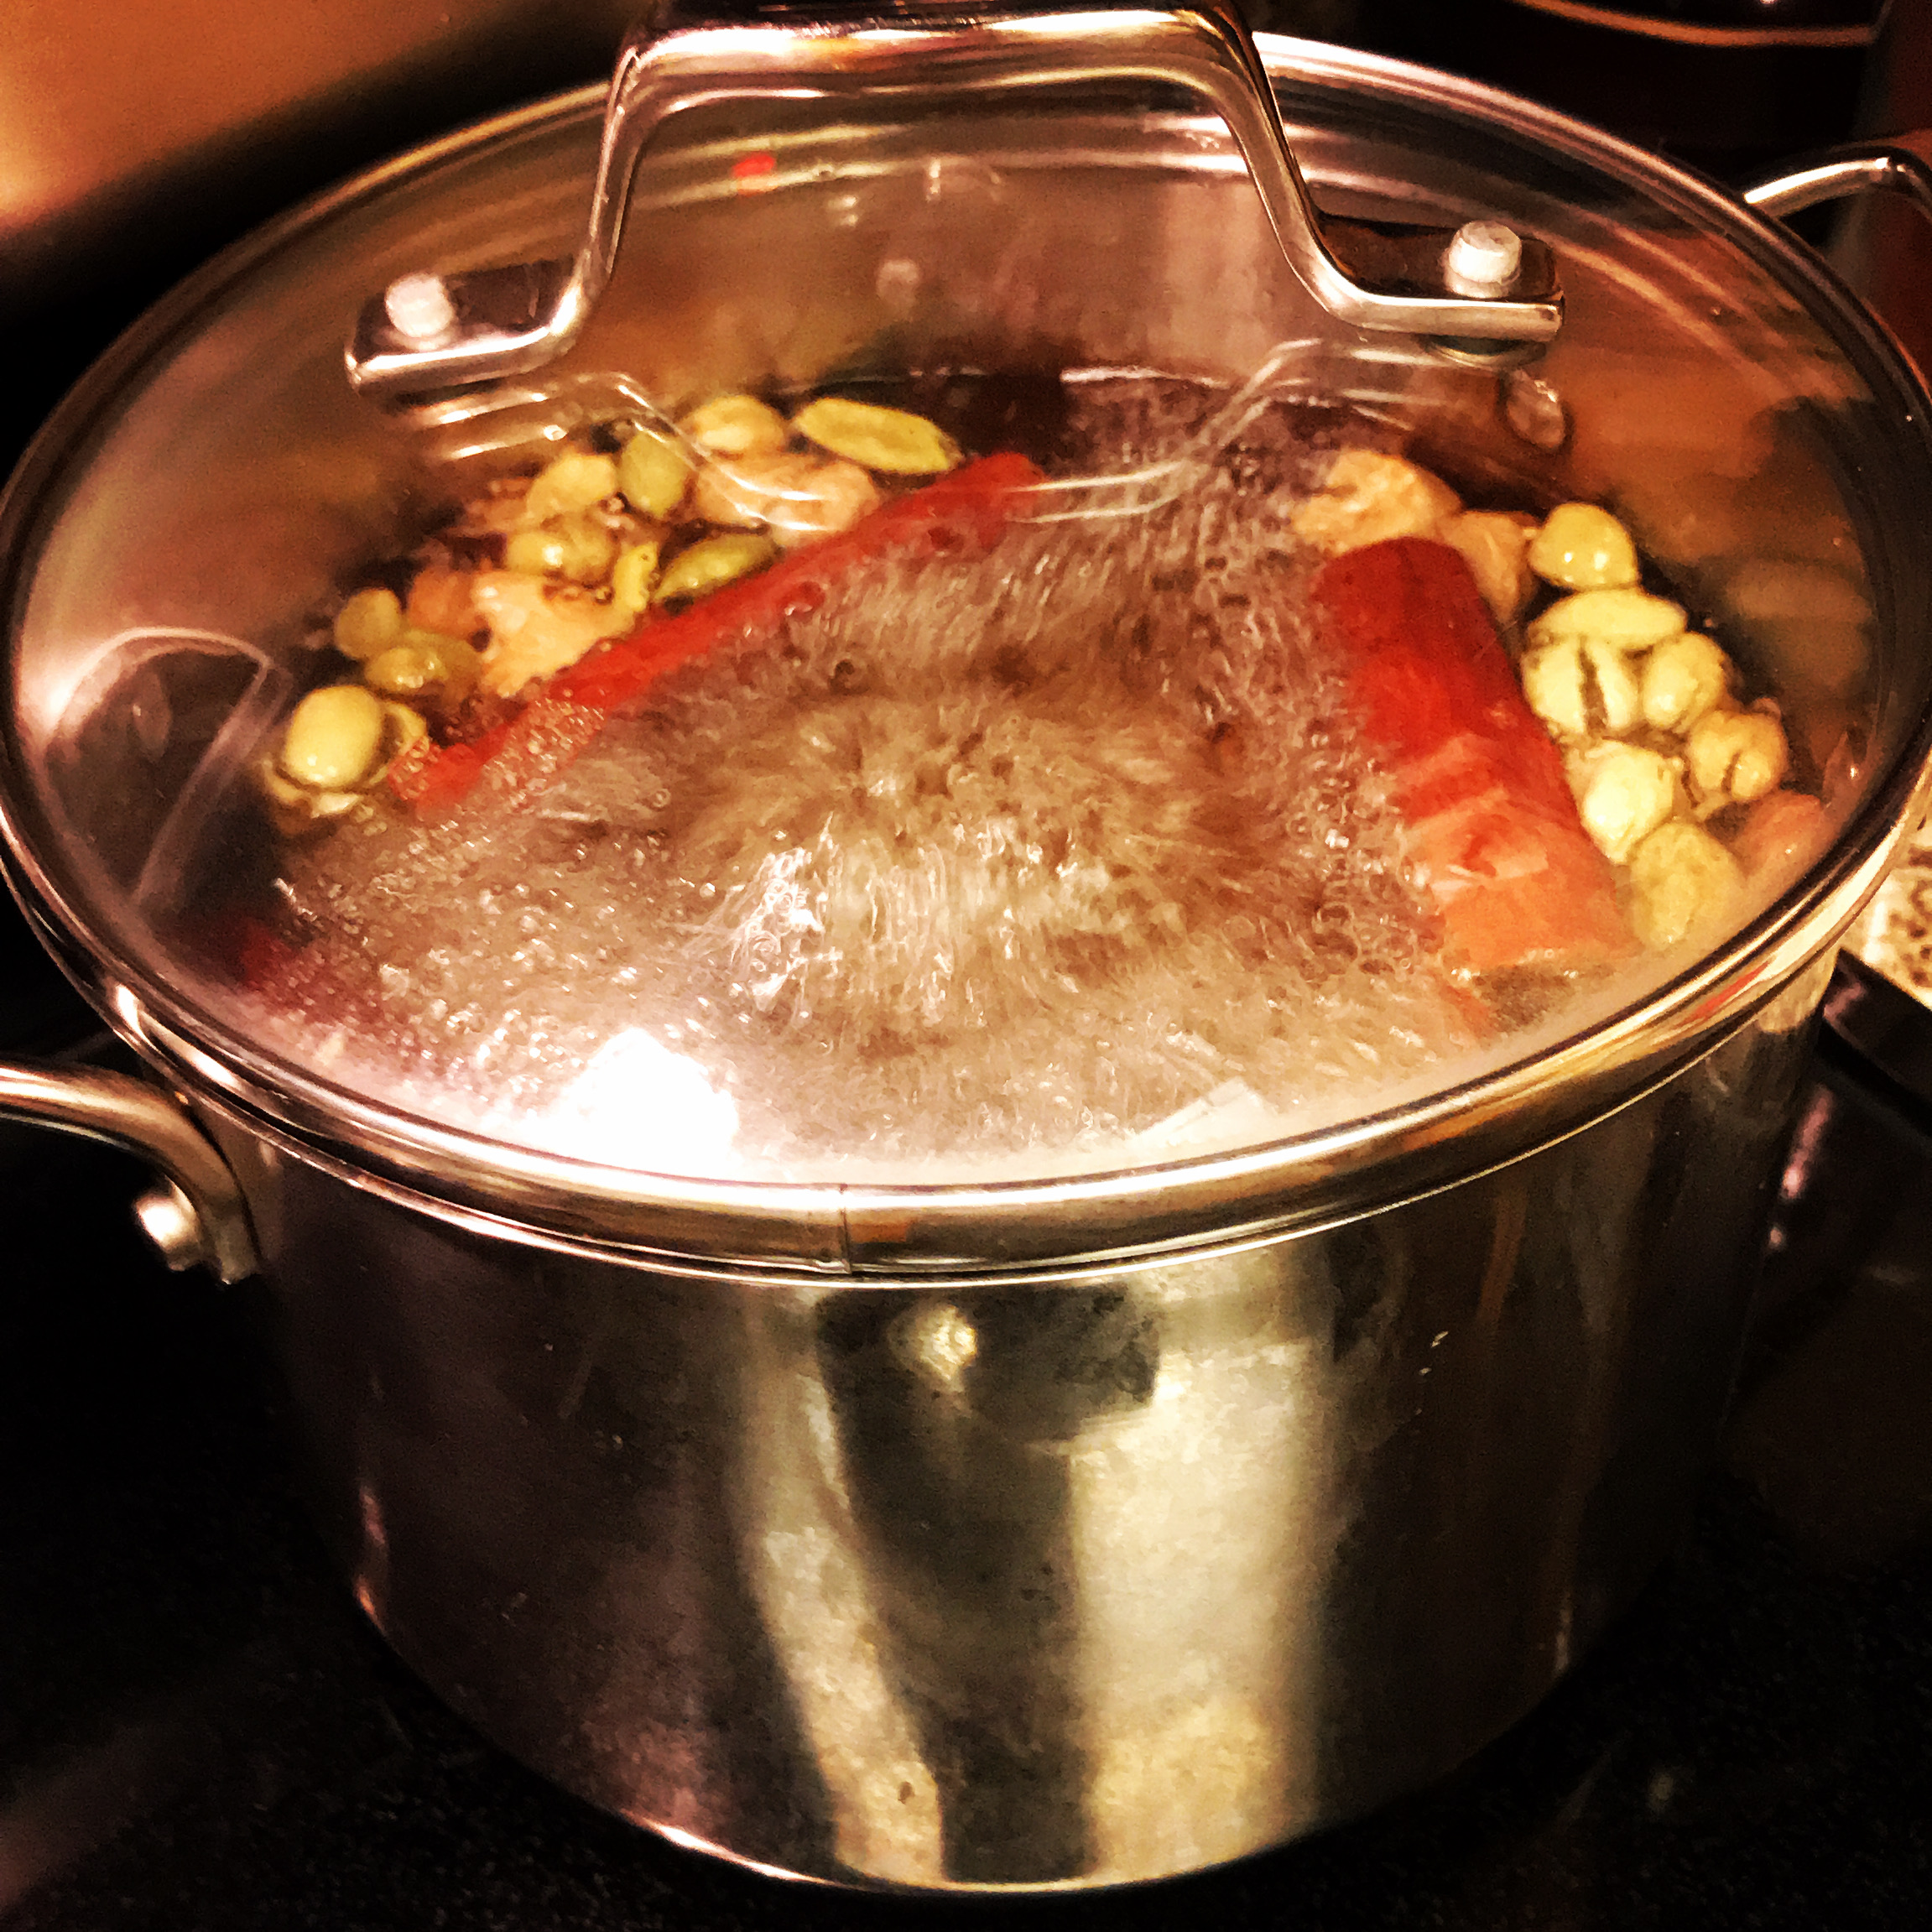
Get two quarts of water boiling while preparing the ingredients.
Crack open the cardamom pods with the flat of a chef’s knife, and cube up a five or six inch piece of ginger. There’s no need to peel the ginger first.
Once the water is boiling, add the cloves and let them boil for a minute or so before adding the other ingredients. Add everything else except the black tea, return to a boil, then lower the heat and simmer, covered, for thirty minutes. Remove from heat, add the tea bags, and cover to steep overnight (or at least six hours). Strain into a container, and add water to replace what has evaporated to make two quarts.
If serving cold, I dilute about half and half with water. For hot tea, the ratio is 2/3rds tea and 1/3rd milk. You may sweeten either, if you’d like. I prefer it without sweetener when cold, but with just a taste of honey or raw sugar when hot.