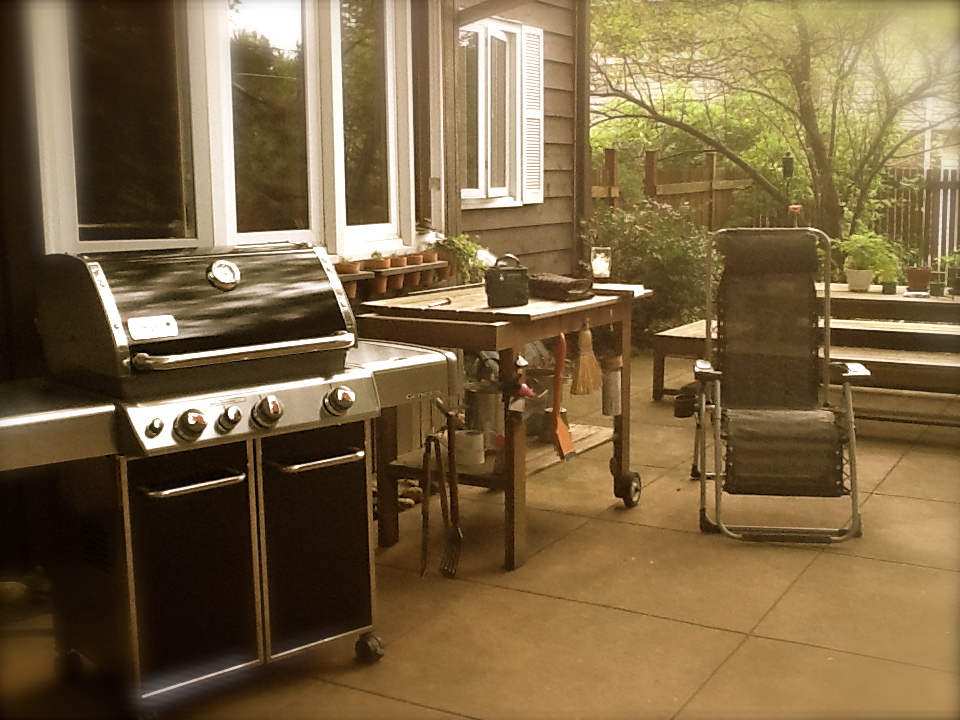
We’re happy that you’ve dropped by. Pull up a chair and have a drink while we turn on the radio and fire up the grill. We can swap stories, recipes and memories of days gone by. If you’re not in a rush, maybe we’ll even light a campfire and get the guitars and ukuleles out. In any case, we’ll share some good food and great company.
Make yourself at home.
 Having grown up with Nat Cole’s version of The Christmas Song and the Ronettes’ Sleigh Ride, I’ve always romanticized roasting chestnuts at the holidays. On several occasions over the years I considered giving it a try, but fresh chestnuts were relatively difficult to obtain where I live, and what I learned about the process made it seem a little complicated, so I didn’t get around to it until 2024.
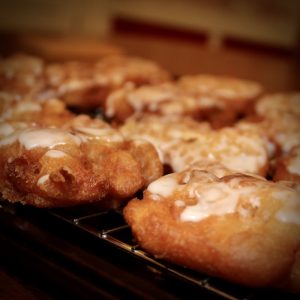 I first tasted an apple fritter as a young man in my hometown of Decatur, Illinois, at the Van Zetti Bakery. It’s been my favorite donut-adjacent food for fifty years since.
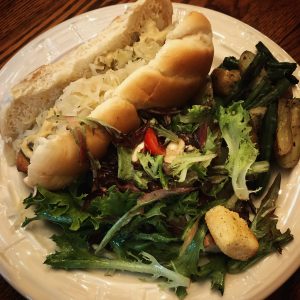 The first Sunday of Summer 2025 was HOT. Here in the South Suburbs of Chicago, we had temperatures in the 90s Fahrenheit all weekend.
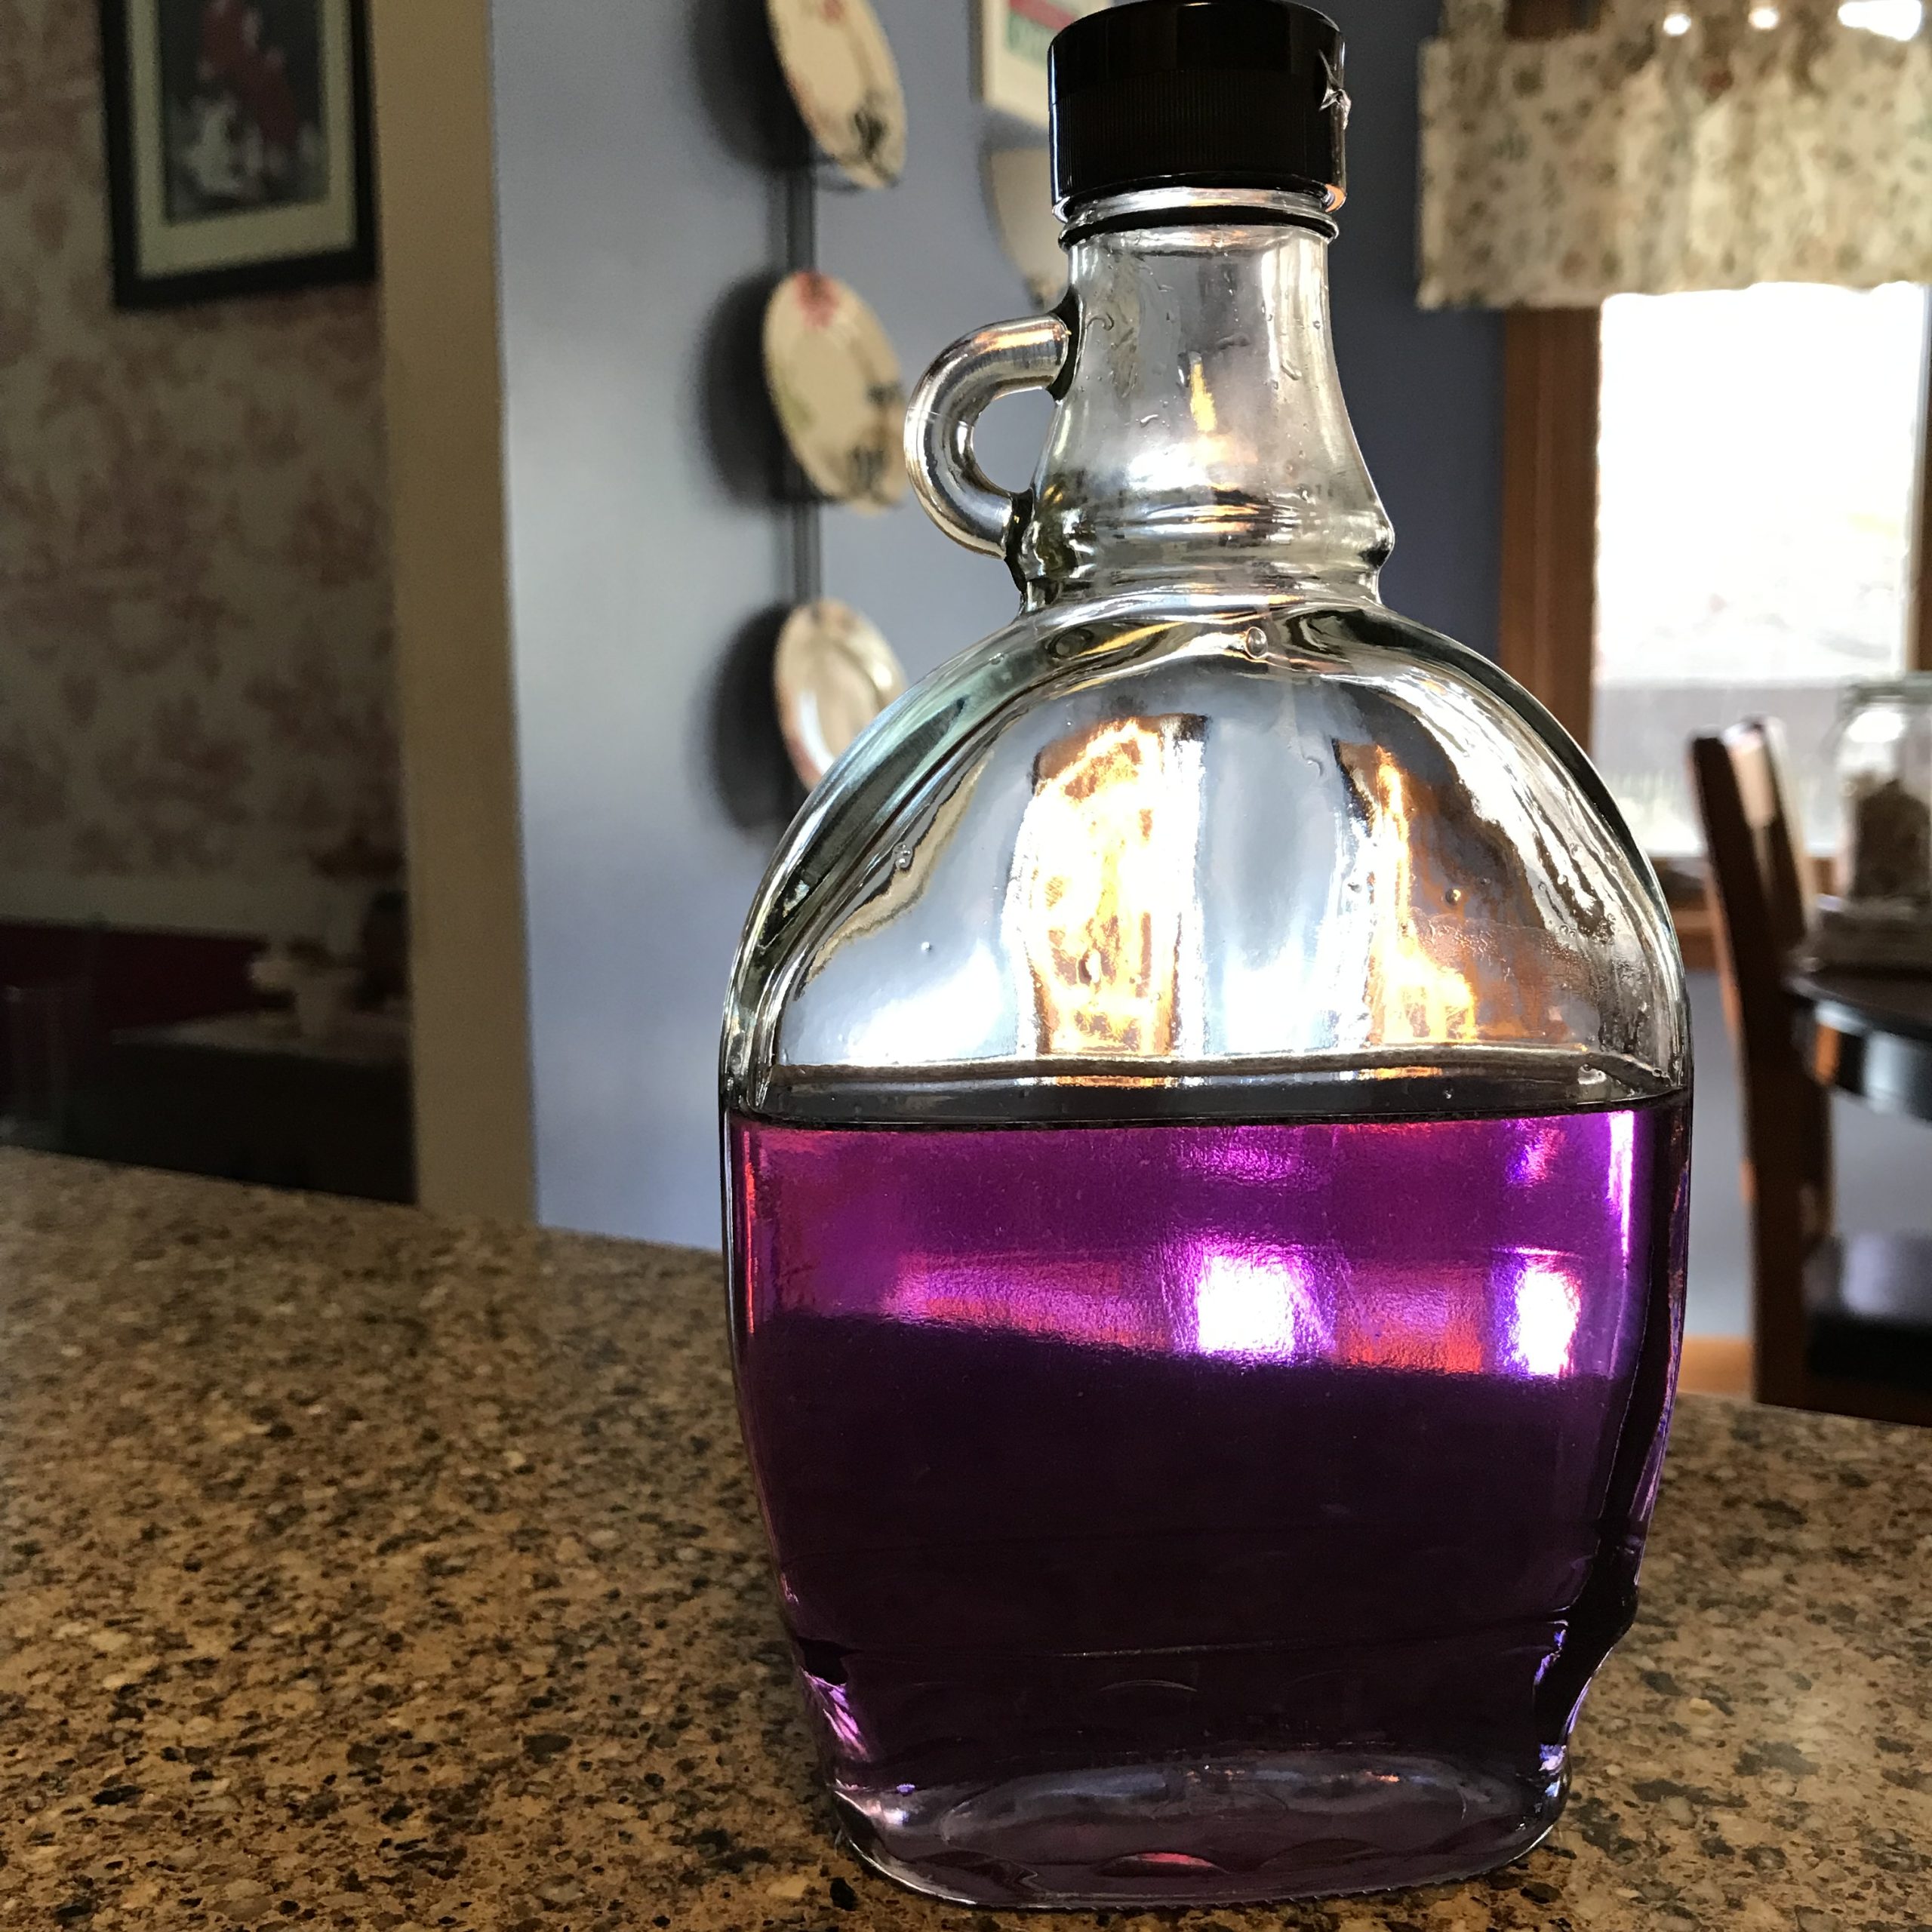
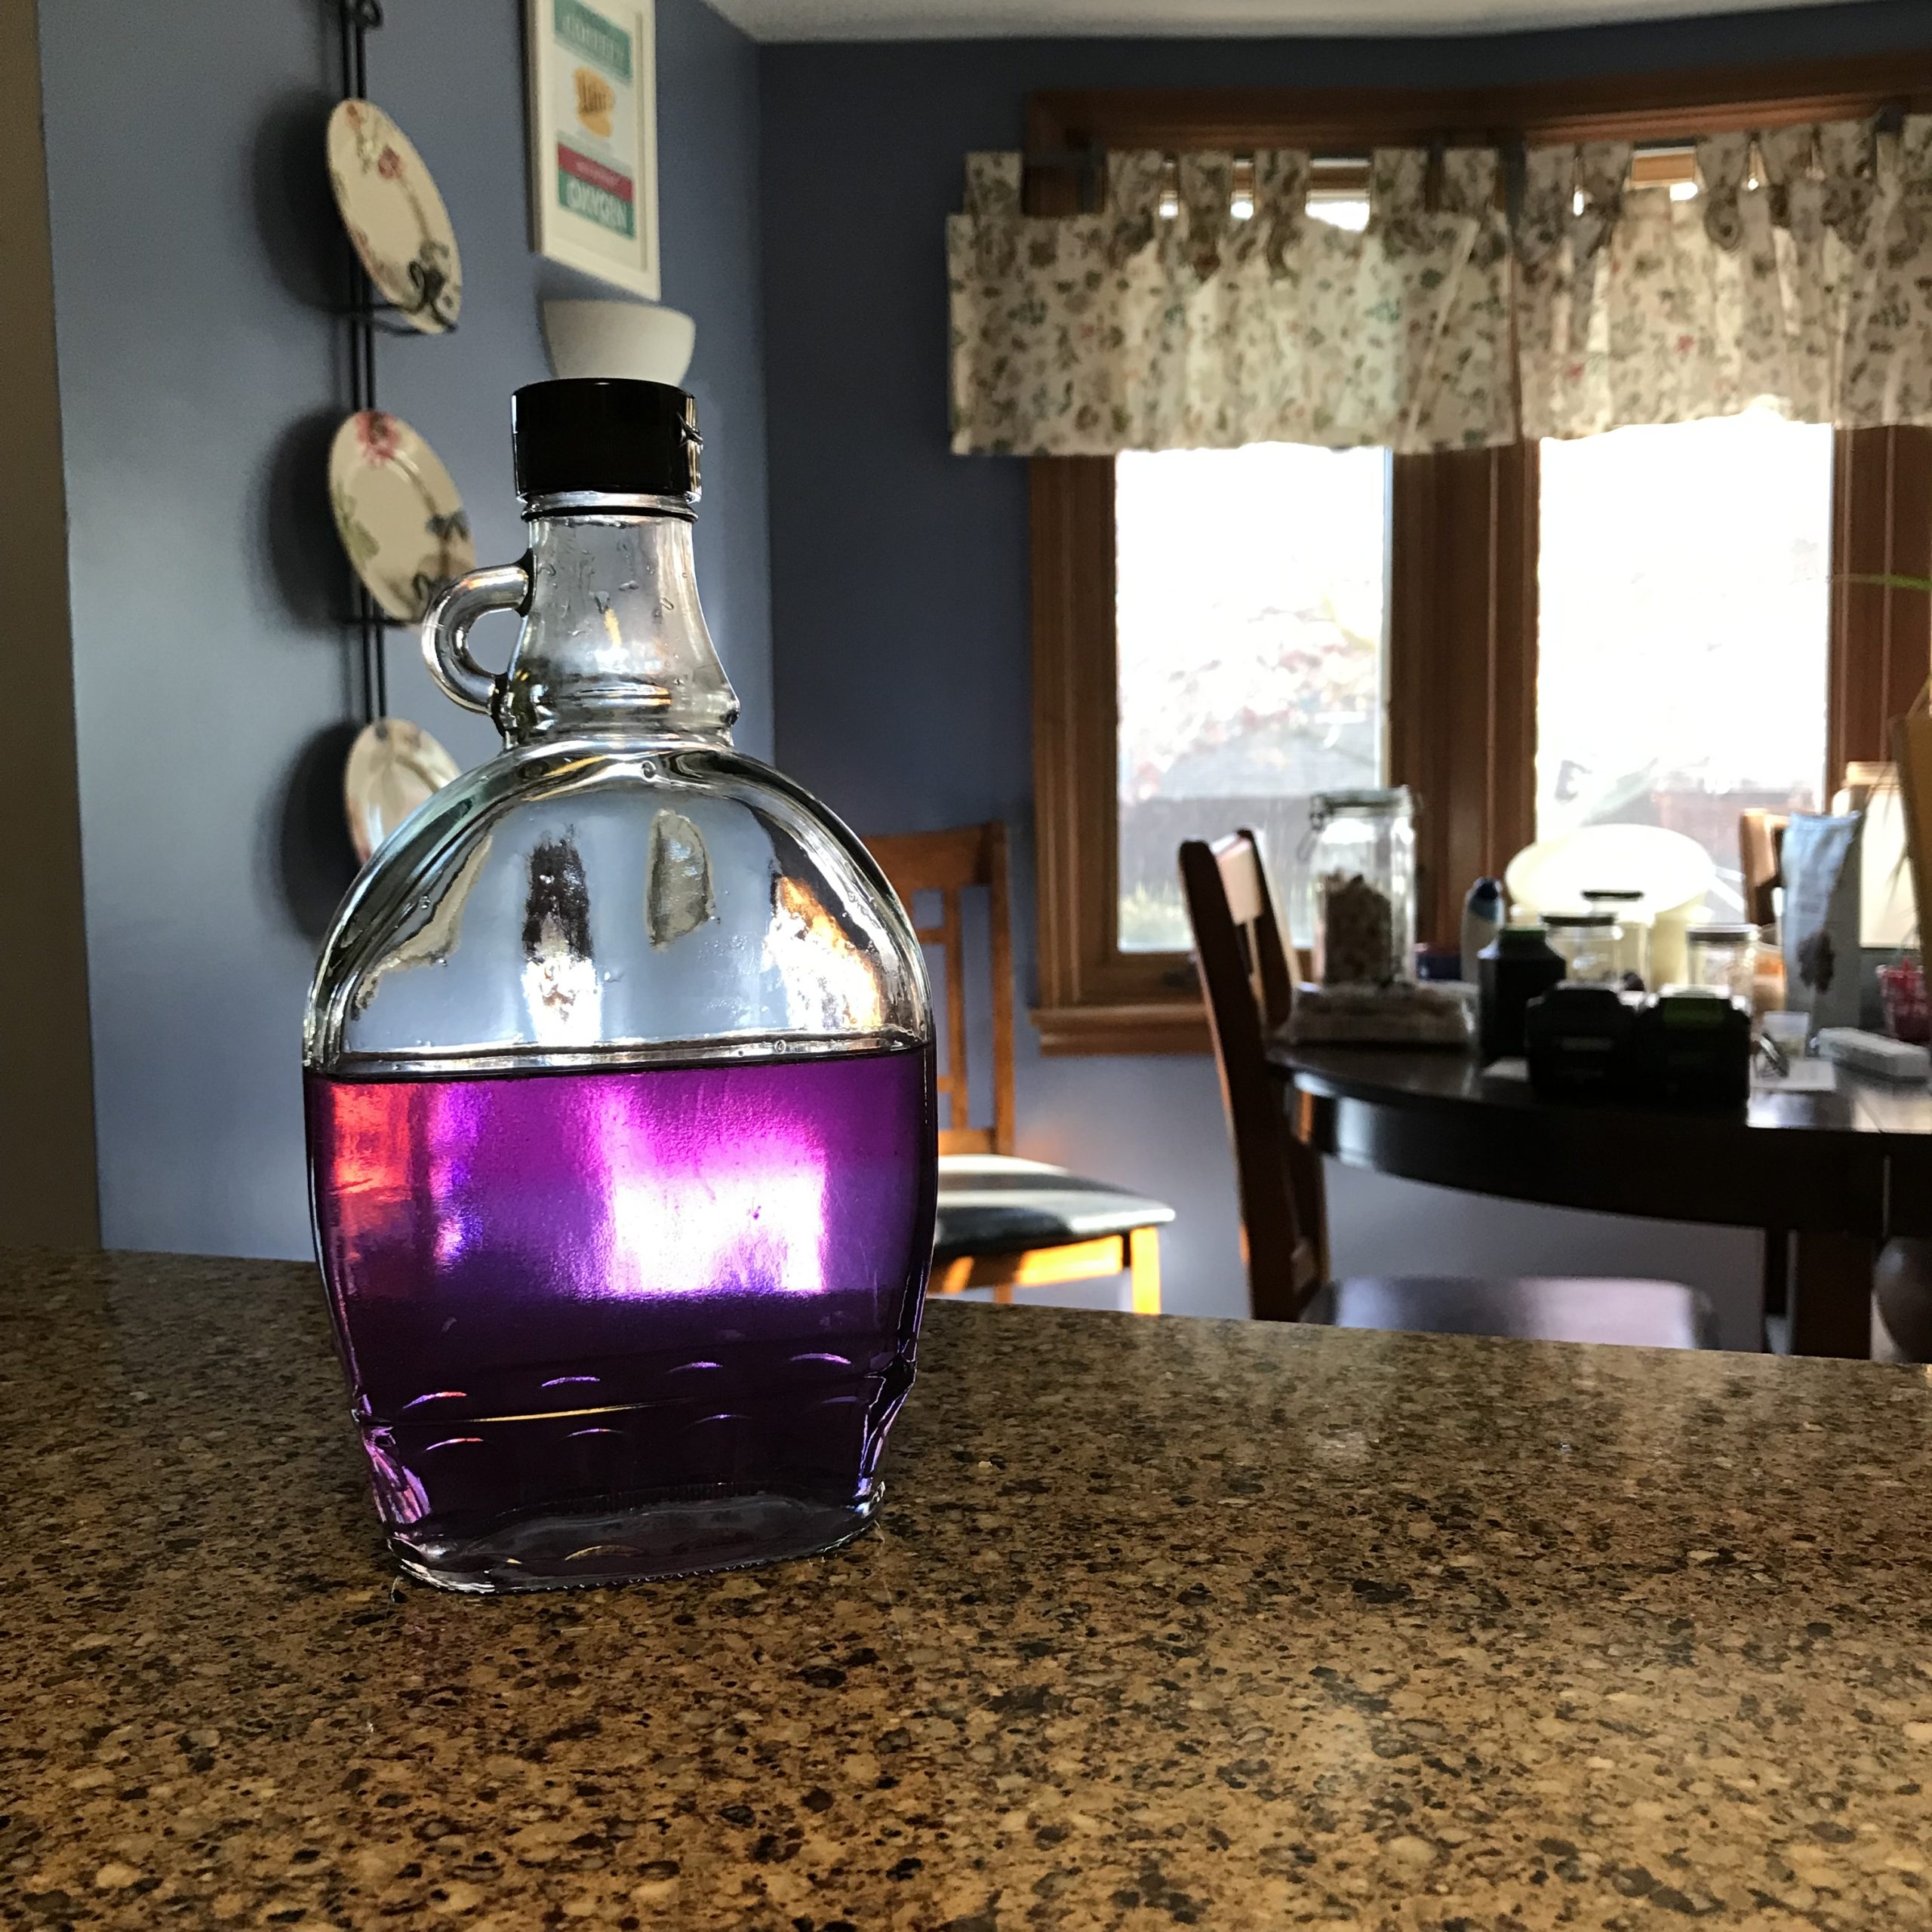
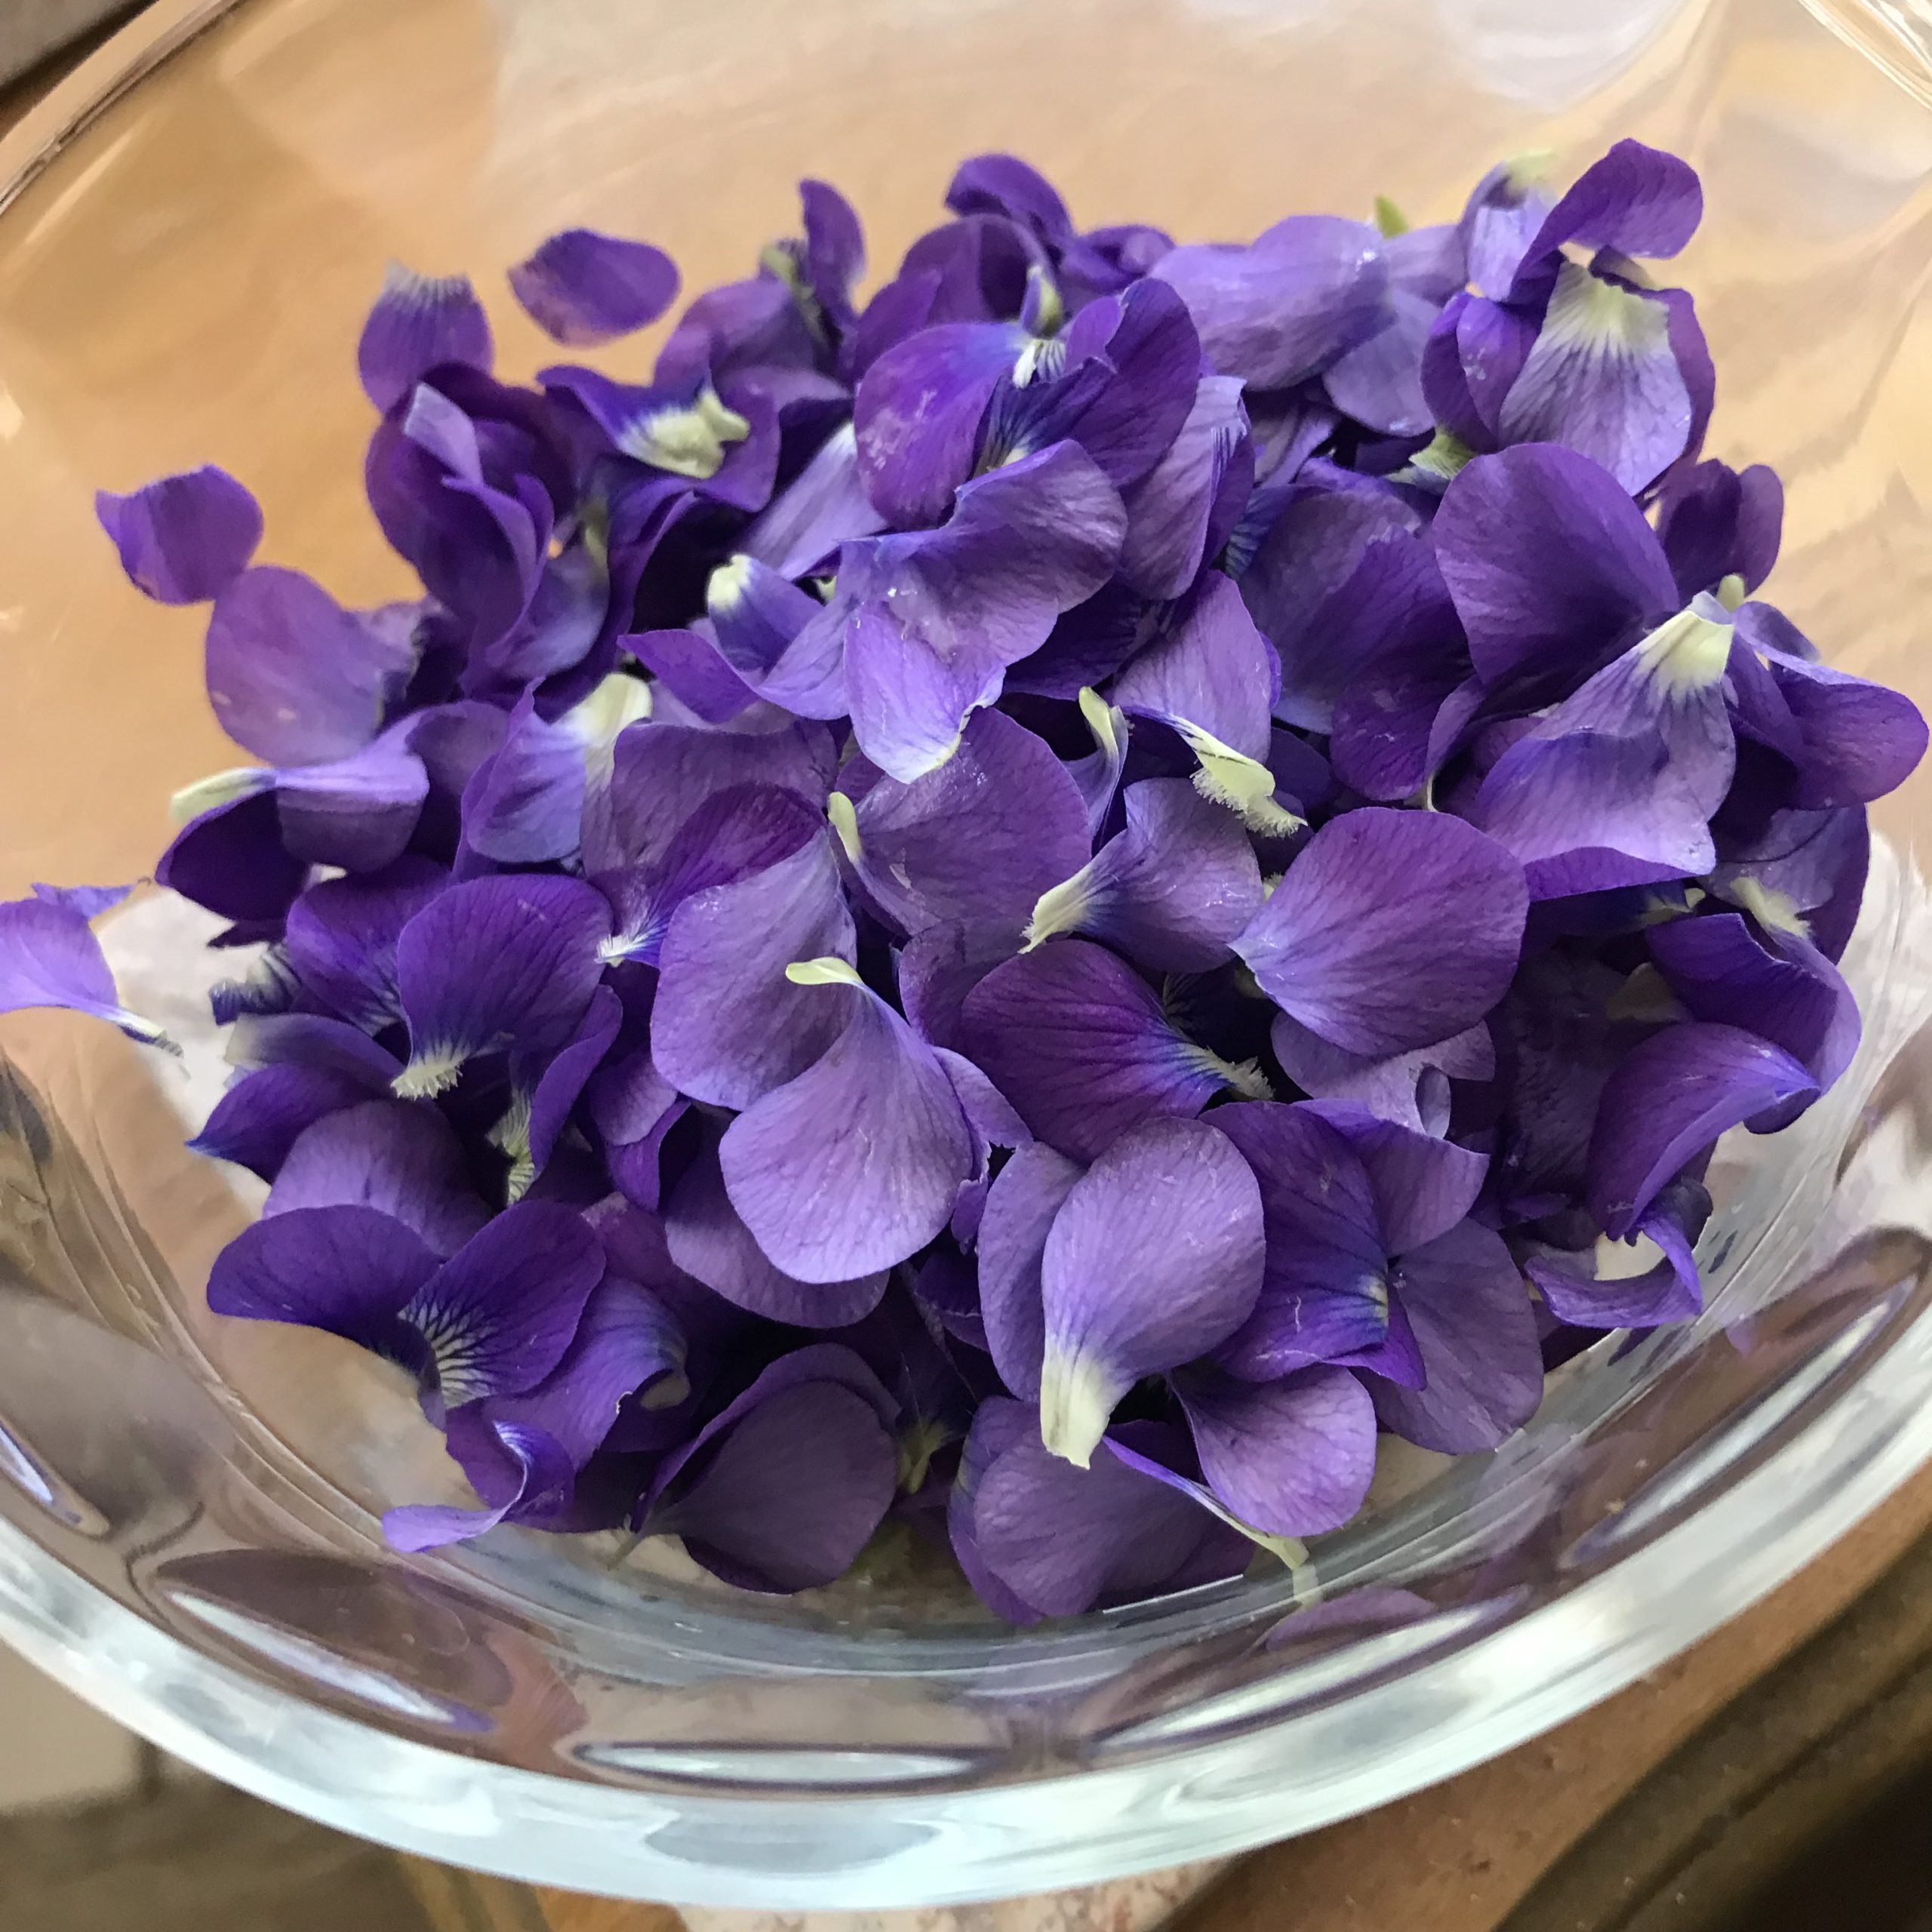
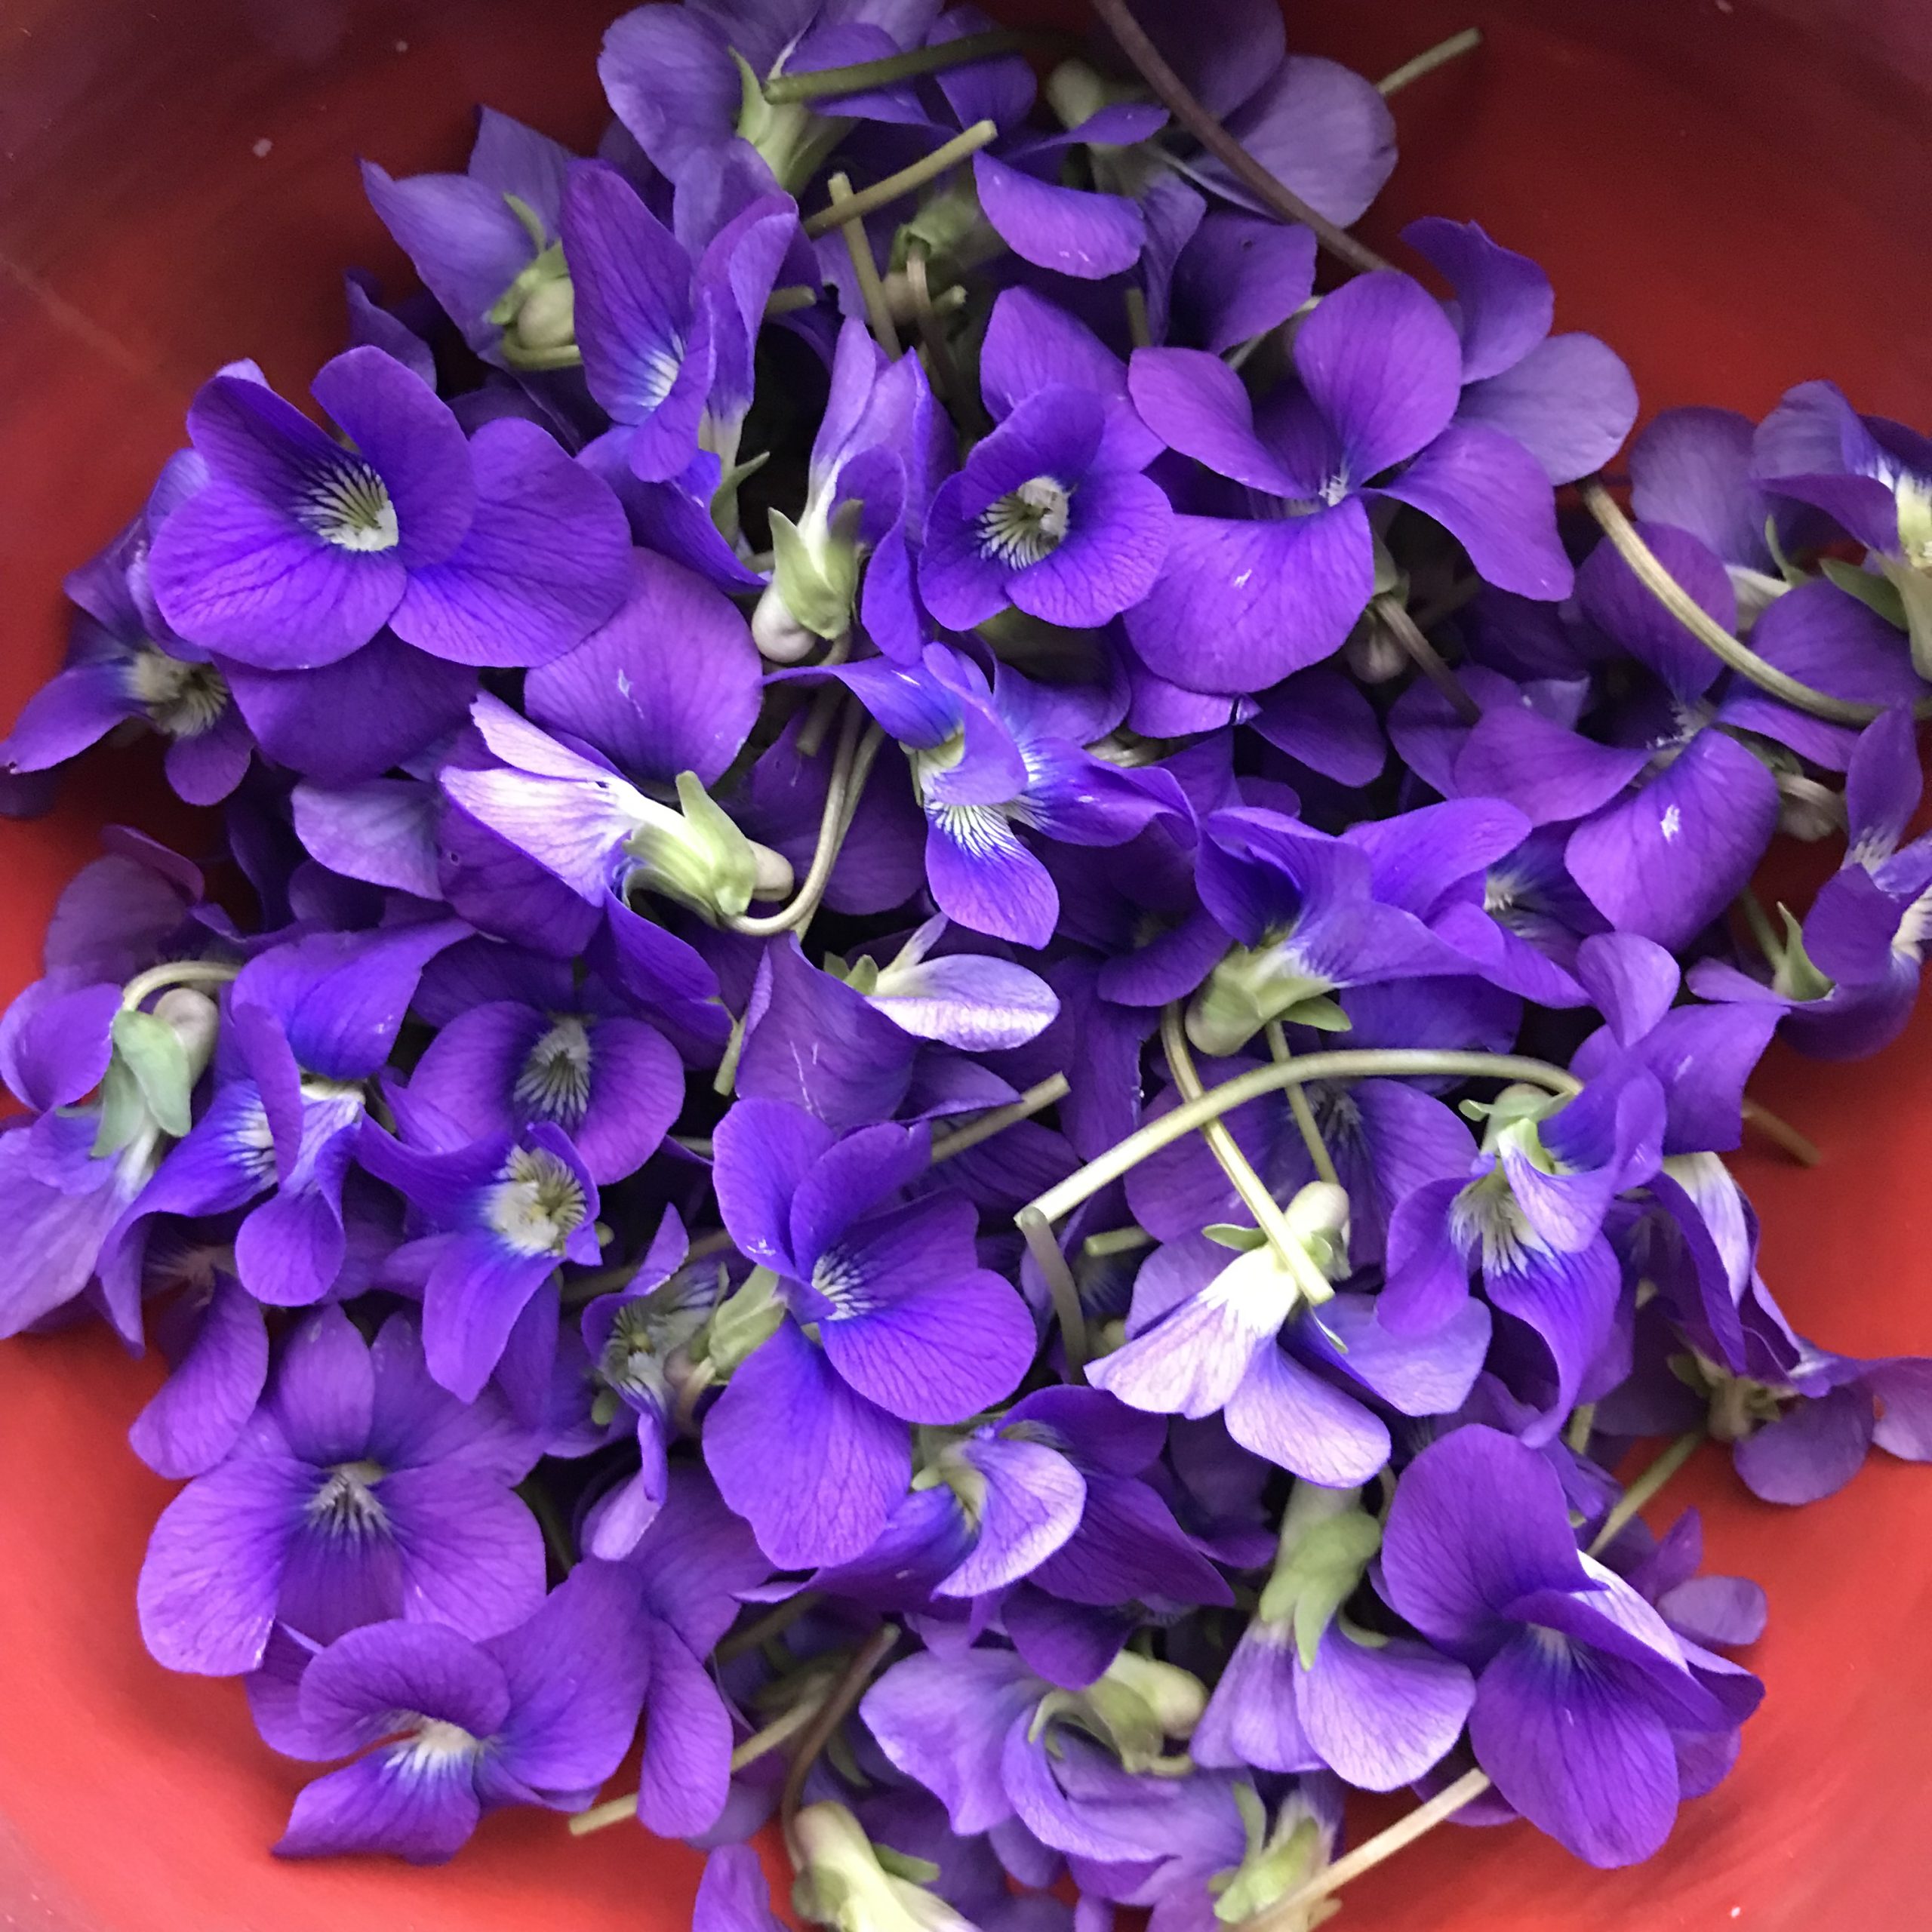
 This recipe came from