 For many years, I made fun of the trend toward gluten-free foods. I would quip “I’ve only been gluten-free for three days, and already I’m a jackass.” I was convinced that unless someone had an actual diagnosed allergy, or a health condition such as Celiac Disease, that there was no health benefit in maintaining a gluten-free diet, and chalked it all up as just another dietary fad.
As time went on, evidence began to creep over, under and around my mental block. There is at least some reason to think that our grain-based manufactured foods are so high in gluten that they pose issues with digestion and inflammation to much of the general population.
So when I received an email not long ago touting the benefits of gluten-free sourdough (and, of course, offering to sell me everything I need to start baking it) I was intrigued. I decided that I would give it a try (although, sorry, I did not buy their kit).
This was my first attempt at developing my own sourdough starter of any kind. The artisan bread that I’ve baked over the past decade or so has all been yeast based. I researched online and settled on using the process described on the Bakerita site. I picked up some brown rice flour and Mason Jars, and got started.
Here’s the starter process in a nutshell.
Day 1: In the morning, mix up 50 g of brown rice flour and 50 g of water in the jar. Cover it with something porous (I used an inverted paper coffee filter, held on by the canning jar ring), and let it sit out on the counter. In the evening, incorporate another 50 g of flour and water.
Day 2: Feed again morning and evening, 50 g each of water and flour. I used filtered water that had sat in an open jug for a couple days to let any chlorine eavaporate.
Days 3-7: Remove and discard half of what is in the jar. I used an empty jar to tare the kitchen scale, and then placed the starter jar on the scale and removed mixture until it was about half of its original weight. After this discard, feed with 50 g flour and 50 g water. Continue to do this morning and night for the next five days.
This is how my starter looked the morning of Day Three, before discard and feeding.
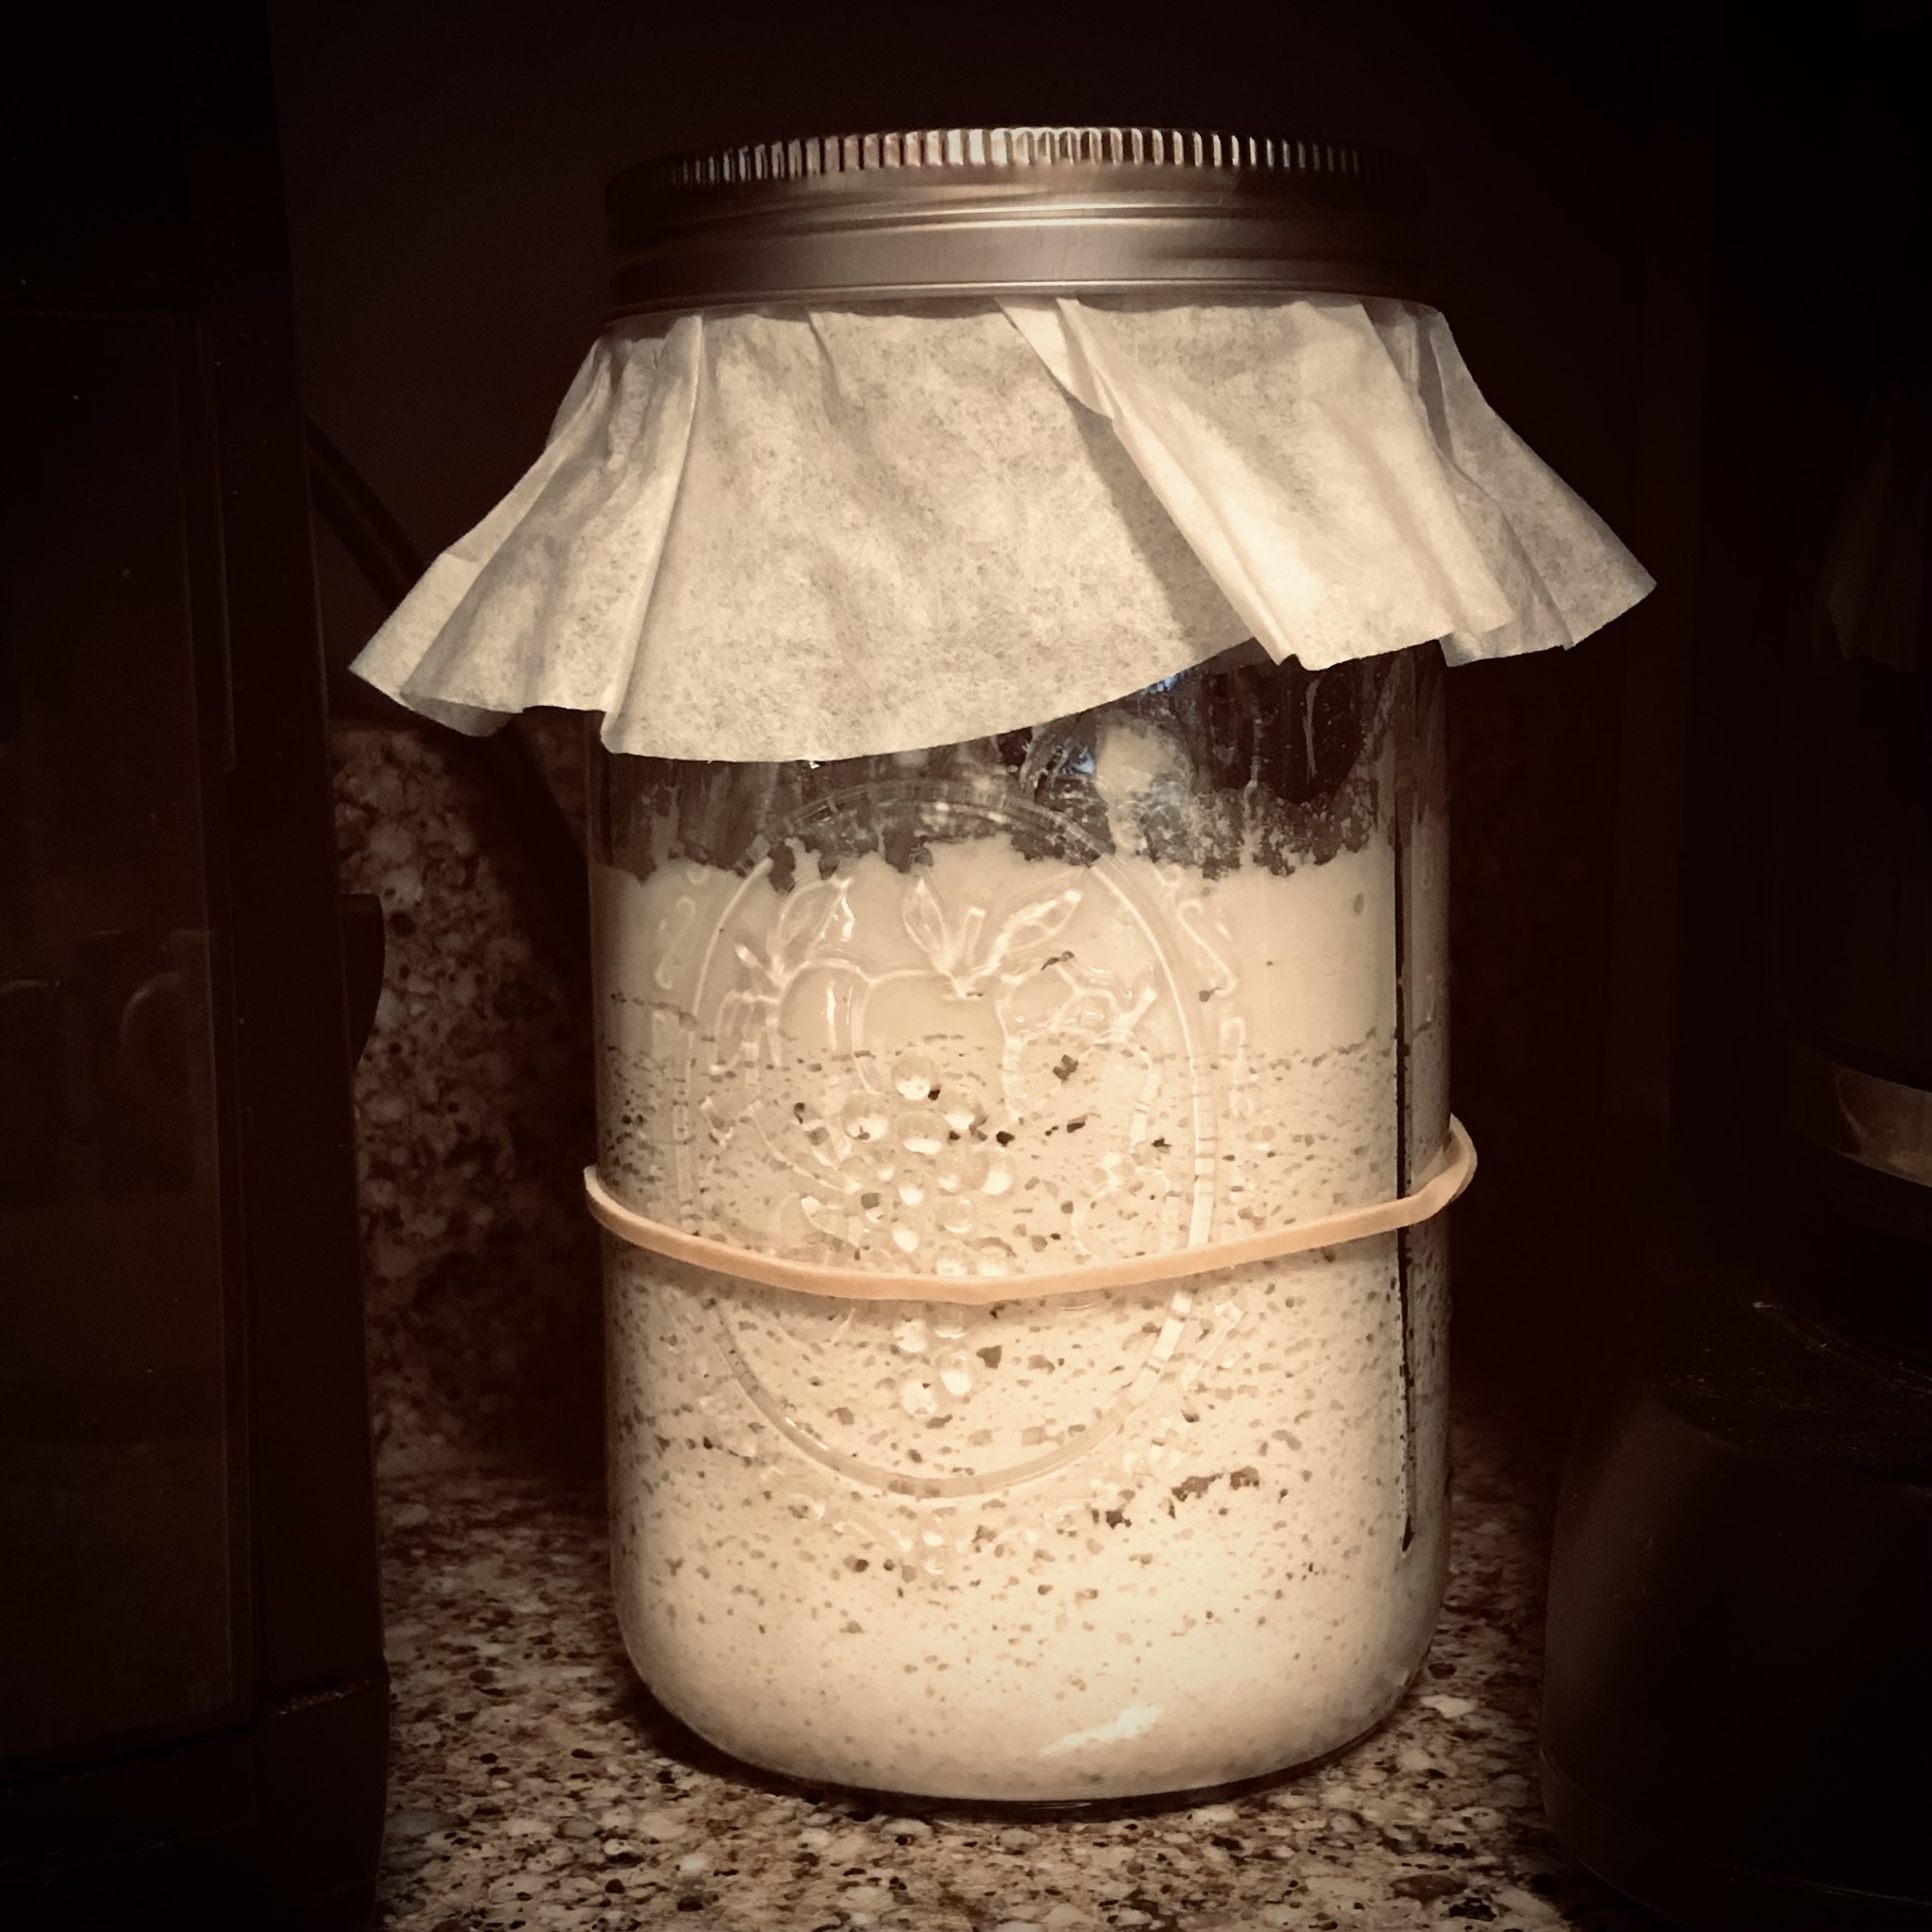
The rubber band on the jar shows the level of mixture after feeding the prior evening. As you can see, it had nearly doubled in size, and had a lot of nice bubbles.
By the end of the first week, it was very active like this, and had a lovely sour aroma. I switched to once per day feedings, in the morning. The ratio was 100 g of starter, 100 g flour and 100 g water. By day 4 of the second week, I was ready to bake.
Baking Process
Mixing Preferment: This mixture of starter, flour and water is the basis for the bread’s rise. I put 150 g of starter, 100 g water and 100 g flour in a clean canning jar at 3 PM, covered it with a paper filter and ring, and let it sit out overnight.
Baking Day: At 7 AM I combined the following in a medium glass bowl, whisking until it was well combined.
20 g psyllium husks
20 g honey
300 g water
10 g olive oil
While this stood for a bit so the psyllium husks could hydrate, I combined the following dry ingredients in a large glass bowl.
80 g potato starch
60 g arrowroot flour
80 g sorghum flour
60 g brown rice flour
12 g sea salt
Then, I mixed the preferment and wet ingredients together well, then added them to the bowl of dry ingredients. I used a wooden spoon to mix it all together at first, then used my hands to mix and knead, until it was a nice, smooth, even textured ball.
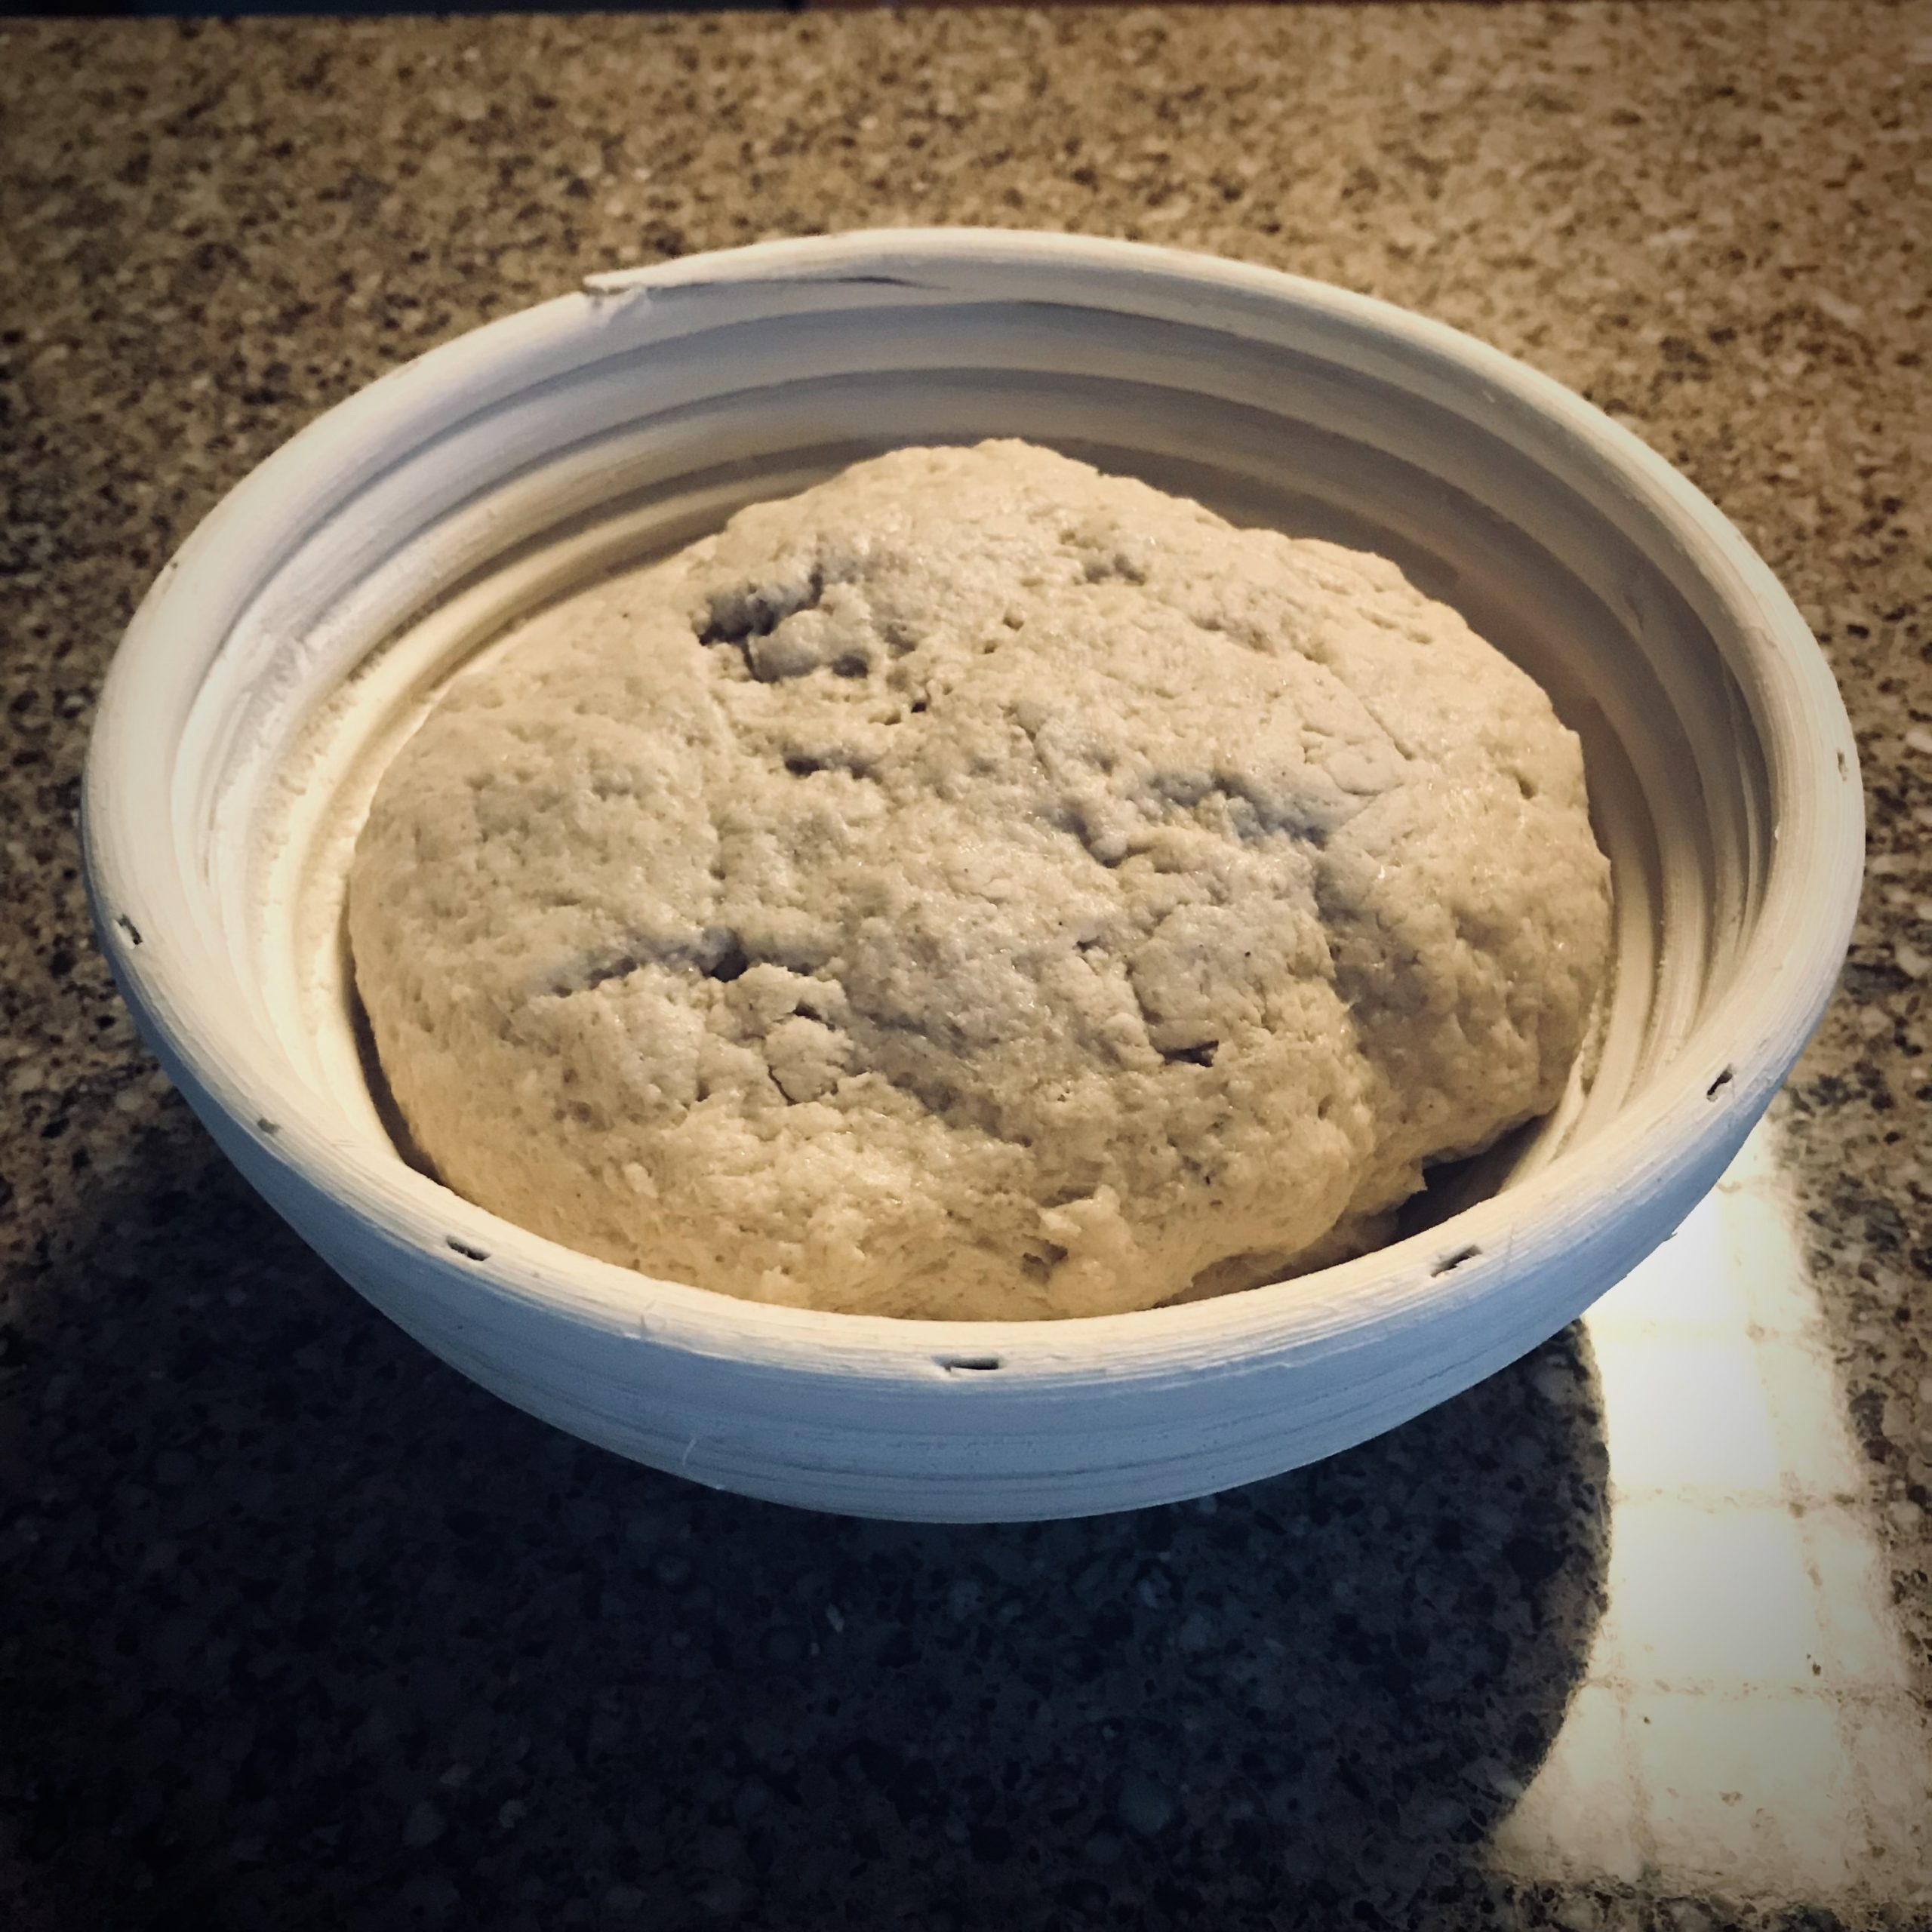
The dough went into a small rattan basket (called a banneton) that had been dusted with brown rice flour. You could use a glass or pottery bowl if you prefer. I covered it with a cloth, and left it sit on the counter until time to bake, about 7 hours later.
Here’s how it looked when first placed in the banneton.
Here’s how it looked at 2:30 PM.
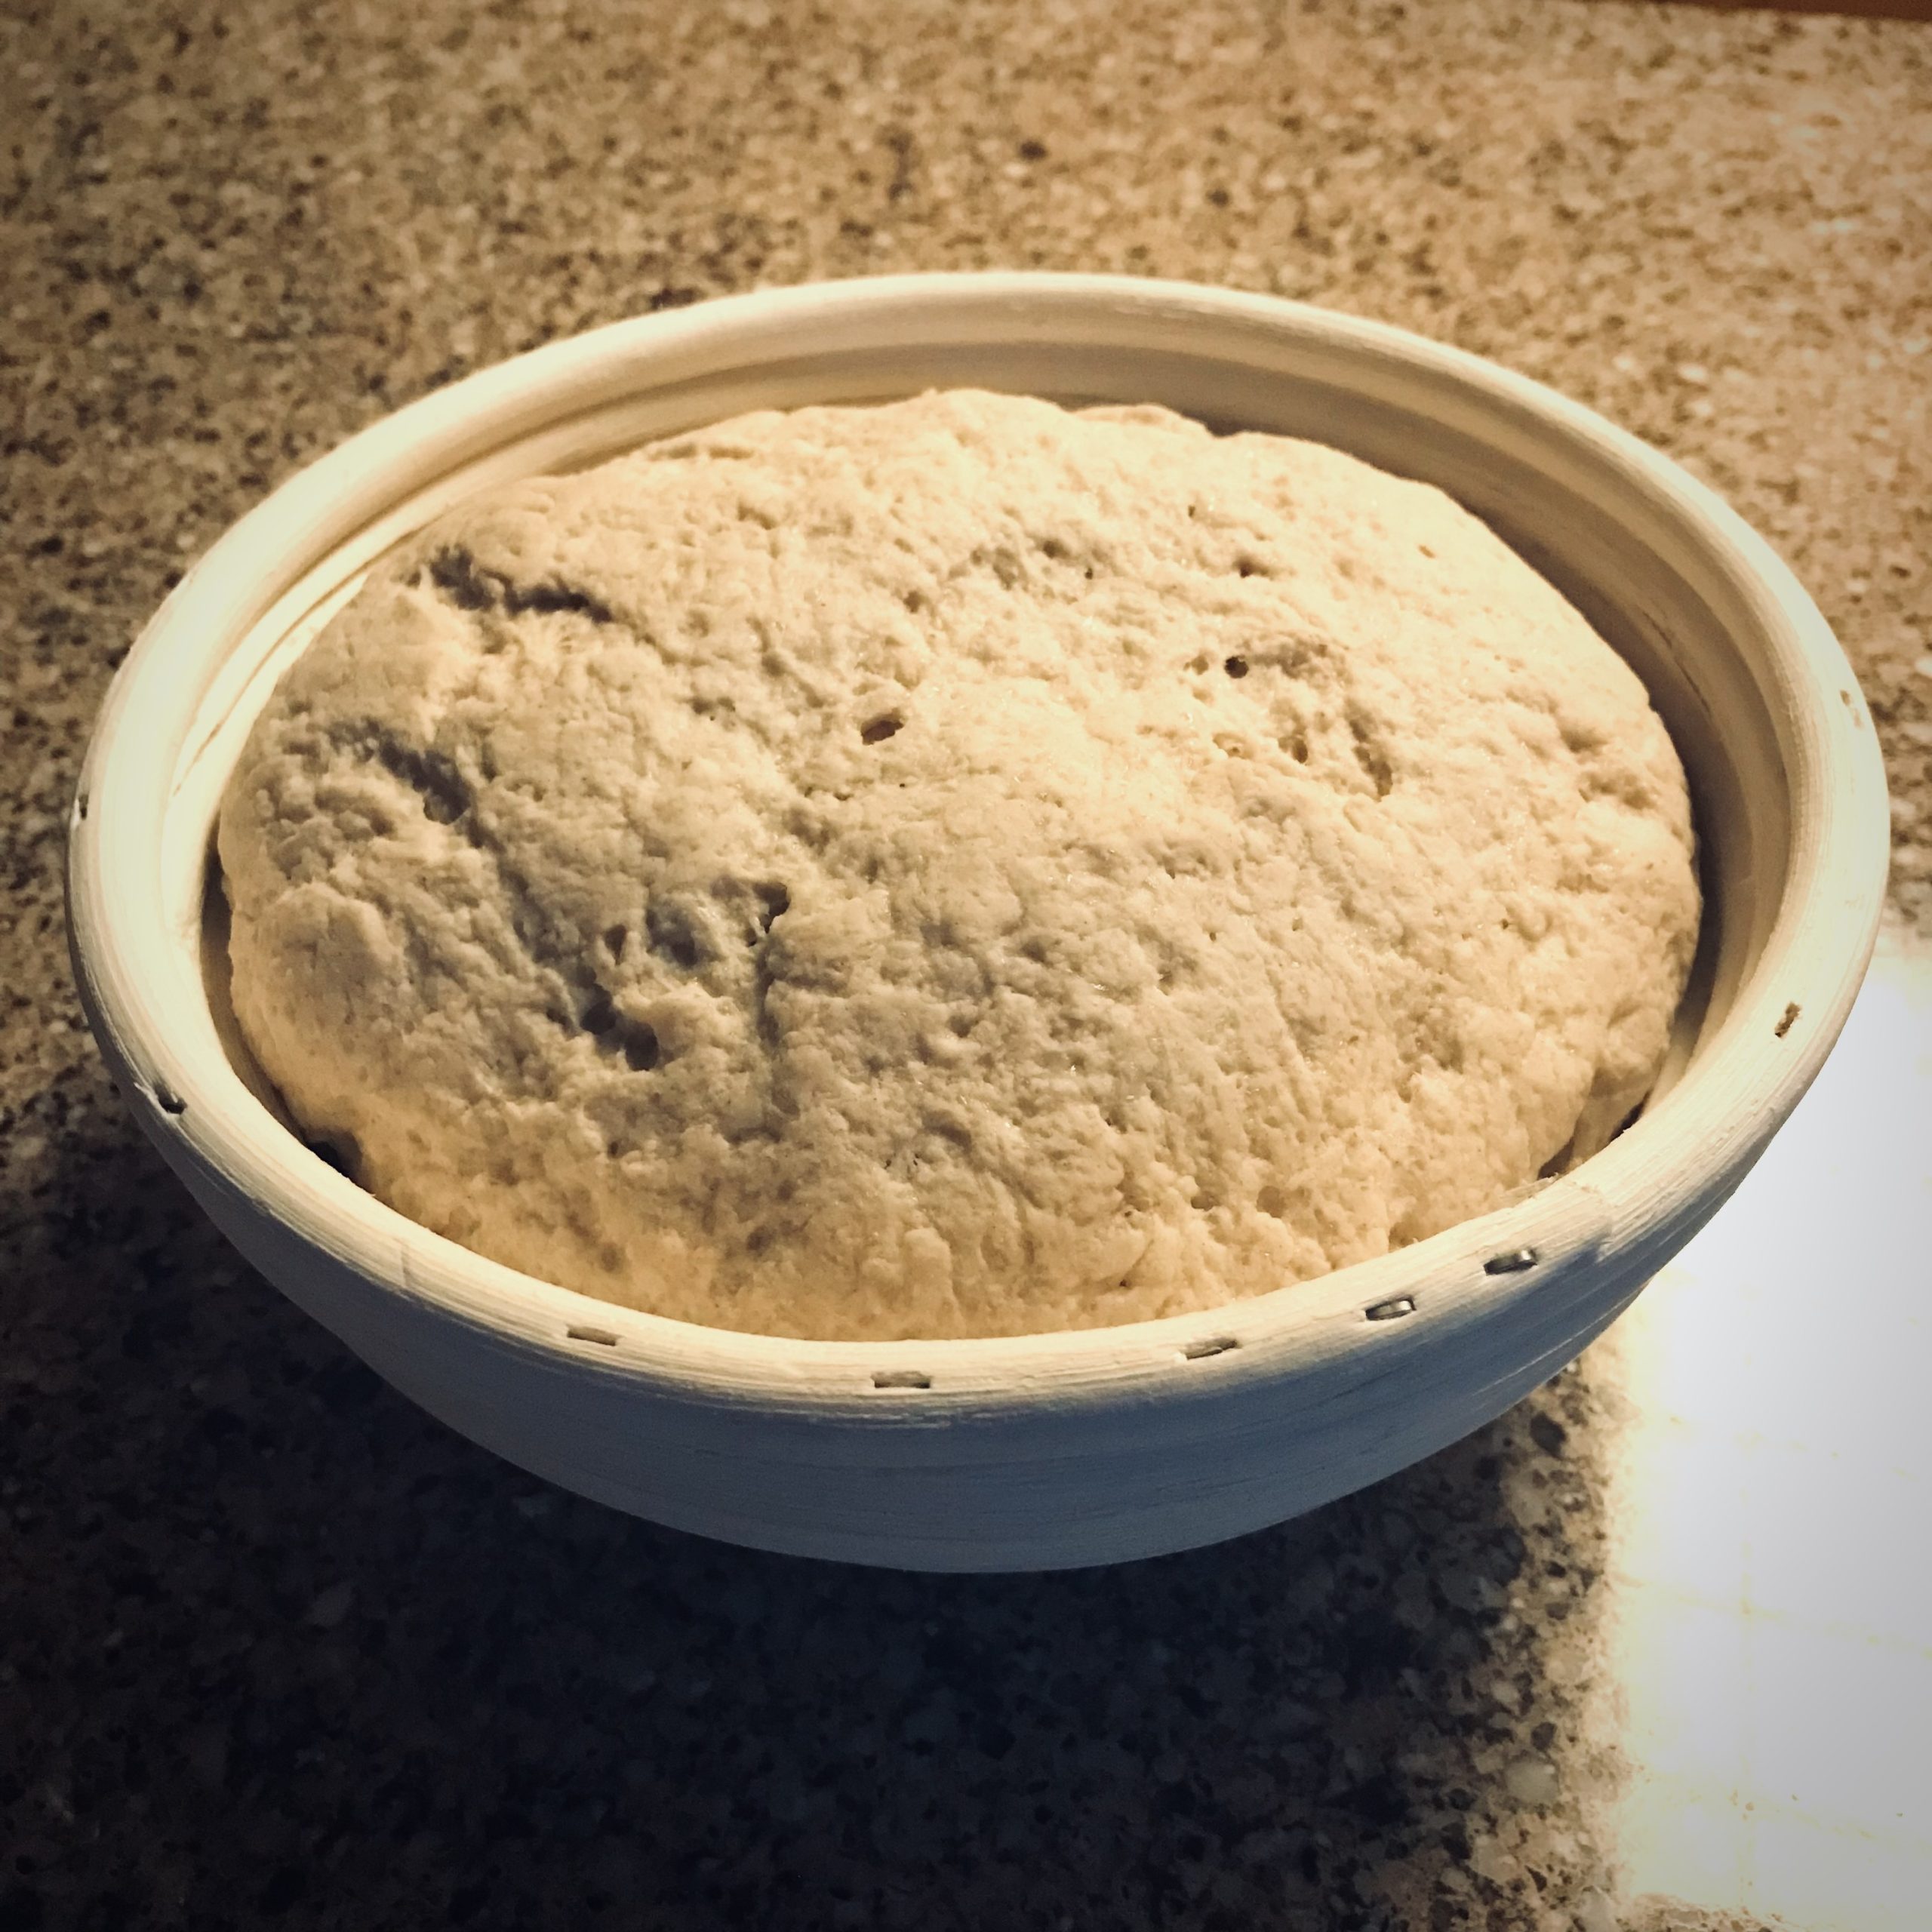
I pre-heated the oven to 450 °F, and gently turned the basket upside down onto a piece of parchment paper on a wooden pizza peel. I used a knife to score an x across the top, so the bread could expand without cracking apart.
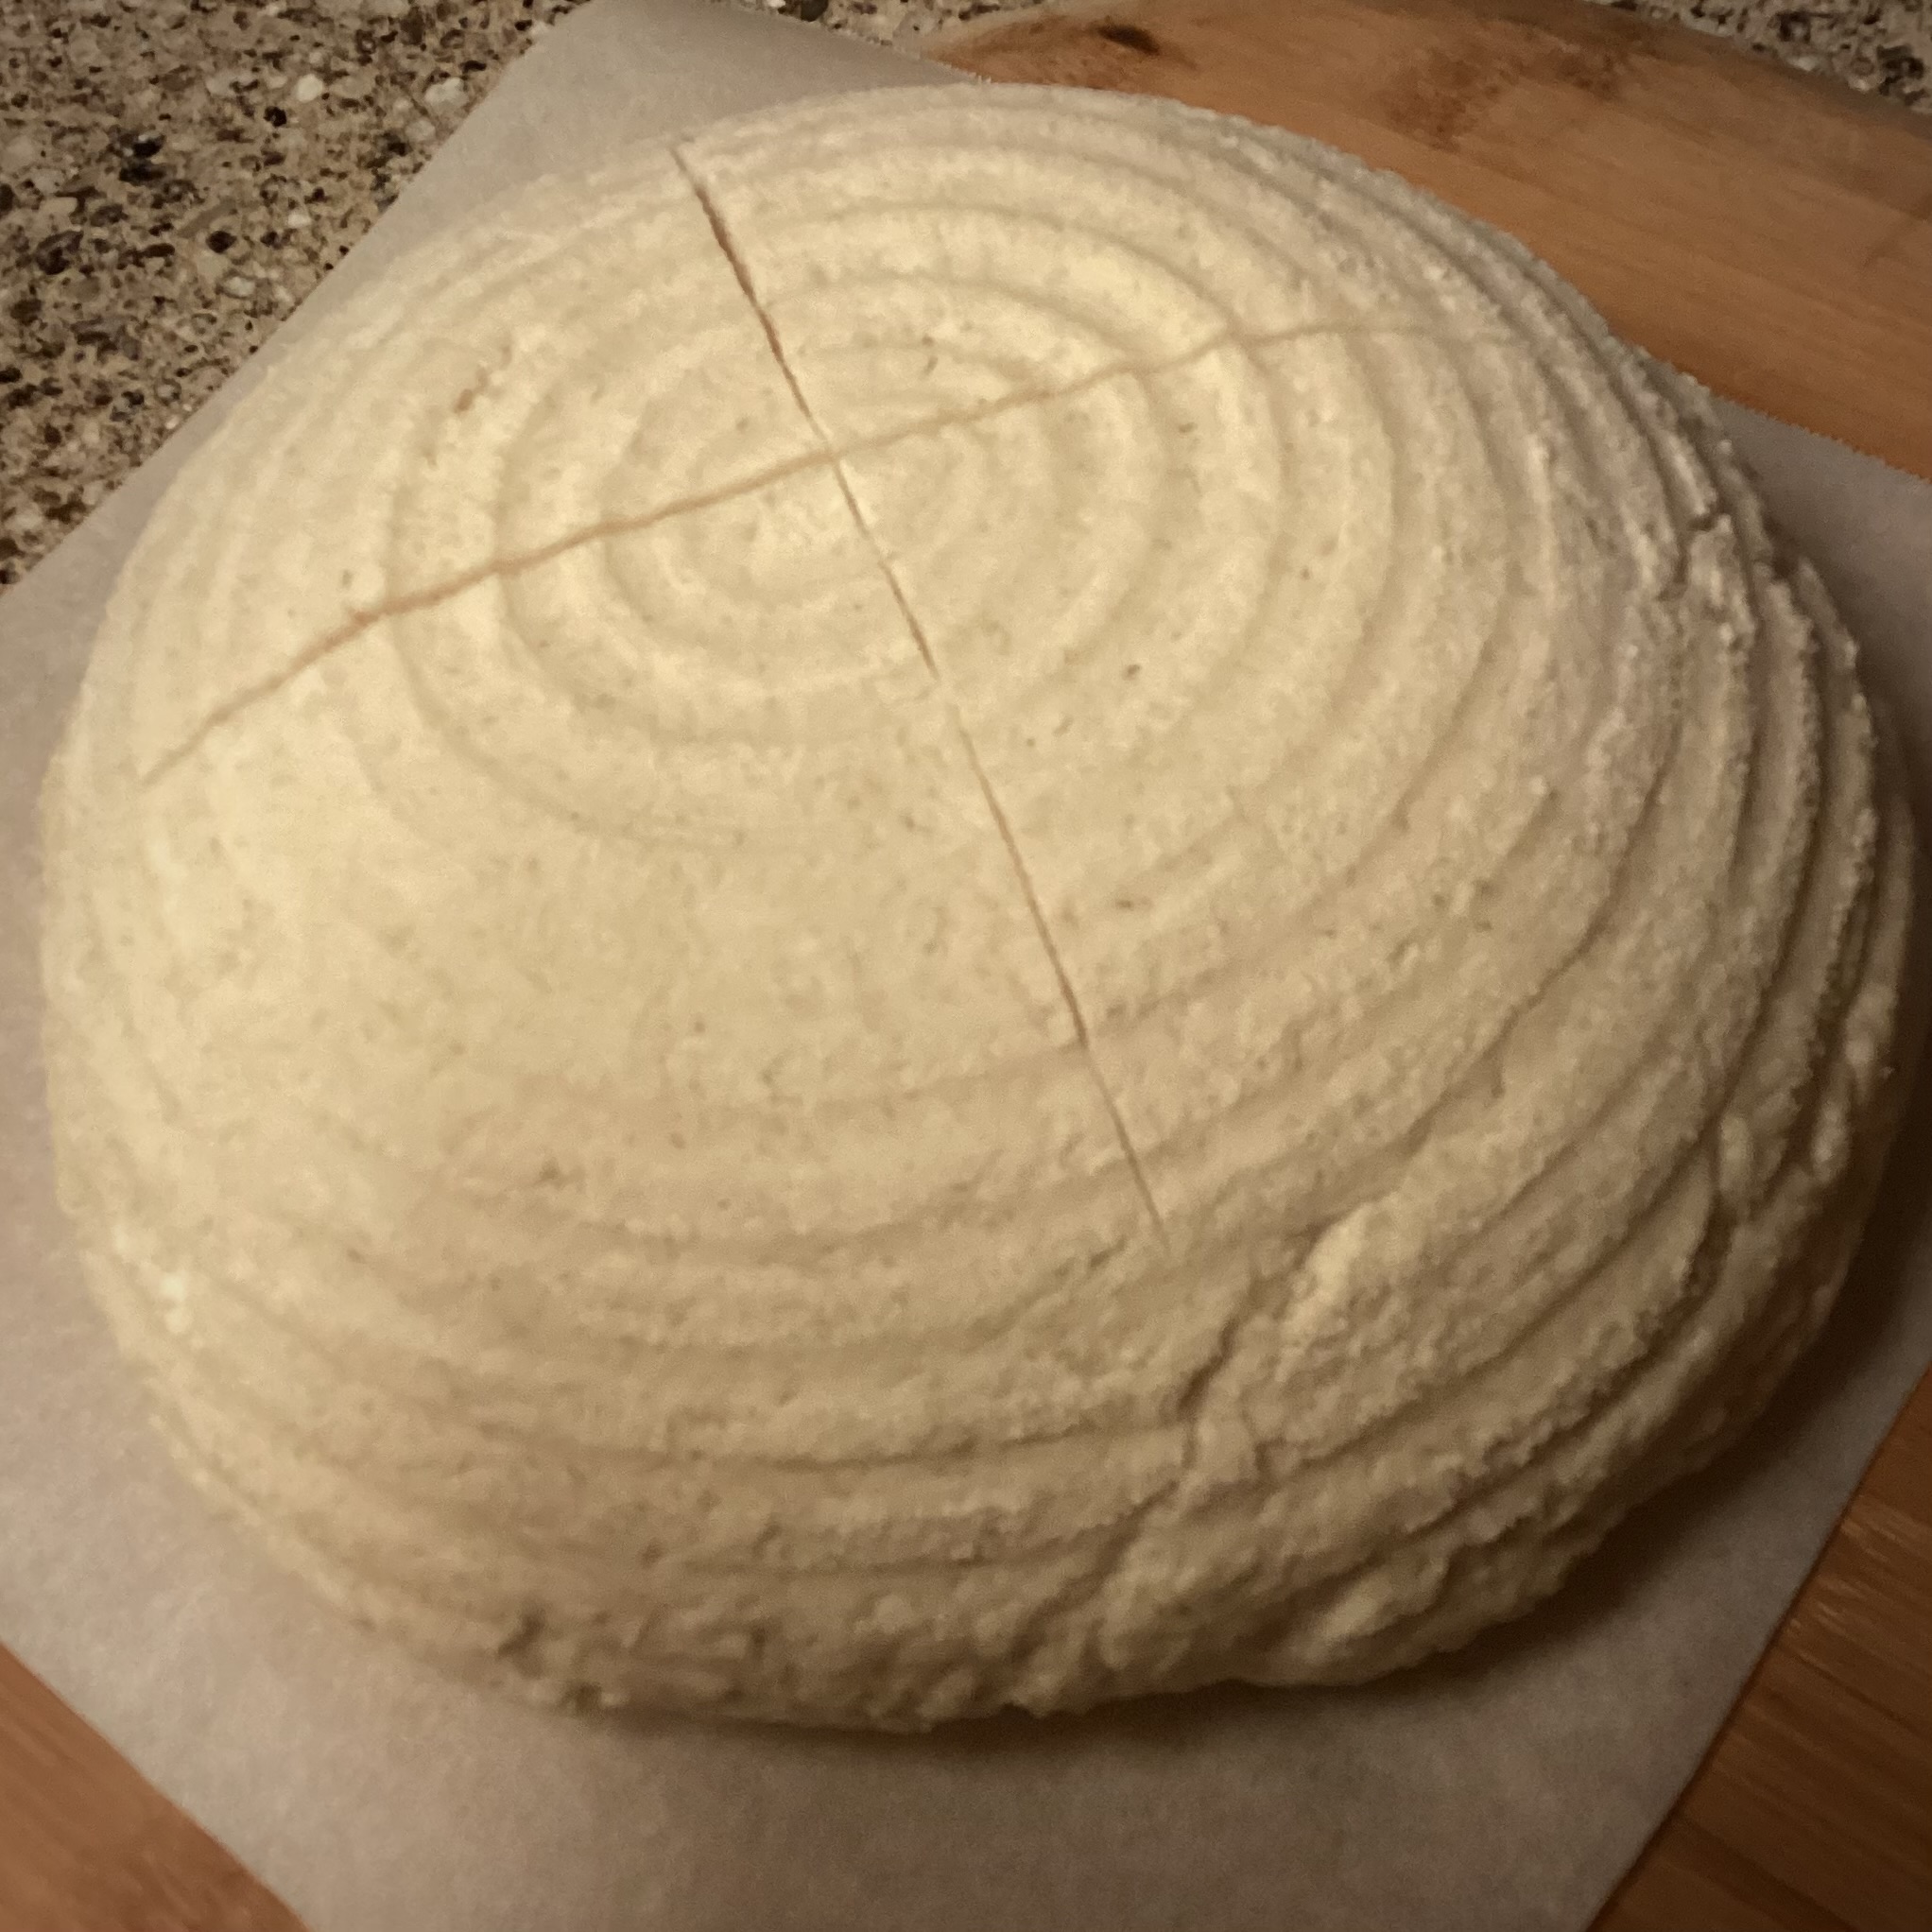
I baked this on a pizza stone, since that’s the process I use for other breads – sliding the dough off of the peel onto the stone, and then pouring about a cup of water into a baking pan on a lower shelf. The Bakerita process uses a Dutch Oven instead.
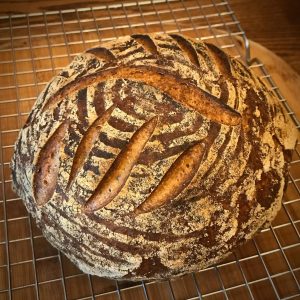
Once the bread was in the oven and water in the pan, I pulled the heat down to 425 °F and baked for 70 minutes. This was the result.
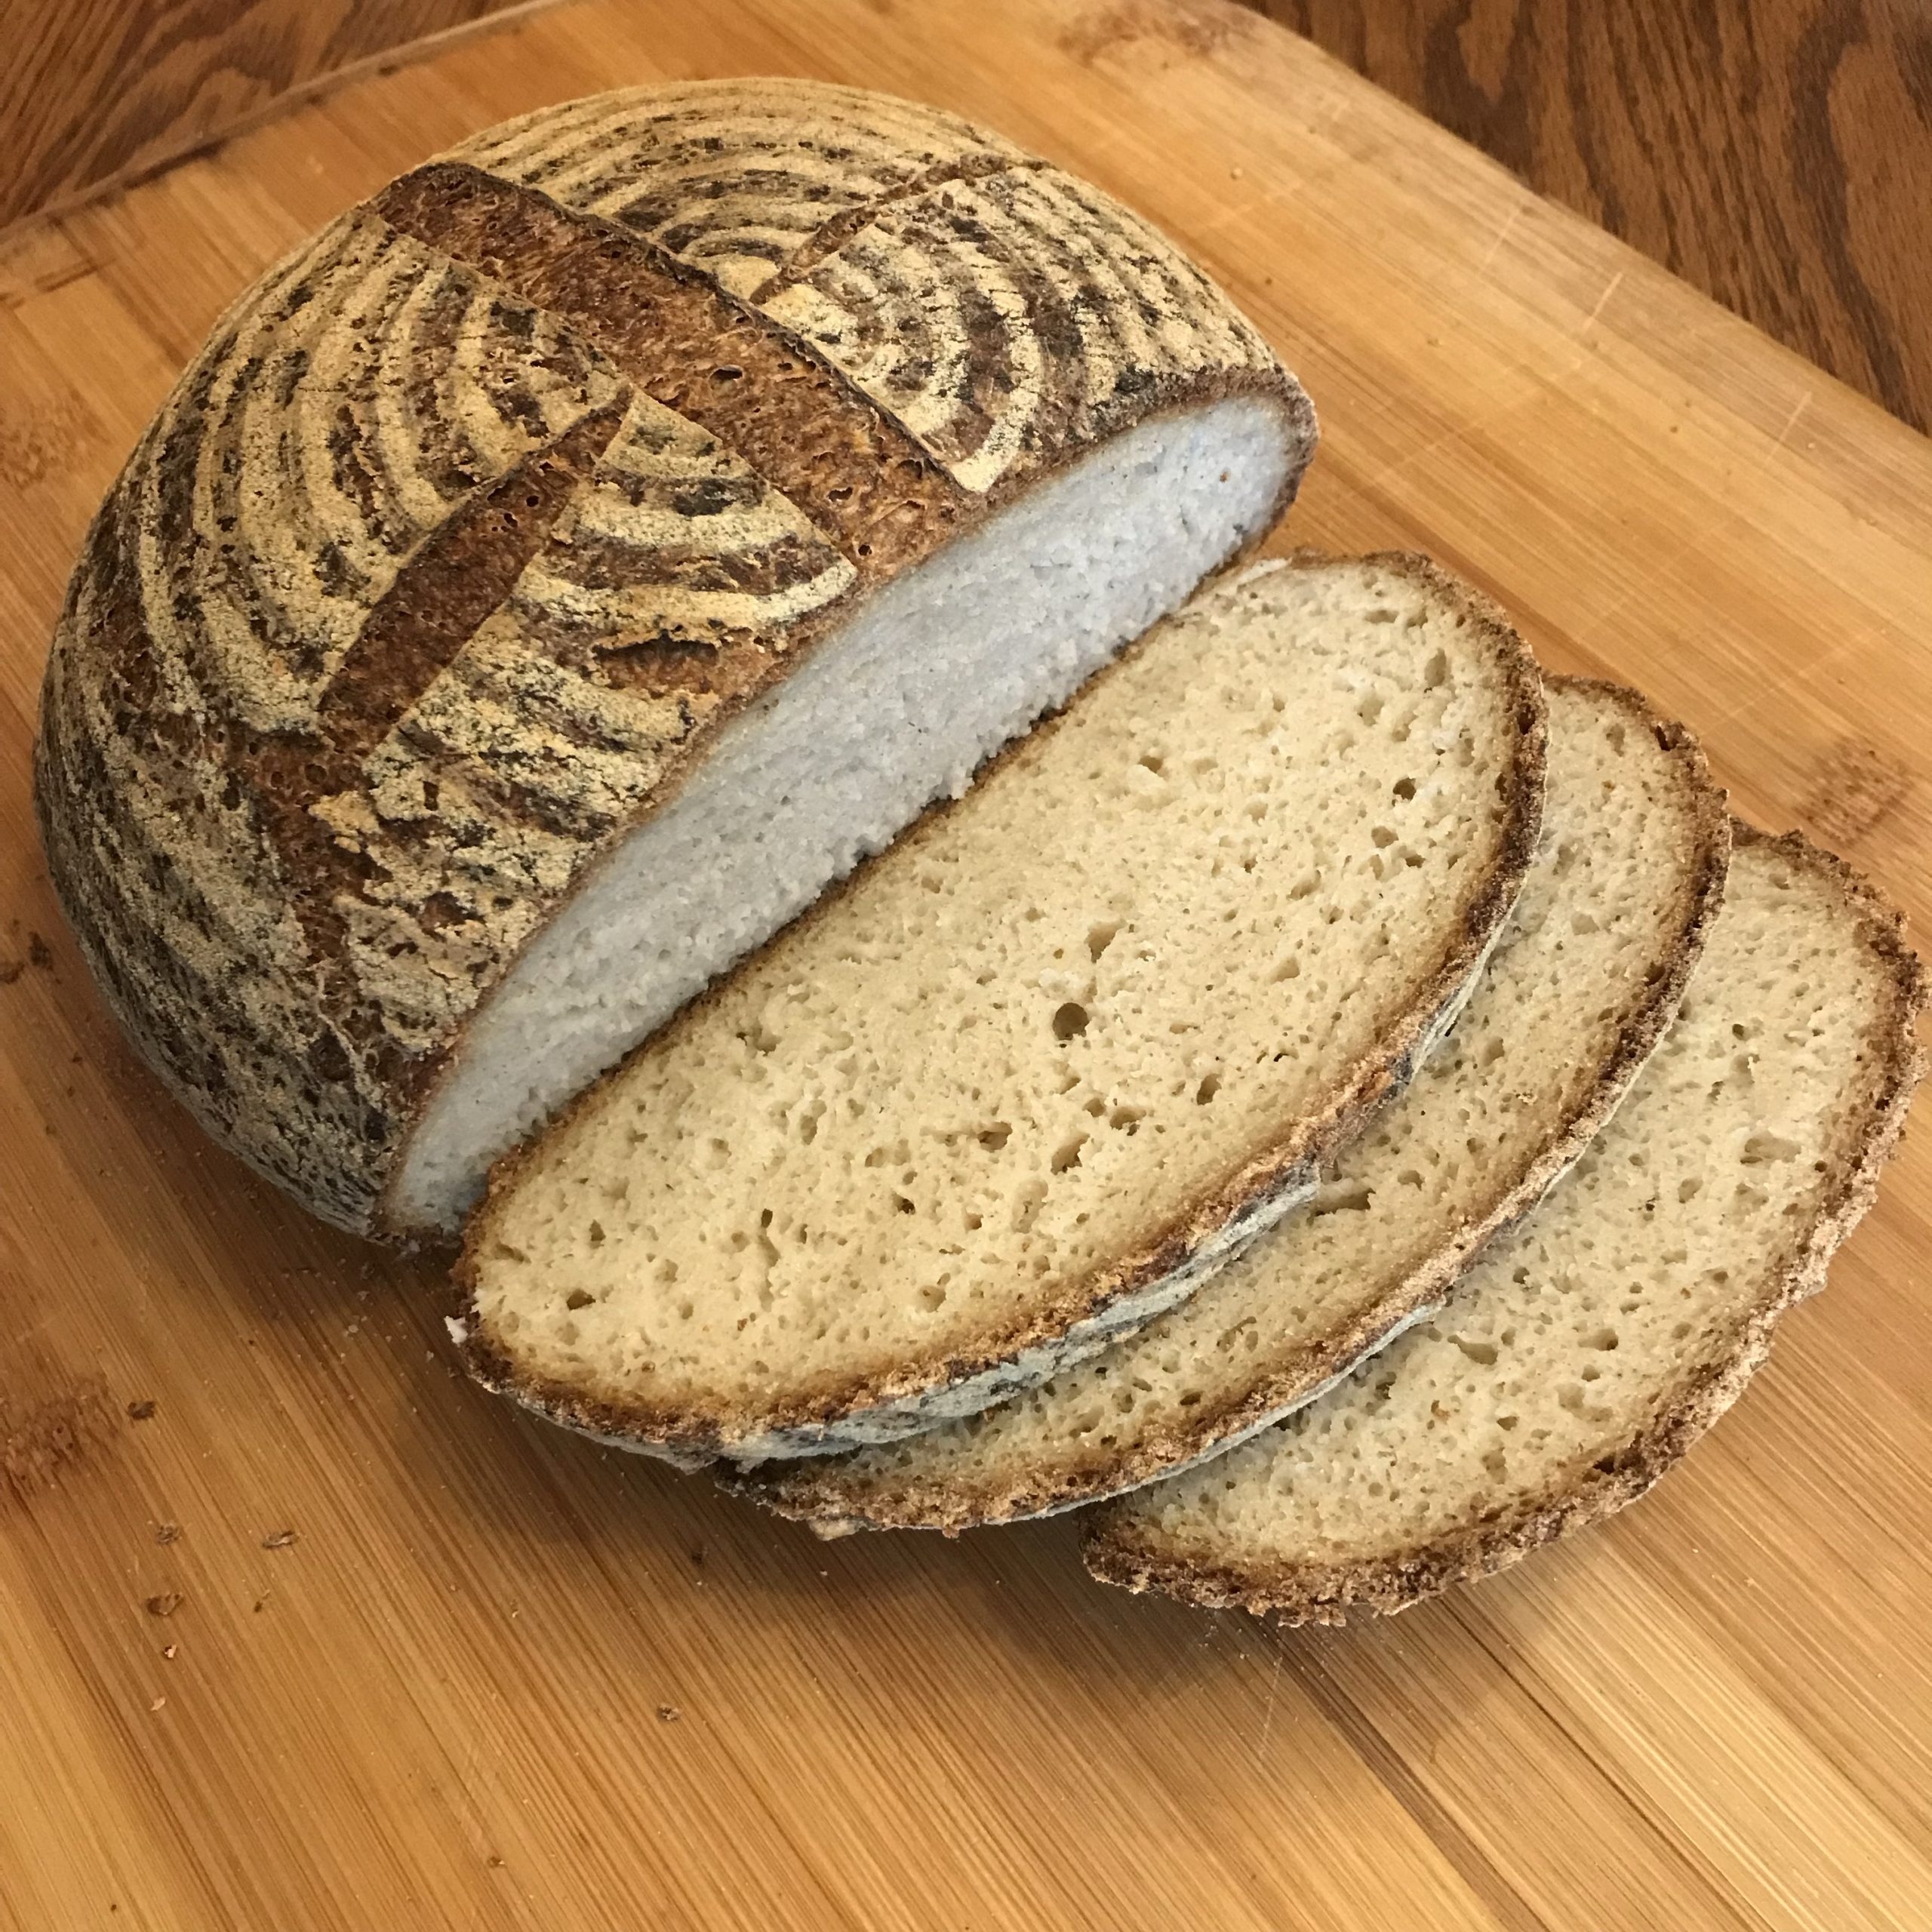
The bread was excellent, with a crunchy crust, chewy crumb and classic sourdough tang. The only tiny complaint I would have is that it was just a tad bit gummy. This can be remedied by cutting back slightly (maybe 10 g) on the water for the dough, perhaps adding a little more brown rice flour to the mix, or baking for a few more minutes. When toasted, or used for grilled cheese sandwiches, the texture was fine.
I’ve baked several loaves since, and it’s been a lot of fun experimenting with the scoring to get a pretty design on top. There’s also a lot of satisfaction from taking a product like this from zero to table in a little over a week, and then maintaining, using (and sharing) the starter.
Since our family doesn’t seem to be sensitive to gluten, and the ingredients take up a lot of pantry space, I’ve decided to move on from this experiment in gluten-free baking. Happy to have learned how to do this, though, and will bring the experience to the next bread baking project. I may try to find an heirloom flour without the amped up gluten, but I’m going to try my hand at sourdough bread using Tartine Bakery’s recipe. Wish me luck!
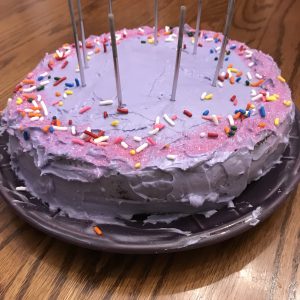 We made a special cake in Claudia’s favorite color for her Birthday this year.
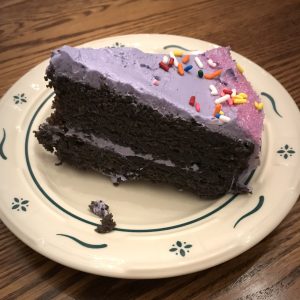

 Each month, during shelter season, I take at least one meal to the