Argentine Asado Style Sunday Dinner

asado-dinner

This week for Sunday Dinner I had planned to do a long smoke with a less expensive alternative to beef brisket, a chuck roast. Having recently watched an episode of Barbecue Addiction where Bobby Flay did an Argentine cookout, I decided to try Chimmichurri sauce for the first time. The rest of the meal developed from research on typical Asado sides.

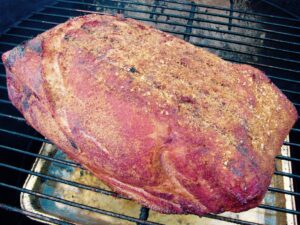
On Saturday night, I prepped the 3 pound roast with my usual rub. Since chuck is similar to brisket with a lot of connective tissue, it lends itself to a low and slow cook, so the plan was to cook it the same as I would a pork shoulder, with several hours at around 225 F on the Weber Kettle, than finishing it up wrapped in foil on the Genesis.

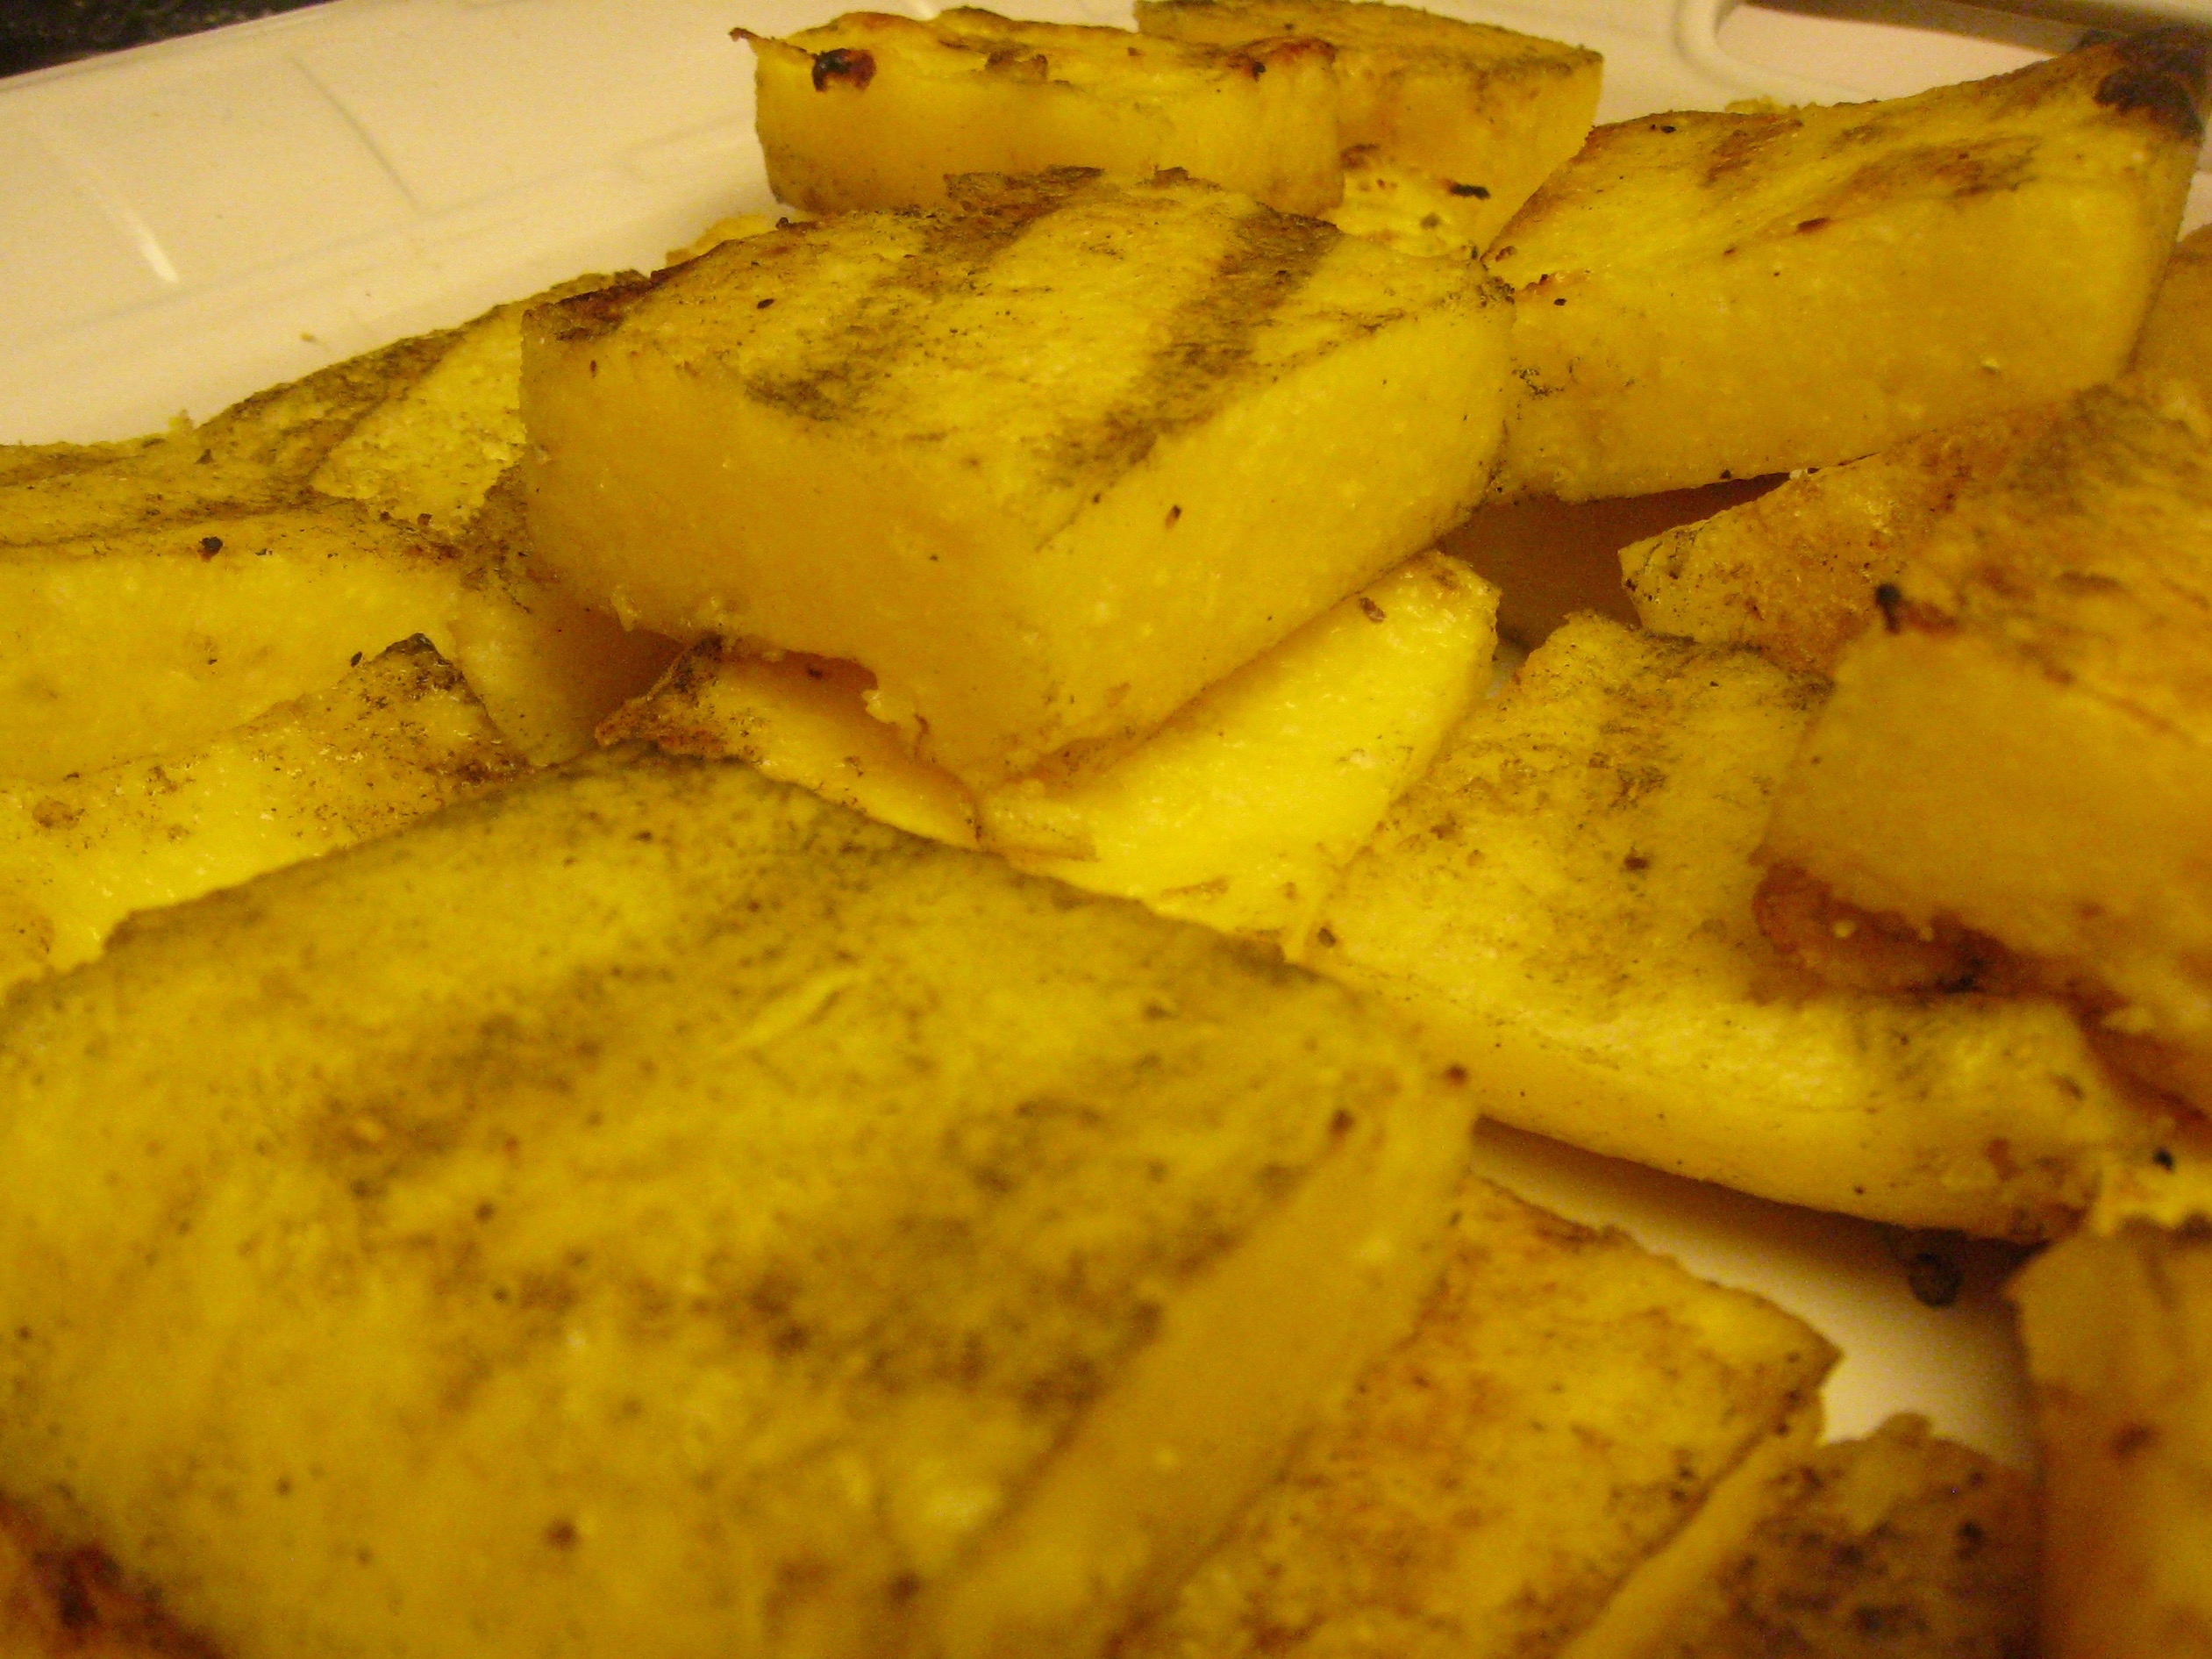
I also baked some polenta with parmigiana in a shallow two quart dish that night. It was the first time I’d ever made it, but it turned out great. I used this recipe from Martha Rose Shulman, adding some shredded Parm before the last stir and bake.

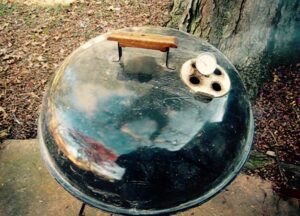
On Sunday morning, I set up the kettle with a water pan in the middle of the bottom grate and ten unlit coals on each side of it. Then I added eight lit coals and some Hickory and Cherry chunks.

water-smoker-setup-kettle

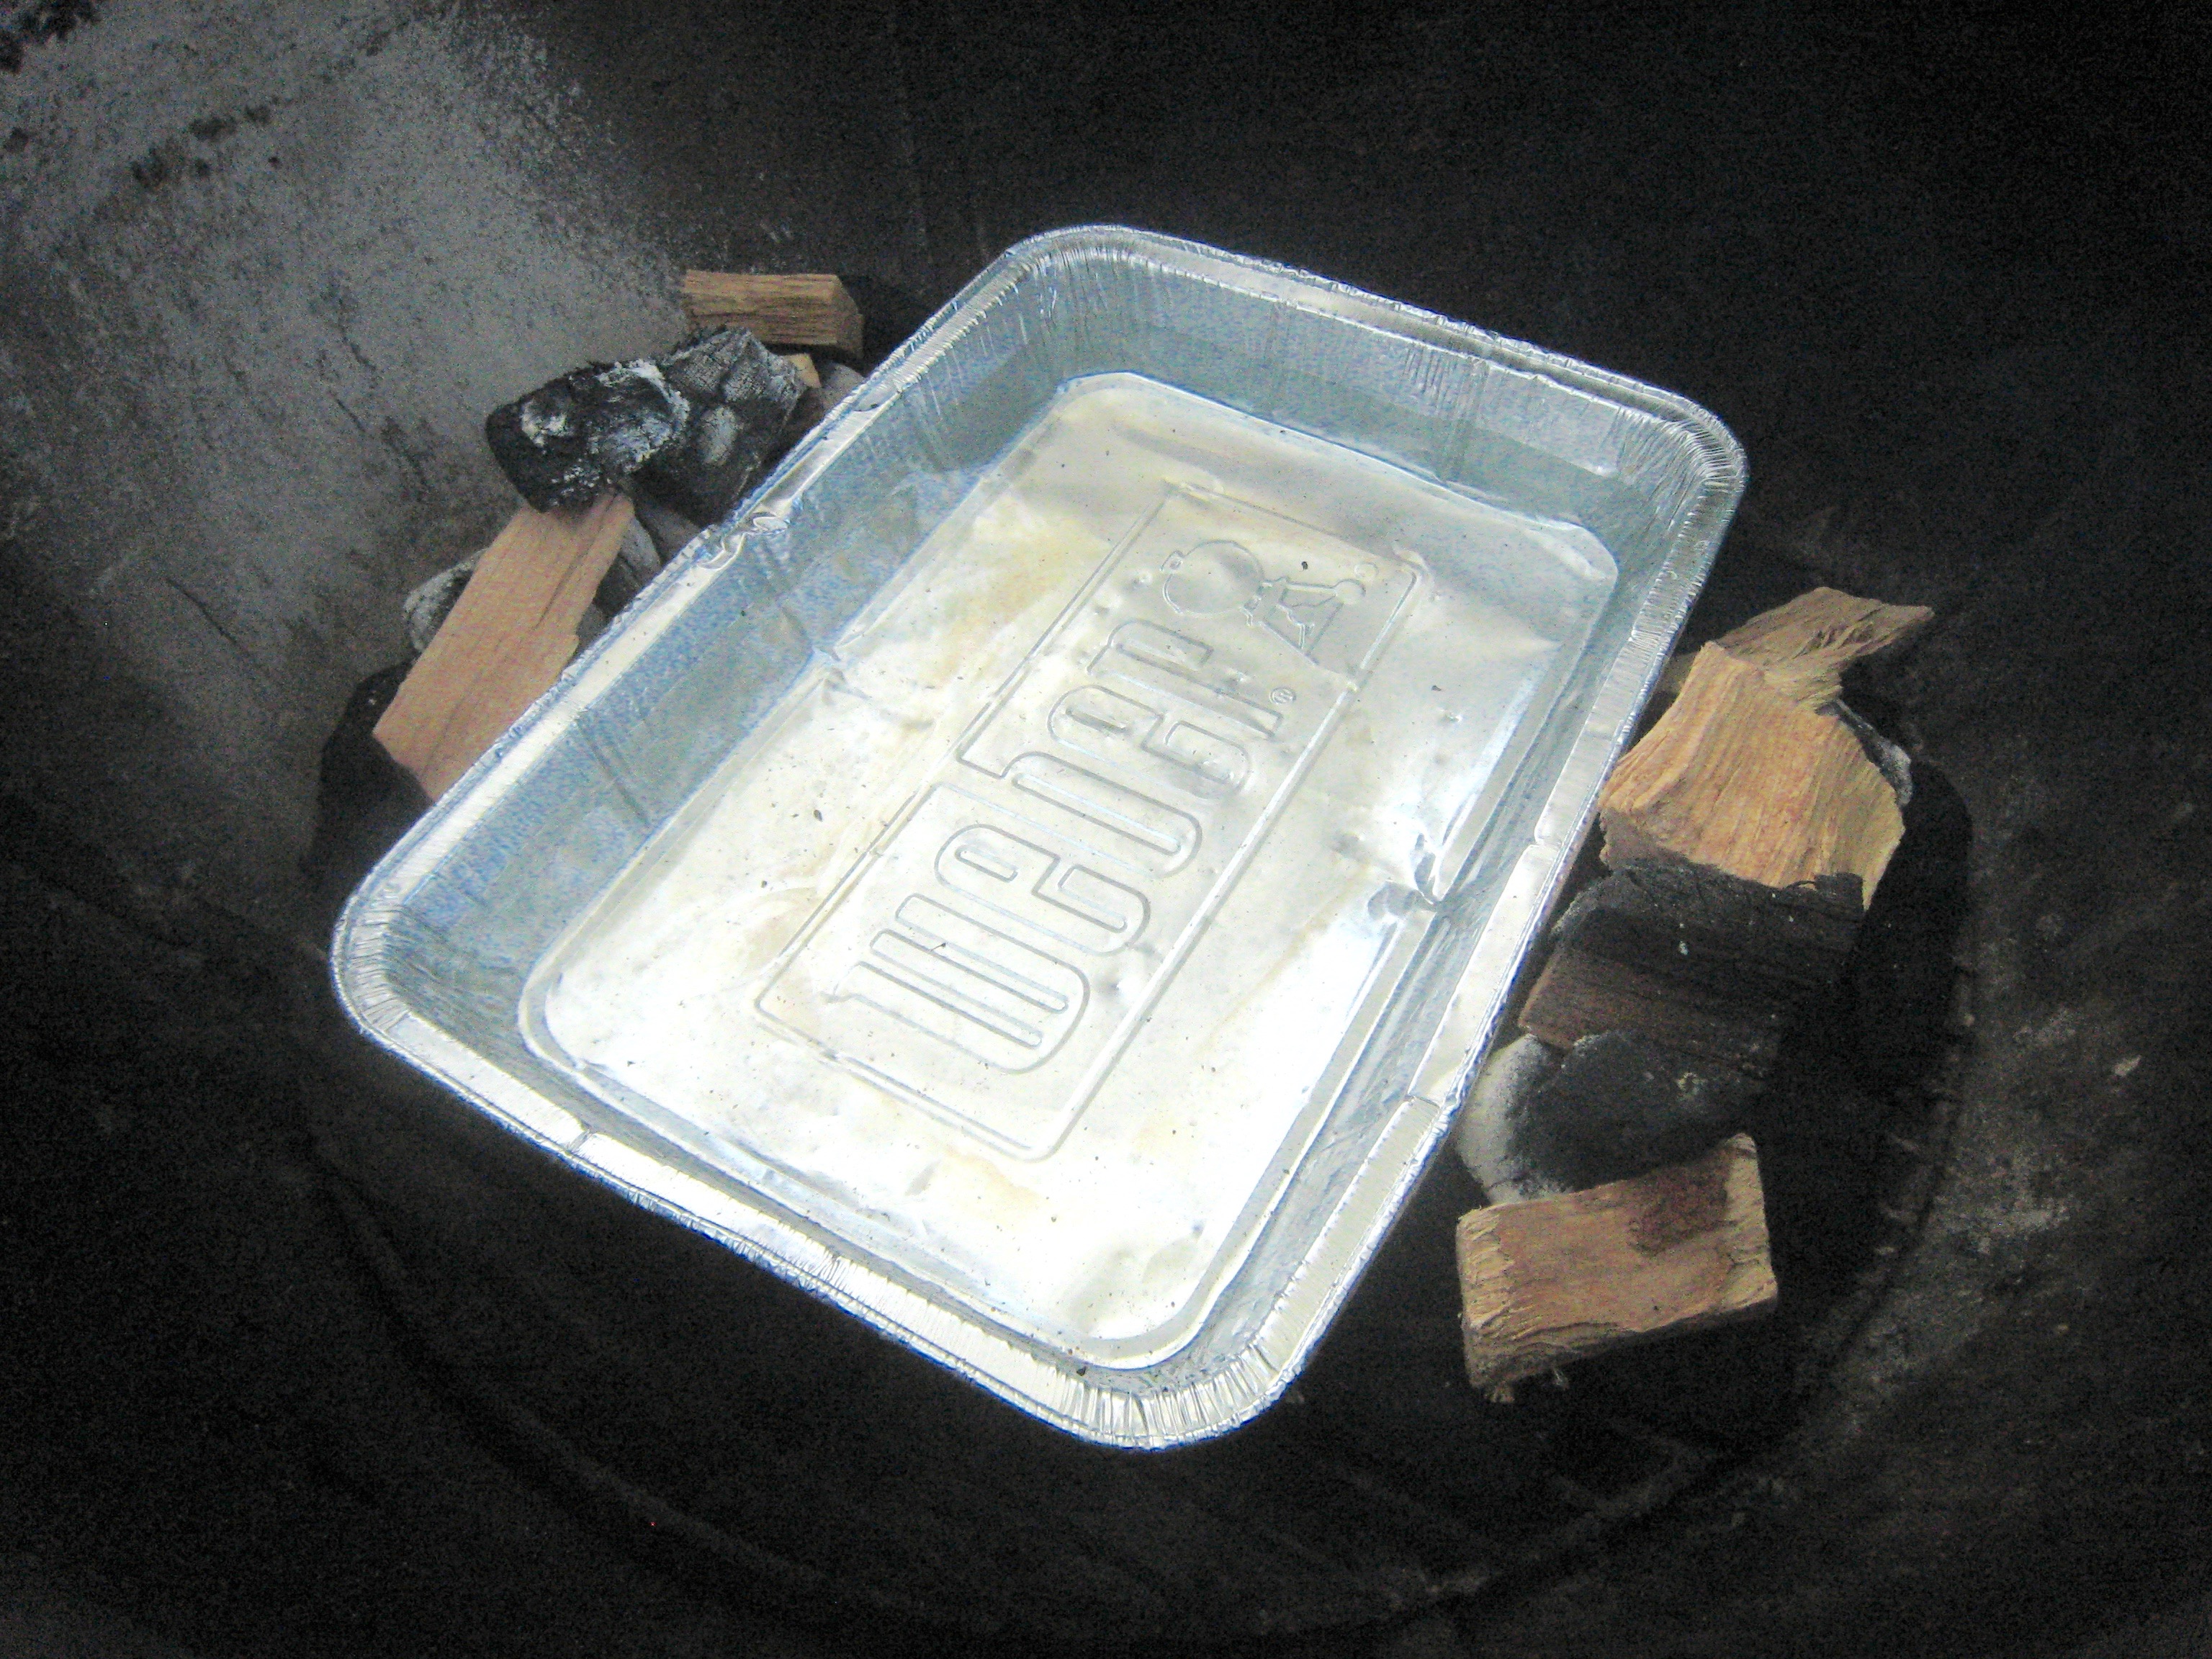
Once the Weber was up to 200 F and the top grate was clean, I placed the roast over the water pan, and kept an eye on the temperature, adjusting vents as needed to keep the grill around 225.

smoking-temp

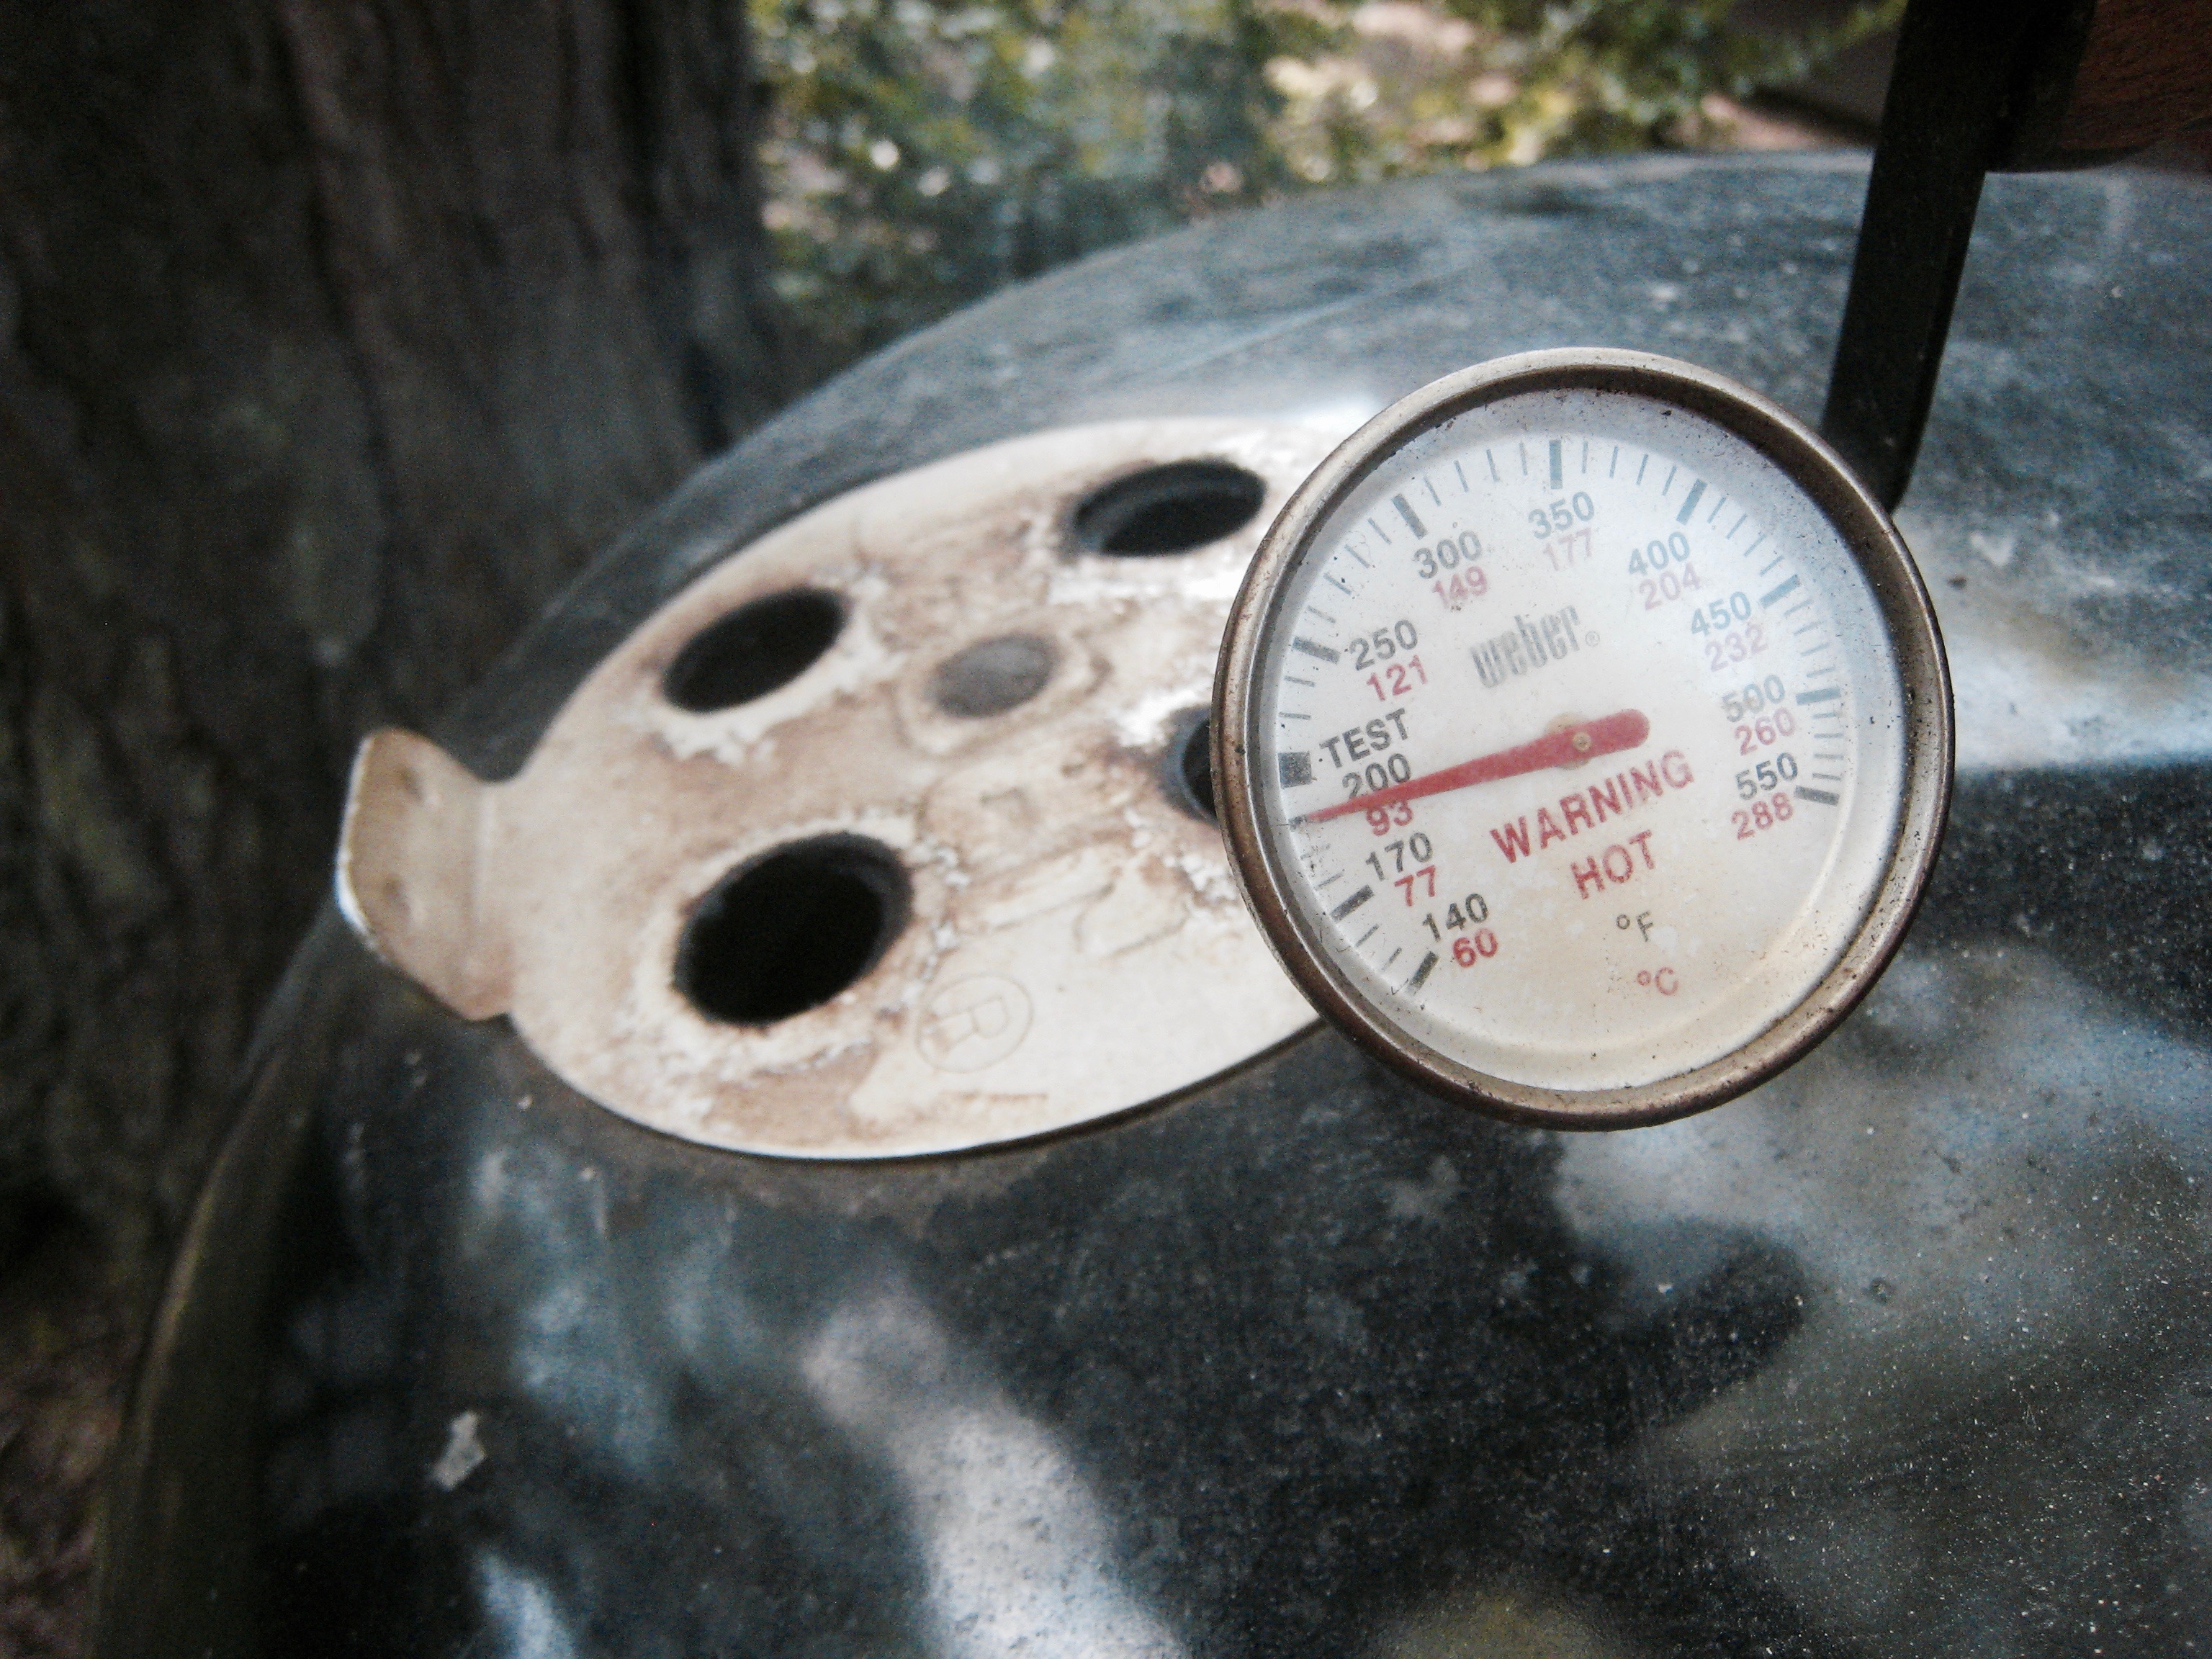
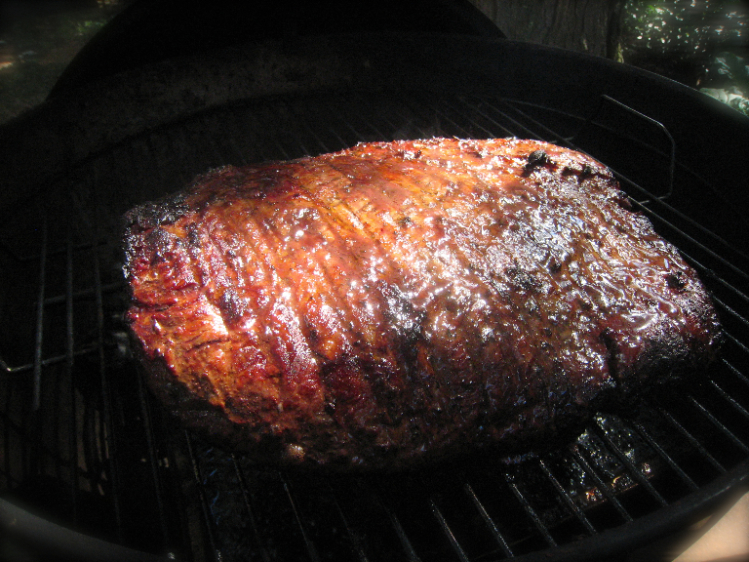
I opened the grill at the end of each hour, adding coals and wood as needed, and checking the internal temp of the roast. I’d planned to take it up to 165 on the kettle, then wrap it in foil and move it to the gas grill to go up to 195, but I was delayed at the grocery store during the third hour and when I got back the coals in the kettle were completely cold. The roast only registered 135, but I wrapped it and moved it anyway.

The Chimmichurri sauce was dead easy. I put one bunch of flat leaf parsley (minus the stems) in a blender, along with some fresh oregano, ten chopped garlic cloves, 1/4 cup of red wine vinegar, 1/2 cup of olive oil, a little diced red onion and some salt and pepper. Once it was blended smooth, I gave it a taste and it was a little hot, so I added about another 1/4 cup of canola (we were out of EVOO) and that tamed it some. I thought that the heat was coming from the garlic and onion, but realized later that it was the oregano. If I make the sauce again, I’d use dried oregano instead.

While the roast continued to cook, I cut the polenta into squares and grilled it on the plancha in the Genesis for three or four minutes per side with a little olive oil spray.

grilled-polenta

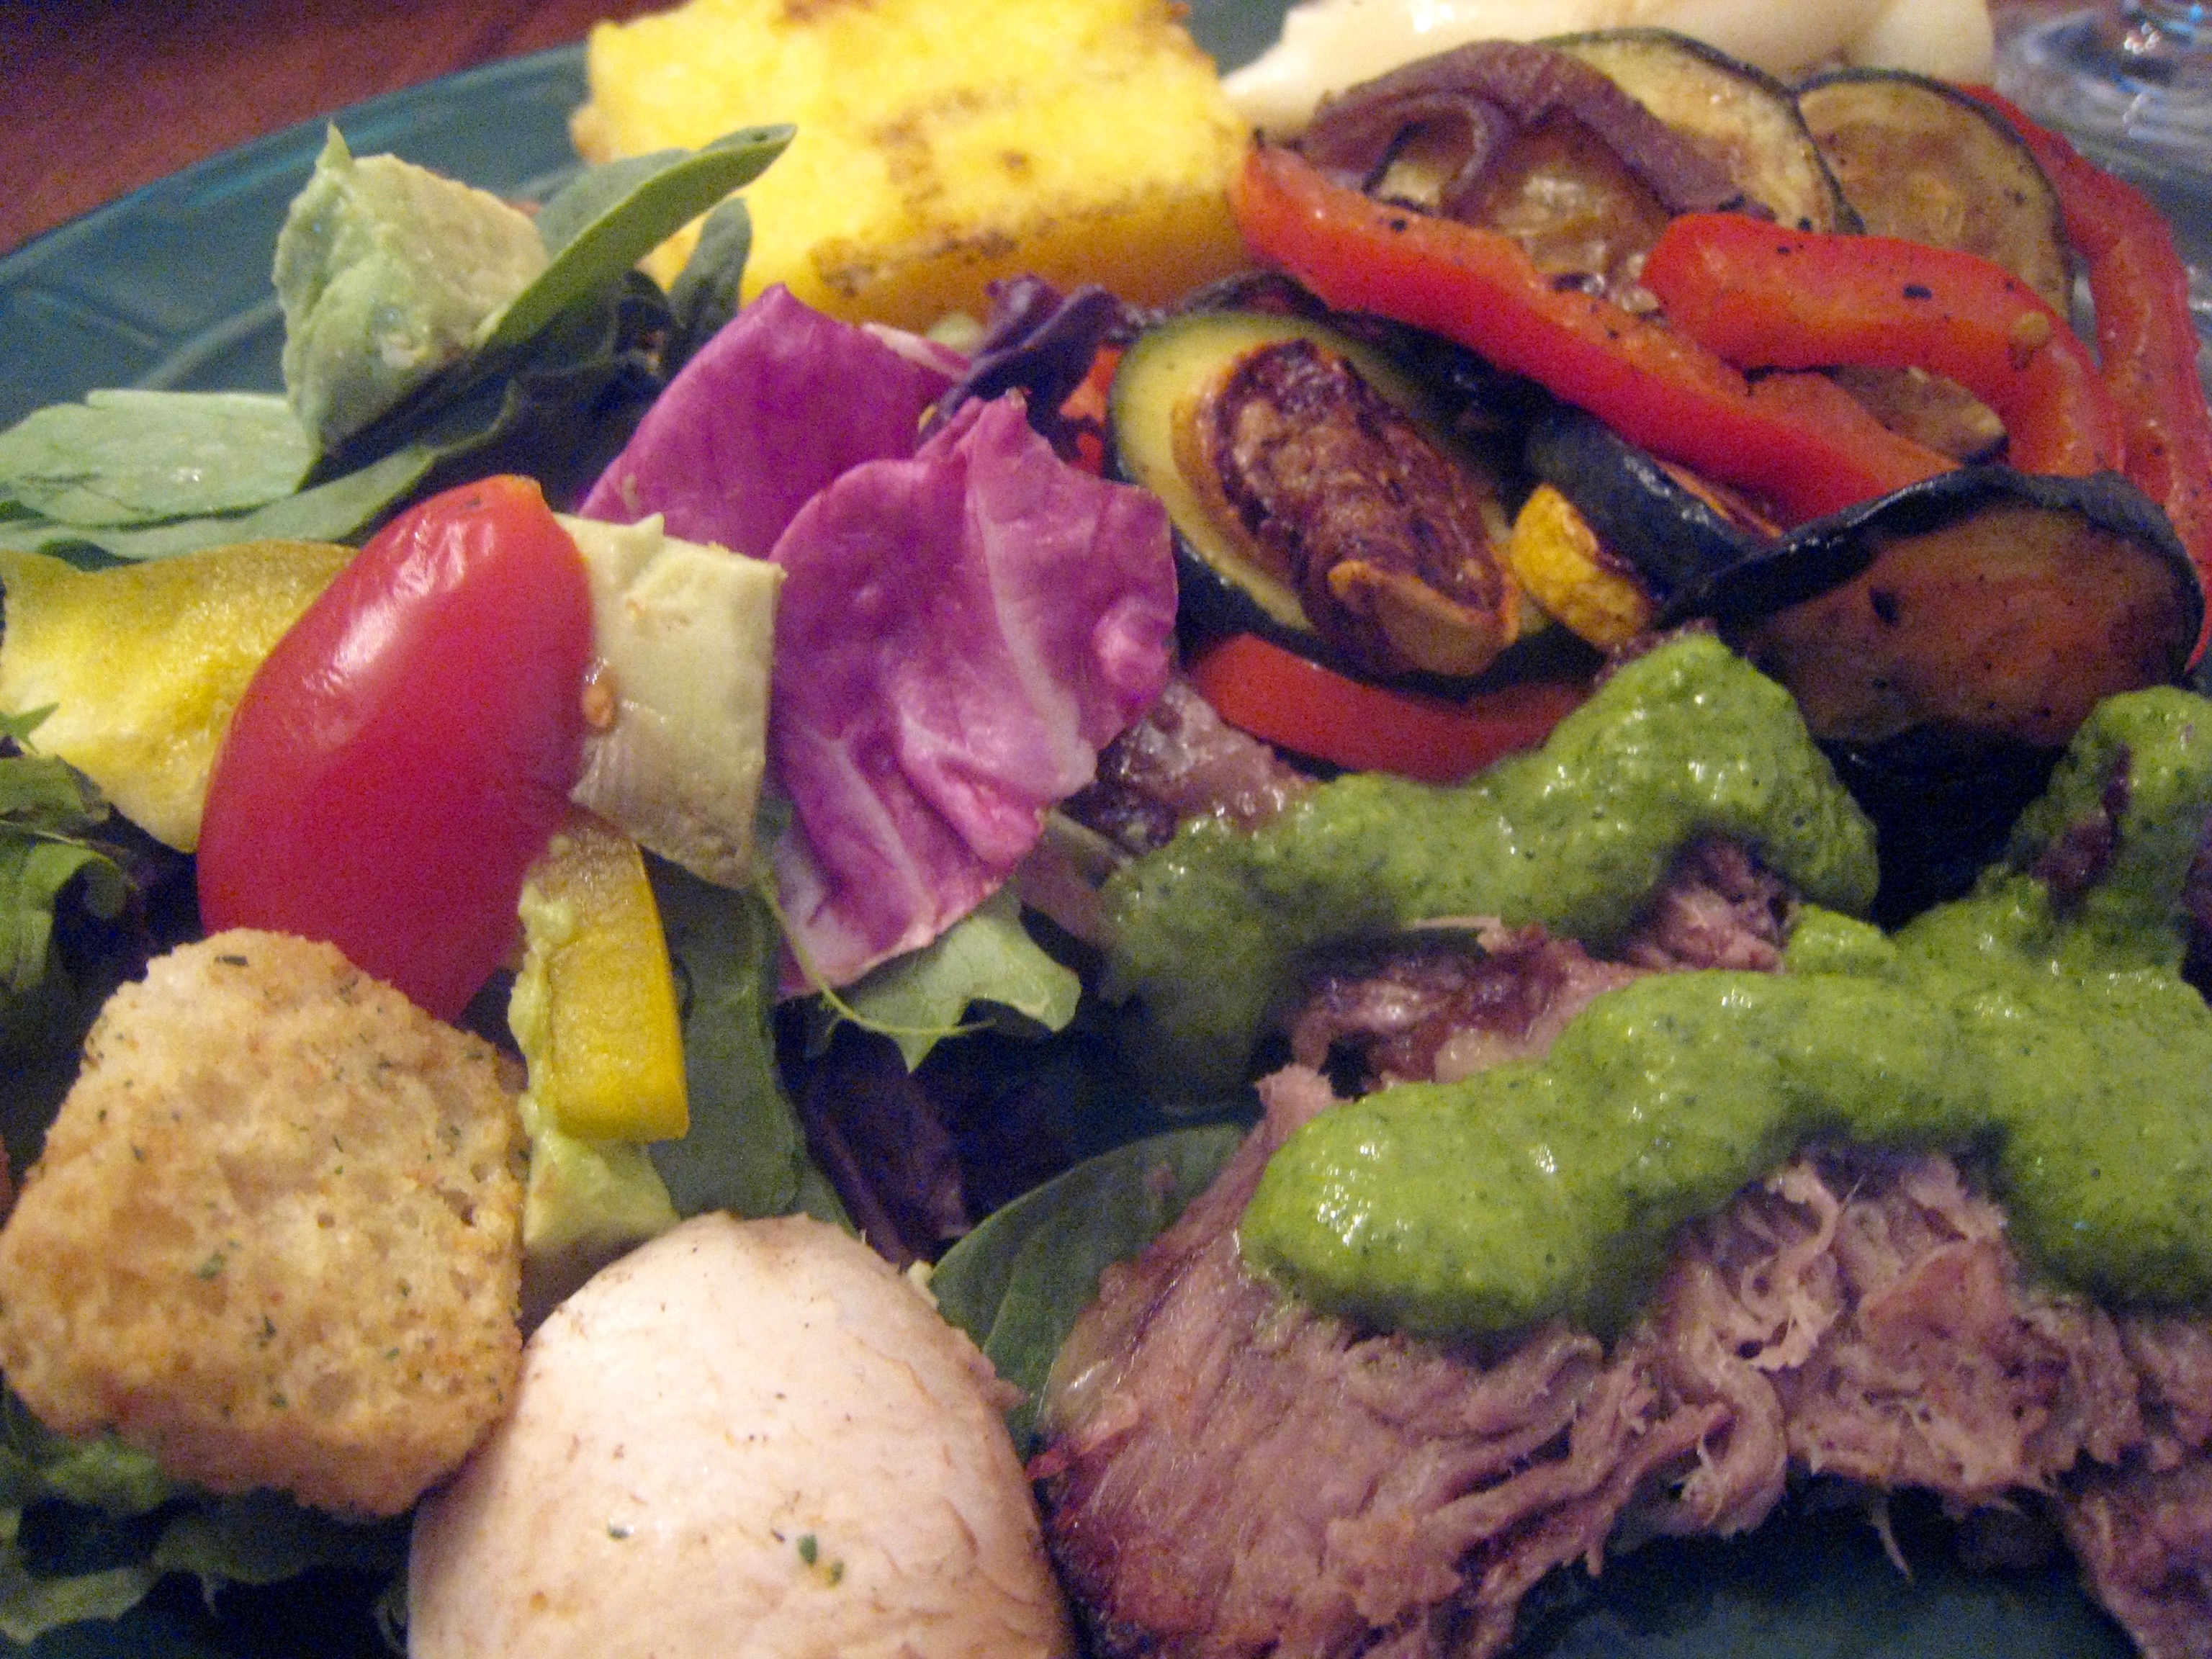
I also cut up a red bell pepper, a couple of zucchini and yellow squash, and the rest of the red onion and grilled them in a veggie basket. This mixed grill turned out to be the best thing about the meal, for me. The only seasoning was salt and pepper, but it was really delicious.

I grilled a few Andouille sausages as well, meant to be appetizers, although we ended up eating them with the meal instead.

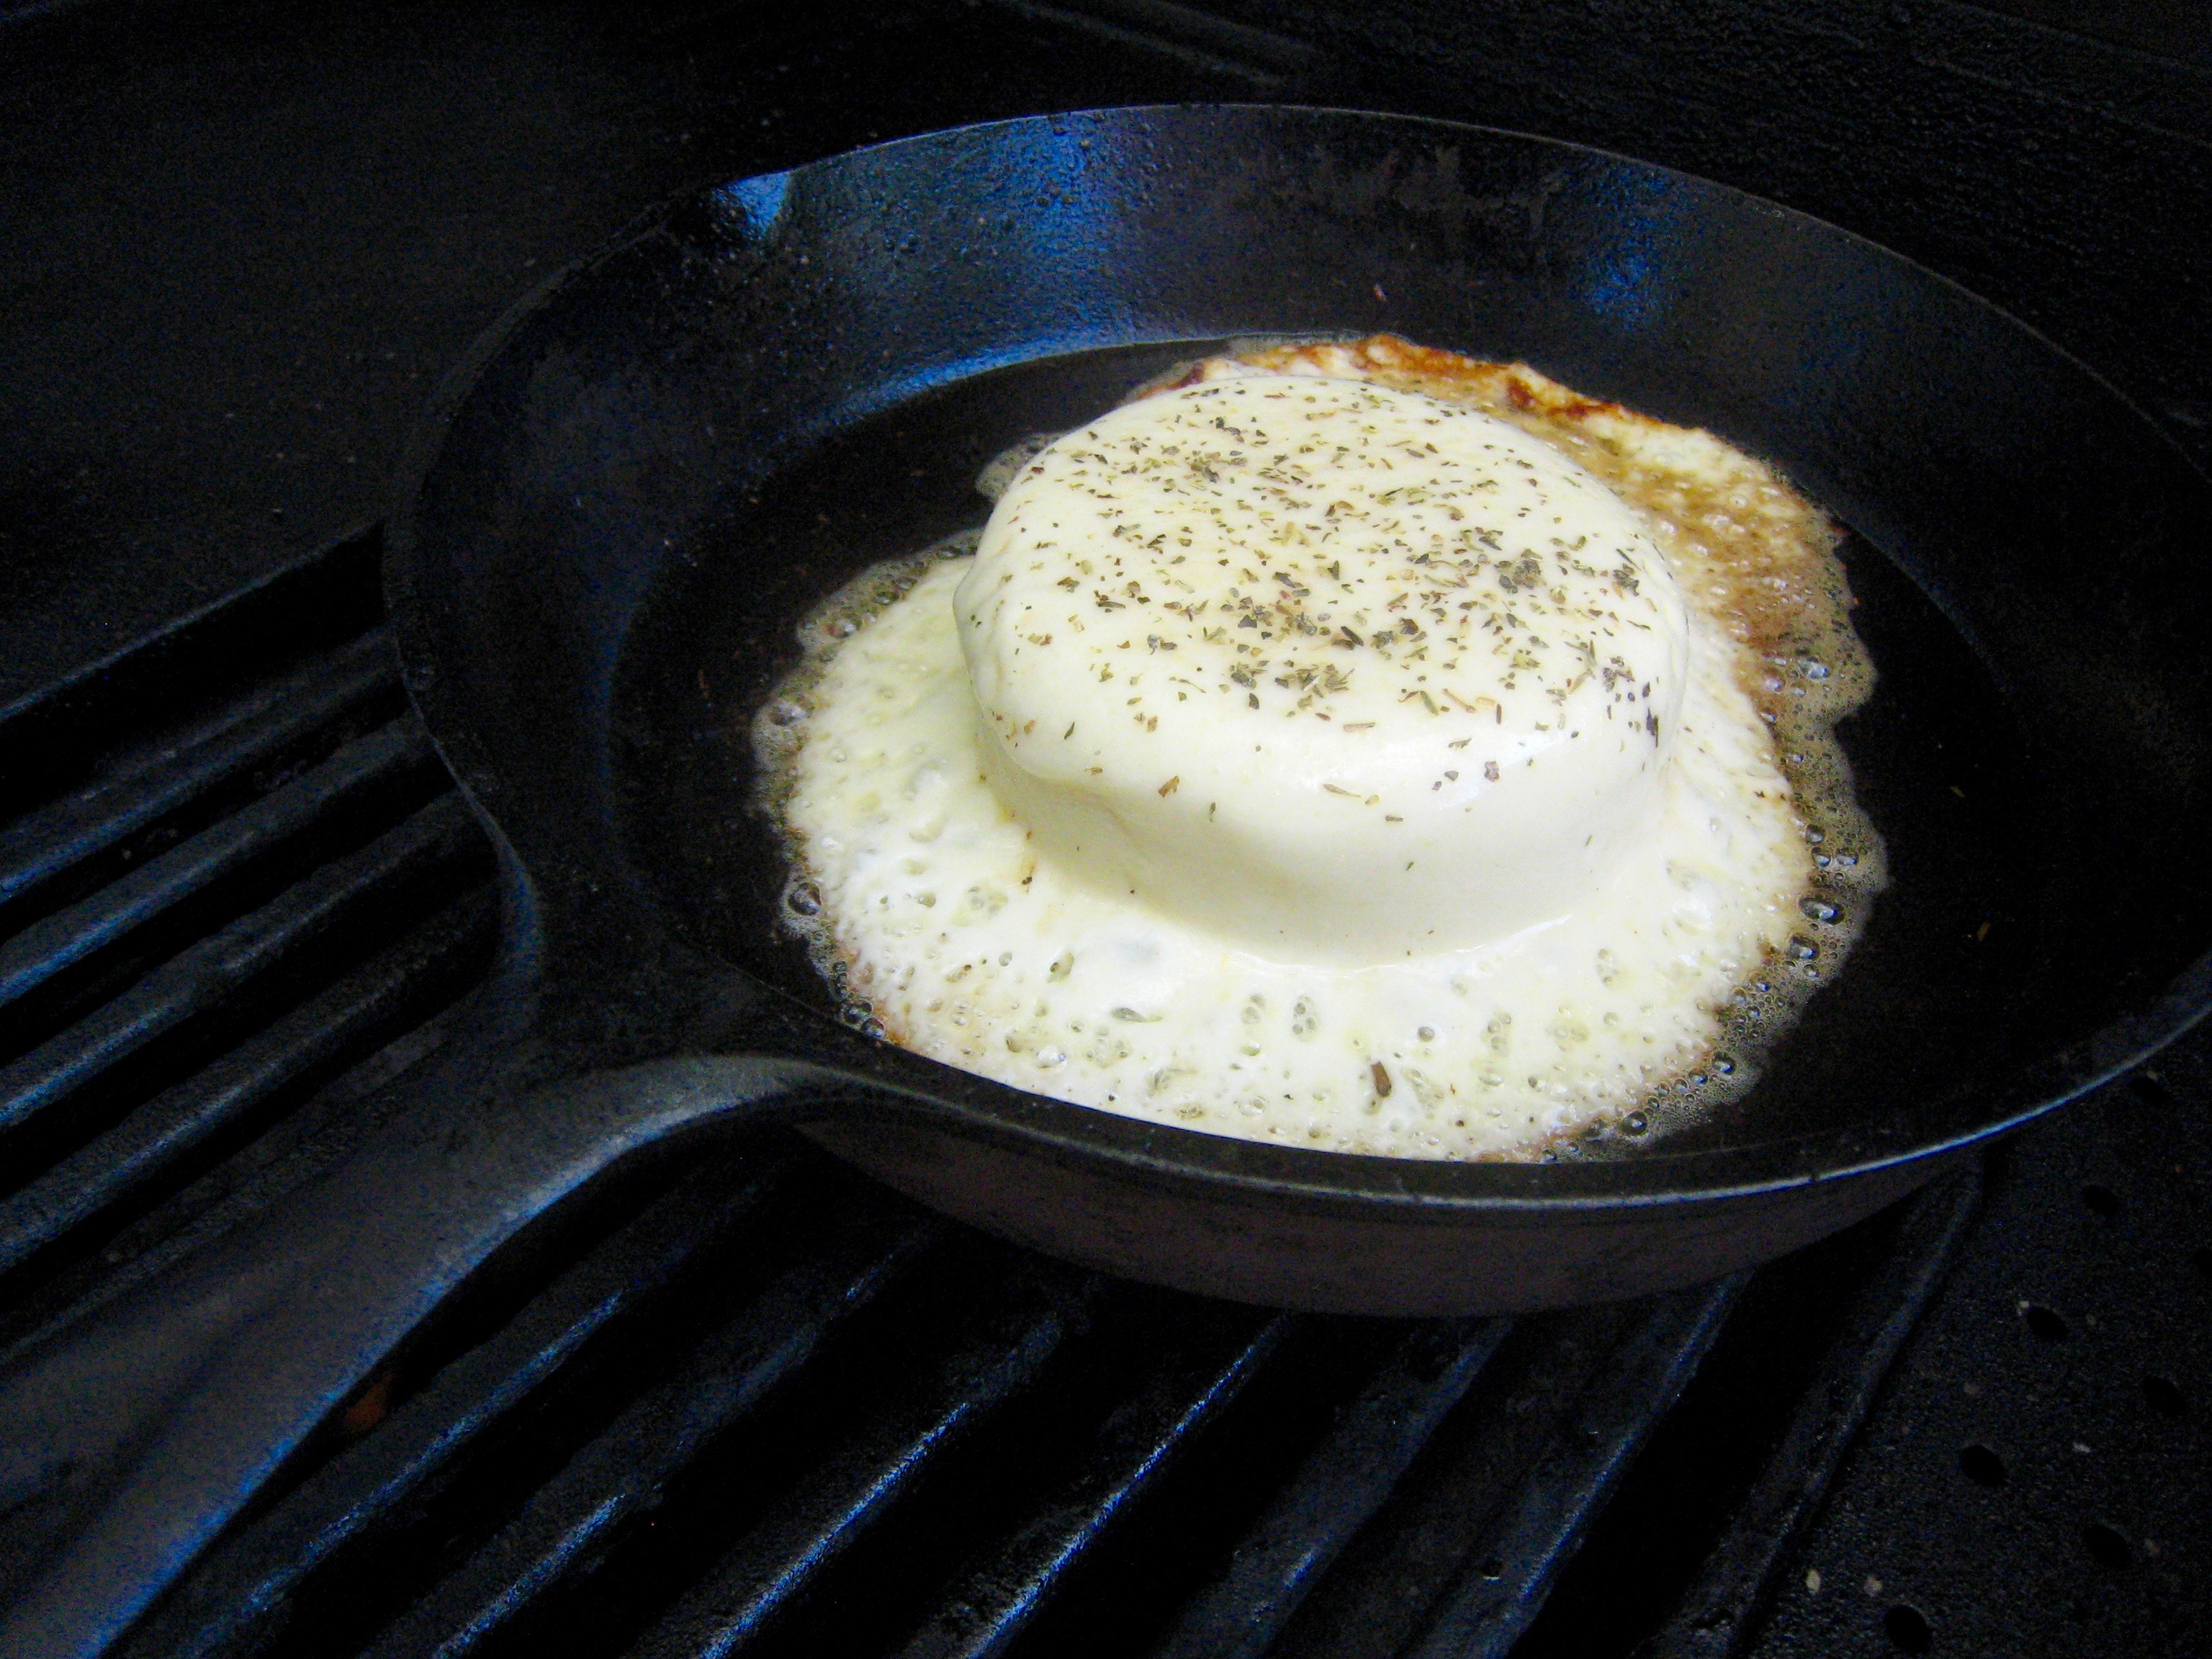
The final side was a hunk of Provolone cheese, melted in an iron skillet on the Genesis with some Herbs de Provence. It turned out to be a combination of gooey and crispy goodness that we spread on slices of baguette.

provoleta

Mrs. Noe made a nice salad, and I also used some of the Chimmichurri as dressing for that.

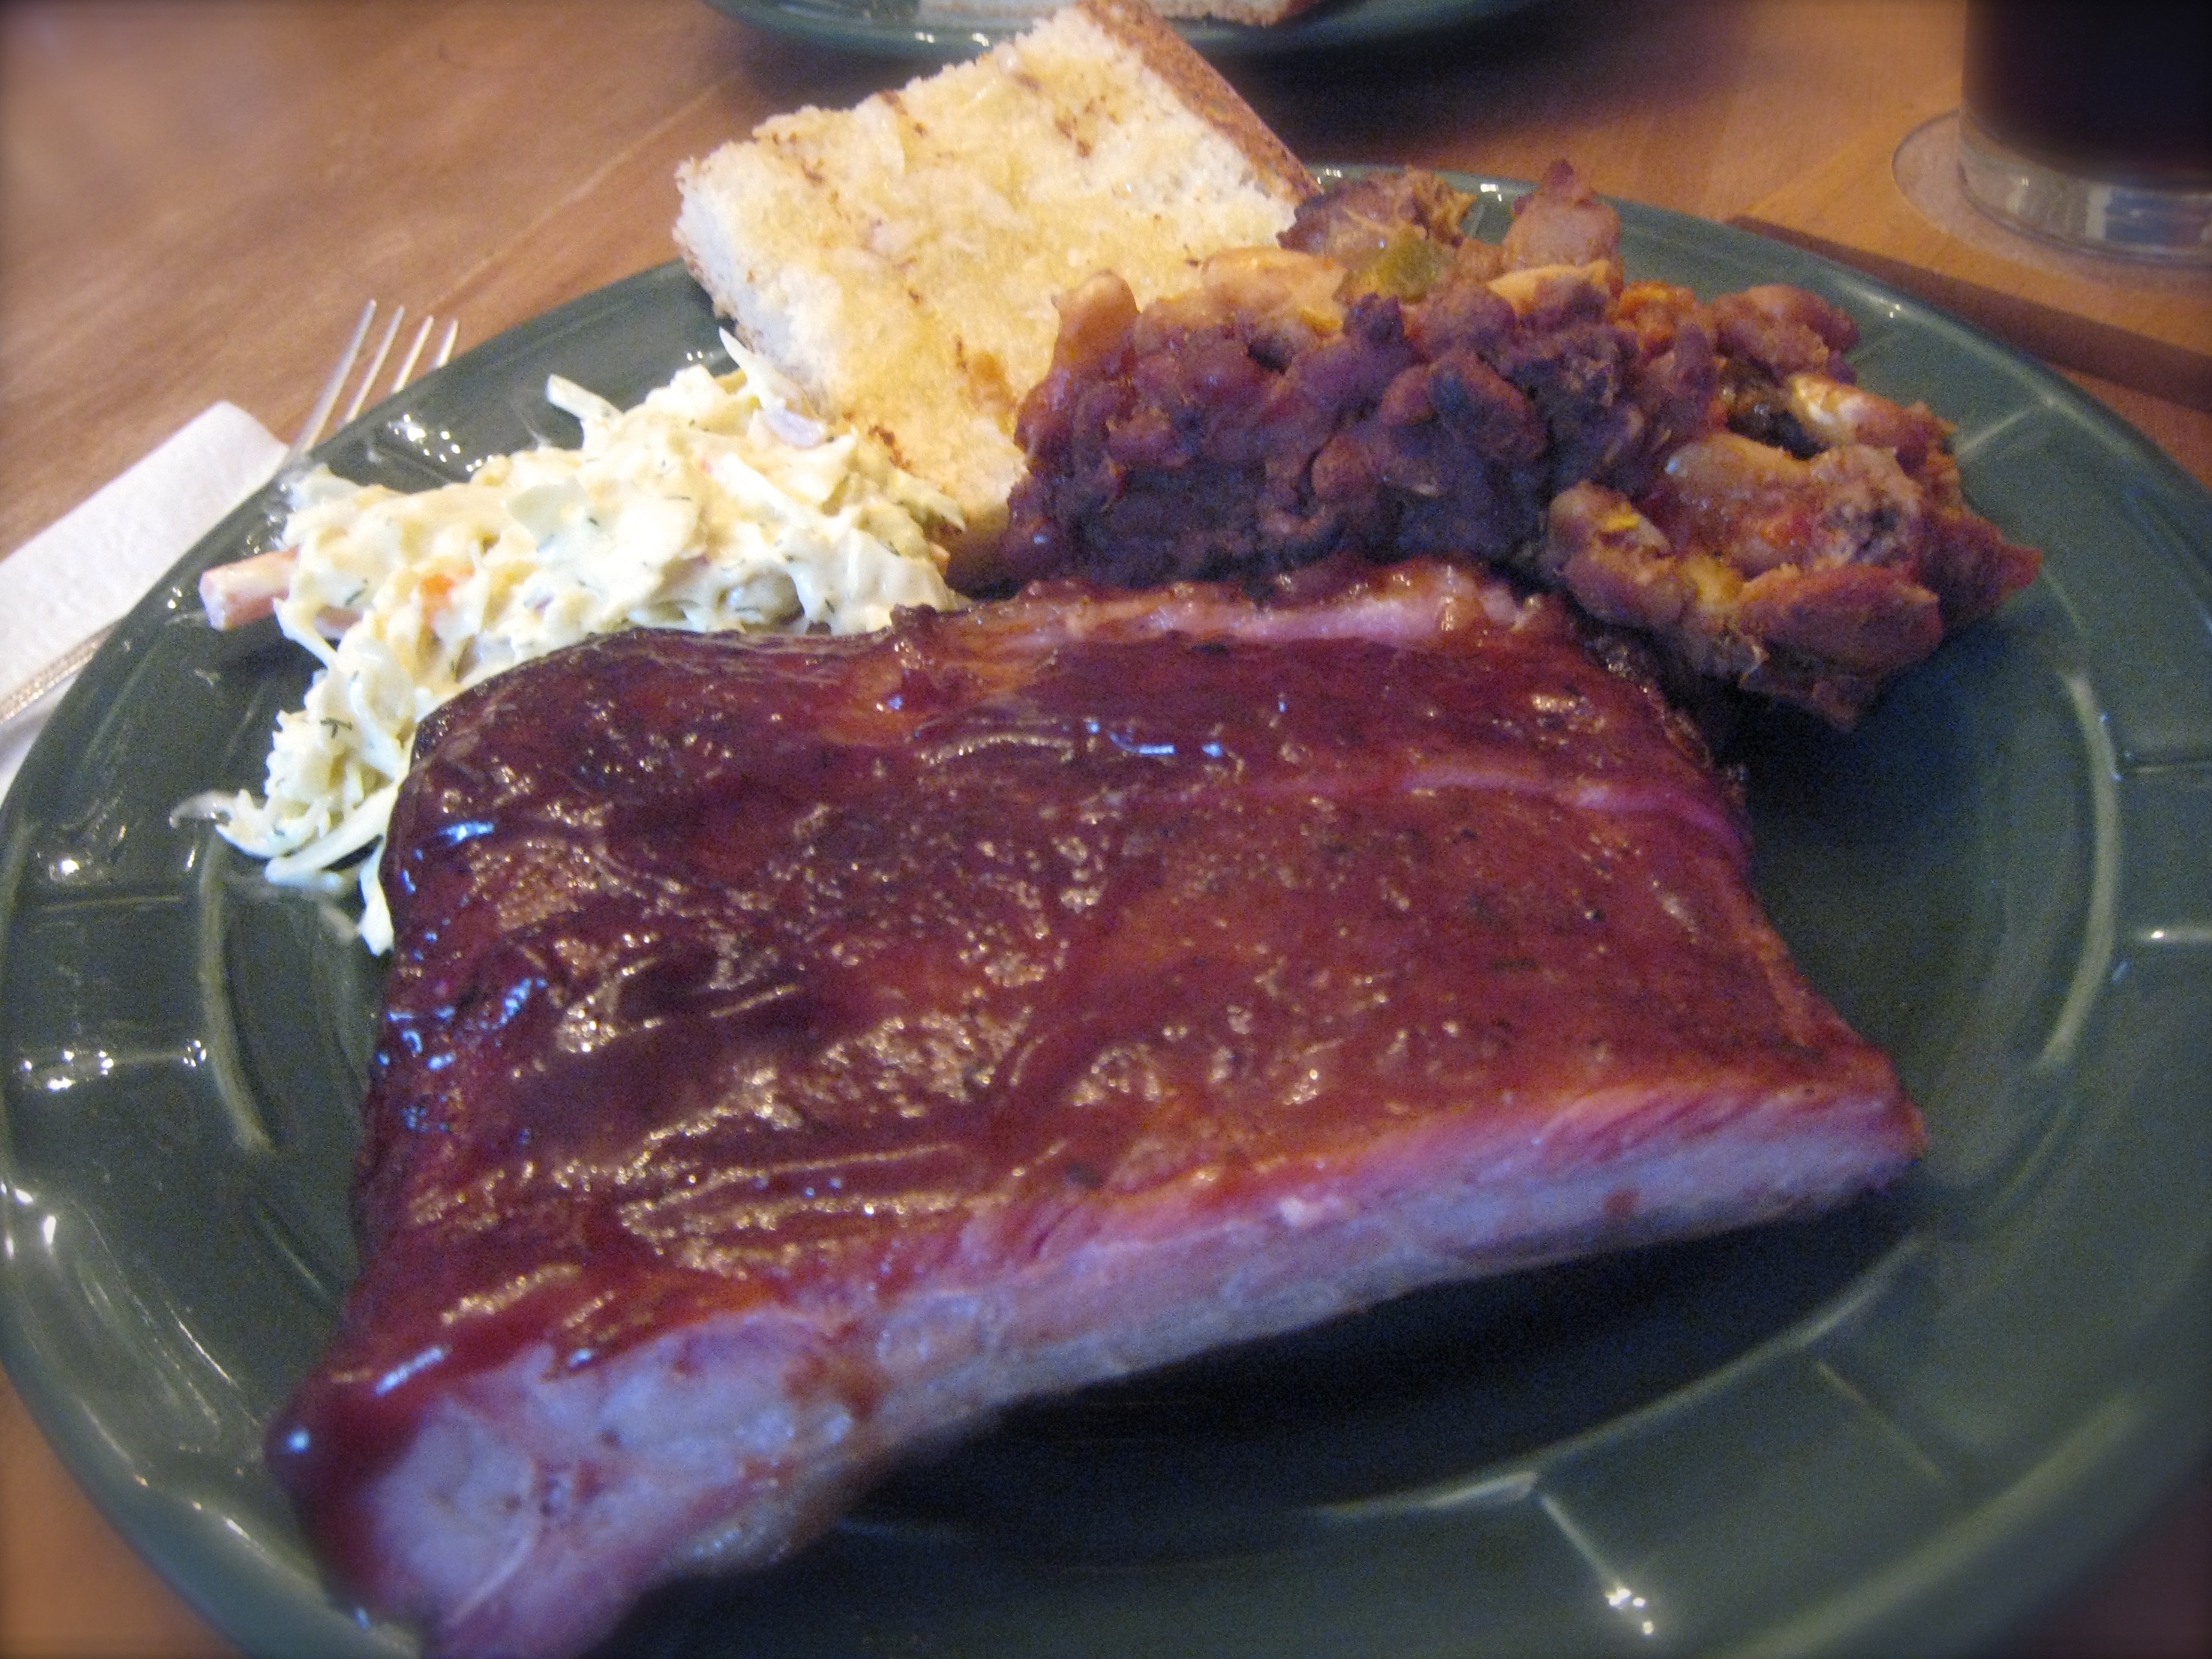
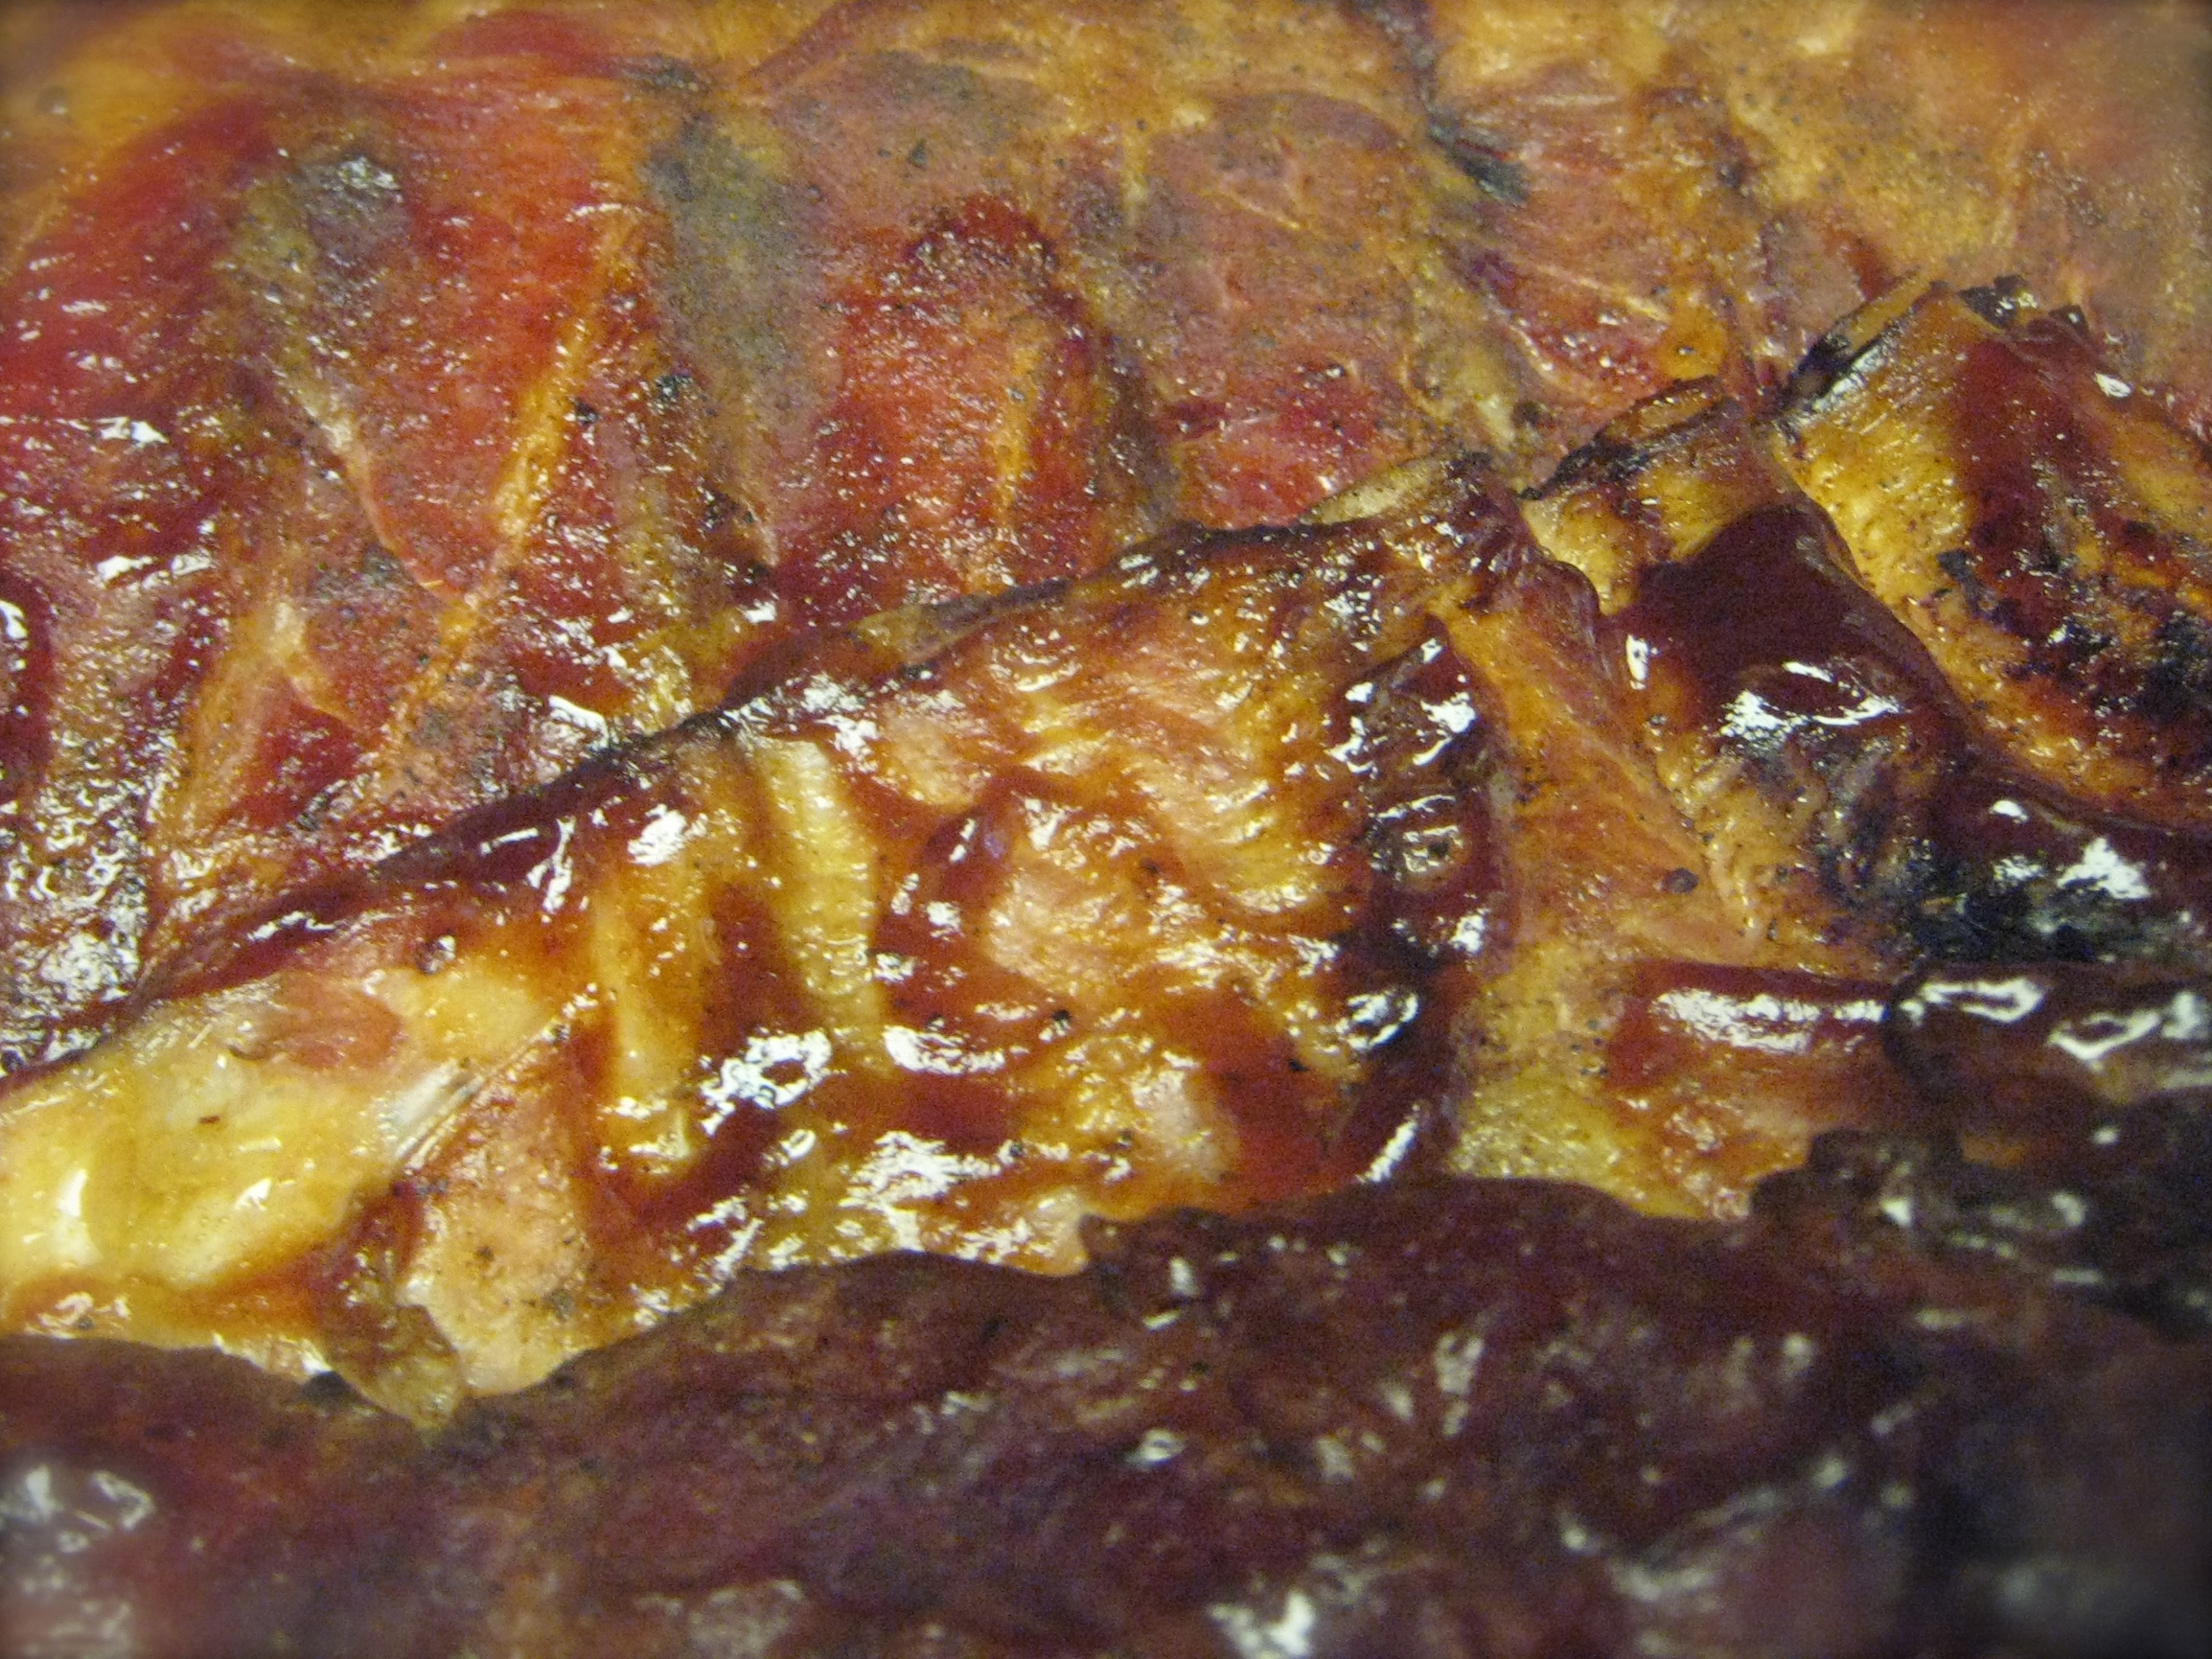
The roast was tender and flavorful, although if I’d left it cook just awhile longer it might have been a little better. I’d hoped for fork tender so we could shred it, but settled for slicing into servings and bite-size chunks. In any case there weren’t any complaints around the table.

What Asado would be complete without Malbec? We served a 2011 Alambrado Gran Seleccion that was the perfect pairing – deep and fruity with nice soft tannins.

I’ve not smoked brisket because it’s so damnably expensive, but I can’t imagine it being more flavorful or tender than the chuck roast, at nearly triple the price. Perhaps once I have the technique down pat I’ll be tempted to try one, but in the meantime roast will be my go-to cut of beef for a long cook.

Smoking Pork Shoulder

For Sunday Dinner this week, we thawed a 5 1/2 pound pork shoulder roast and smoked it.

I used the same rub as usual, but varied the process a little this time. It turned out much easier to maintain a constant temperature between 200 and 250 F.

I put ten unlit charcoal briquettes on each side of a drip pan filled 3/4 with water. Then I lit six briquettes, and put three on each side, along with some apple and hickory chunks. One bottom vent was completely closed, another was about half way open and the third was slightly open. The top vent was wide open this time. I checked the roast every hour, turning it over each time and spraying it with a mop of apple juice, cider vinegar and brewed coffee. I also added some unlit coals and a couple more chunks of wood after about two hours.

After four hours, it was up to around 130 F at the center. I wrapped it tightly in foil and put it on the gas grill over indirect low-medium heat. After another couple hours it was between 195 and 200, and ready to come off and rest for an hour before serving.

This turned out really tender, but not quite as flavorful as usual. I think this was because the roast wasn’t completely thawed until morning on the day of the cook, so I didn’t get a chance to rub it down the day before. It still had a decent bark, but needed some sauce to kick it up a little.

We served it on buns with mustard potato salad, tangy slaw, bean salad and pasta salad as sides. I’d picked up a bottle of J. Lohr Seven Oaks Cabernet Sauvignon (on a great sale – only $13) and it paired well with the meal.

I’ve been wanting a Weber Smokey Mountain water smoker for quite awhile, but I’m beginning to think that it’s really not necessary. I’ll be tempted to try a beef brisket again before long.

Smoked Beef Brisket

Smoked Beef Brisket

There are several cuts of meat that are almost synonymous with “barbecue” depending on region. In Texas, they’re known for brisket. Considered by some to be “The Mount Everest of Barbecue,” this was the last of the large cuts that I was determined to cook this Summer. As it turned out, we sat down to Sunday Dinner just as Autumn rolled in for 2013.

I prepared the 7.5 pound flat-cut brisket on Saturday evening, salting it, slathering yellow mustard and Worcestershire Sauce on it and then applying a homemade rub of 2 t paprika, 1 t black pepper, 1 T turbinado sugar, 1 t cumin, 1 t garlic powder, 1 t onion powder, 1 t nutmeg and 1t Herbs de Provence. Come Sunday morning I removed it from the refrigerator and set up the Weber Kettle, putting a foil drip pan full of water on one side of the charcoal rack and spreading a chimney full of unlit charcoal on the other side. I then lit about a third of a chimney of additional coals, and poured them on top of the unlit ones, adding some Hickory and Cherry chunks for smoke.

Once the grill was up to temperature, I put the brisket on over the drip pan, fat side up. Using a dual probe thermometer I received for my birthday, I did my best to keep the temperature in the grill to around 250 F, adjusting the vents as needed during four hours of cooking. Every hour or so, I sprayed the brisket with equal parts brewed coffee, dark beer, apple juice and cider vinegar. I also rotated and turned the meat to ensure even cooking. After four hours the meat was measuring 160 degrees, so I pulled it off, wrapped it in foil and put it in the gas grill on indirect heat (again, at 250) to finish. After another hour-and-a-half, the meat had risen to 195 degrees and was ready to come off. We let it rest inside the foil for another hour prior to serving.

It turned out moist and flavorful, though at this point I made a rookie mistake, cutting it with the grain to serve it. My wife noticed this later as she removed the fat cap to store the rest of the brisket. The part that she carved against the grain was much more tender to chew. She poured the juices that we had reserved from the foil packet over the leftovers. The beef was still delicious today for lunch.

We served the beef with grilled asparagus, and a wonderful green bean & red potato salad with Dijon dressing that she made.

Other than proper carving, next time I would use more smoke, more pepper and more salt. Also, I think I might be tempted to cook it just a bit longer in the foil to get it “melt in your mouth” tender. This was good for a first attempt though, and I wouldn’t be intimidated to cook this cut again.

Cherry Smoked Prime Rib

Rib Roast was on my short list to prepare on the Weber, and I finally got around to cooking one for dinner last Sunday. The approach was simple: rub the roast with salt, pepper and Herbs de Provence; cook in a pan over indirect heat on the kettle with some cherry wood chunks; and, make some us jus gravy from the drippings.

I had my butcher cut a three-rib USDA Choice roast (about 7 1/2 pounds). Yes, there was some measure of sticker shock involved.

I’d watched several videos and studied dozens of recipes and blog posts on how to cook the cut, briefly considering the rotisserie. In the end, though, I decided to stick to the basics, setting up the grill for indirect cooking with half a chimney of charcoal split between two baskets, a pan of water in the middle to help moderate the heat, and a few chunks of wood for flavor. Once I got the grill stable at around 350 F, I put the roast in the center of the grill, on top of some soup bones spread out in a foil pan. I took it out of the pan when the internal temp measured 125, and covered with a foil tent to rest and finish coming up to rare.

Now it was time to make the gravy. Again, it was about as basic as you’ll find. I removed the soup bones, cut some shallot into thin slices and added it to the pan (still on the grill), stirring up the drippings until the shallot got melty. Then I added some additional salt, pepper and herbs, a dash or two of Worcestershire Sauce, 2/3 cup of Cabernet Sauvignon and 1 1/3 cups of beef broth. I took this over to the gas grill and let it reduce over medium direct heat for awhile. I wouldn’t change anything about it.

The roast, on the other hand, was a little too rare for my taste. It had a wonderful flavor, and a nice crust, but the inside was just a bit chewy and red. If I ever cook this cut again, I’ll be tempted to take it up to 130. Although since I’m using an ancient analog meat thermometer, it’s possible that it was off a bit as well. I also think I would carve the roast a bit thinner next time, despite most recipes calling for half inch slices.

This wasn’t bad for a first attempt, and I wouldn’t change the overall approach next time. Maybe a little searing directly over the coals before placing the roast over indirect heat might have added something. In any case, it’ll be awhile before I feel like shelling out almost sixty bucks for a roast like this again – though it did serve five nicely, and there were leftovers for roast beef on our salads last night, plus a delicious soup made with the bones and unused broth.

St. Louis Style Ribs

St. Louis Style Ribs

Messy to eat and a lot of work to cook, ribs are what many people think of first when you mention the word “barbecue.” The ability to turn out competition quality ribs is what separates the serious outdoor cook from the dabbler. It requires the use of a multitude of techniques, along with precision in timing and temperature control from start to finish during an all-day process. When done correctly, the result is a complex of flavors and texture that cannot be found in any other dish.

I have to admit that I have never been a huge fan of ribs. They’re like longhair music to me. I appreciate the artistry, but they’re just too much bother. I’d rather listen to light Chamber Music or Showtunes, and I’d rather eat pulled pork.

Still, the lure of developing the high-specific skills necessary to prepare the dish was too much for me, so I had to give them a try.

I won’t claim that they were the best ribs I’ve ever tasted, but they were certainly in the hunt. The meat came off the bone fairly easily, but it didn’t “fall off.” To me, this is the perfect doneness for ribs (although my wife would have preferred them more done). They were the rib equivalent of “al dente” pasta – tender and yielding to the tooth rather than overdone mush.

As to the flavor, that would be hard to top as well. As you can see from the photo above, there was a nice smoke penetration. They were well-seasoned (even unsauced), although I would use more rub next time and likely add some mustard before the rub to help create a denser bark.

We served these with a delicious cole slaw that my wife made, roasted garlic bread from Grammy, and some Texas Baked Beans that I made on the grill (my wife’s Aunt Nancy’s recipe).

What would I change? Not much. Other than the change with the rub mentioned above, I might leave them to braise a few minutes longer next time. I also might try my hand at making my own sauce.

I doubt that these ribs would win any medals, but I wouldn’t be ashamed to serve them to the champs. Not only that, the process itself was a pleasure. It’s hard to beat a cool, bright day spent with the sound of the Allman Brothers Band and the smell of Cherry wood drifting over the patio.

racks-of-ribs

My Plan For Ribs

Many, many years ago, I used to cook on a water smoker. It was a Brinkman Sportsman model, if memory serves. In addition to smoked salmon (caught on fishing trips to Lake Michigan), I liked to smoke a ham and a turkey on it for New Year’s Eve. The ham would go on the top rack, and its drippings would baste the turkey on the lower rack.

Since my wife is not a huge fan of smoked foods (nor of the smell of the smoking process) I haven’t replaced the smoker, which I abandoned in a move for various reasons more than a decade ago. Although either a Komado style ceramic smoker or a Weber Smokey Mountain is on my short list for future barbecue equipment purchases, since I decided to smoke some St. Louis Rib racks this weekend, I’ll have to cook them on my trusty Weber Kettle.

Here are the challenges.

1) I have no experience with the cut of meat. Other than the advice people give to cook them “low and slow” there are a lot of other parts of the process that seem shrouded in mystery, including “secret rub” recipes, methods with names like “minion” and “3/2/1” – and almost too many recipes and techniques out there to fathom. Should I slather the ribs with mustard before putting on the rub? Should I mop them, or not? Researching and sorting through the volumes of information on how to cook “championship” ribs has occupied most of my non-work waking hours for nearly two weeks.

2) By far, it looks like the biggest challenge will be that of controlling the heat on my Kettle to keep it in the 225 to 250 degree range, which most folks seem to agree is essential to cooking tender, mouth watering ribs. A water smoker would make this easier, but I’ll have to make do.

Here’s the plan.

1) I settled on a rub recipe based on dozens or so that I found in research. It includes paprika, black pepper, cumin, onion powder, garlic powder, nutmeg, turbinado sugar and a little cayenne. I’ll salt the ribs and let them rest awhile before rubbing. I also may put some brown mustard on them to add flavor and help to adhere the rub.

2) I’ll spray the racks every hour or thereabouts with a combination of port wine and apple cider vinegar.

3) The grill setup will be a pile of charcoal on each side, with a drip pan full of water in the middle. I’ll start with four lit coals on each side, and let them ignite the others throughout the five or six hour cook time. This is the “minion” method mentioned above. I’ll also have to close the vents on the bottom of the kettle most of the way in order to slow the flow of oxygen to the fuel and keep the temperature low. Cherry wood chunks will provide the smoke, and I have a simple (analog) thermometer that I can place in a vent hole on the top of the kettle to monitor the temp. I figured that using the old style thermometer would help keep me from constantly fidgeting and tweaking over two-tenths of a degree here or there.

4) After three hours of cooking, I’ll get the ribs into some foil with a little dribble of the mop sauce and let them mostly finish cooking that way. I’ll take them back out and sauce them (with Sweet Baby Ray’s, of course) for the last 30 minutes or hour of cooking. Our friend, Ken, who turns out the tastiest rib tips I’ve ever eaten, says that I should put some chopped onions in the coals toward the end to help flavor the meat as well.

If it all goes well, Sunday dinner this week ought to be grand. We’ll have baked beans, slaw, and roastin’ ears as sides, and I suspect that I’ll be consuming a bit of a certain beverage brewed with hops.

I’ll likely be posting pictures of the process over on Instagram and Flickr, and will definitely have a full update here after we see how they turn out.

Wish me luck!