Weekend of January 5th and 6th, 2019
-
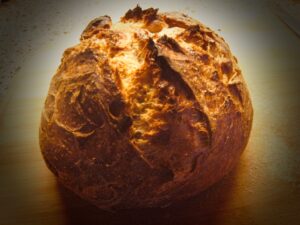
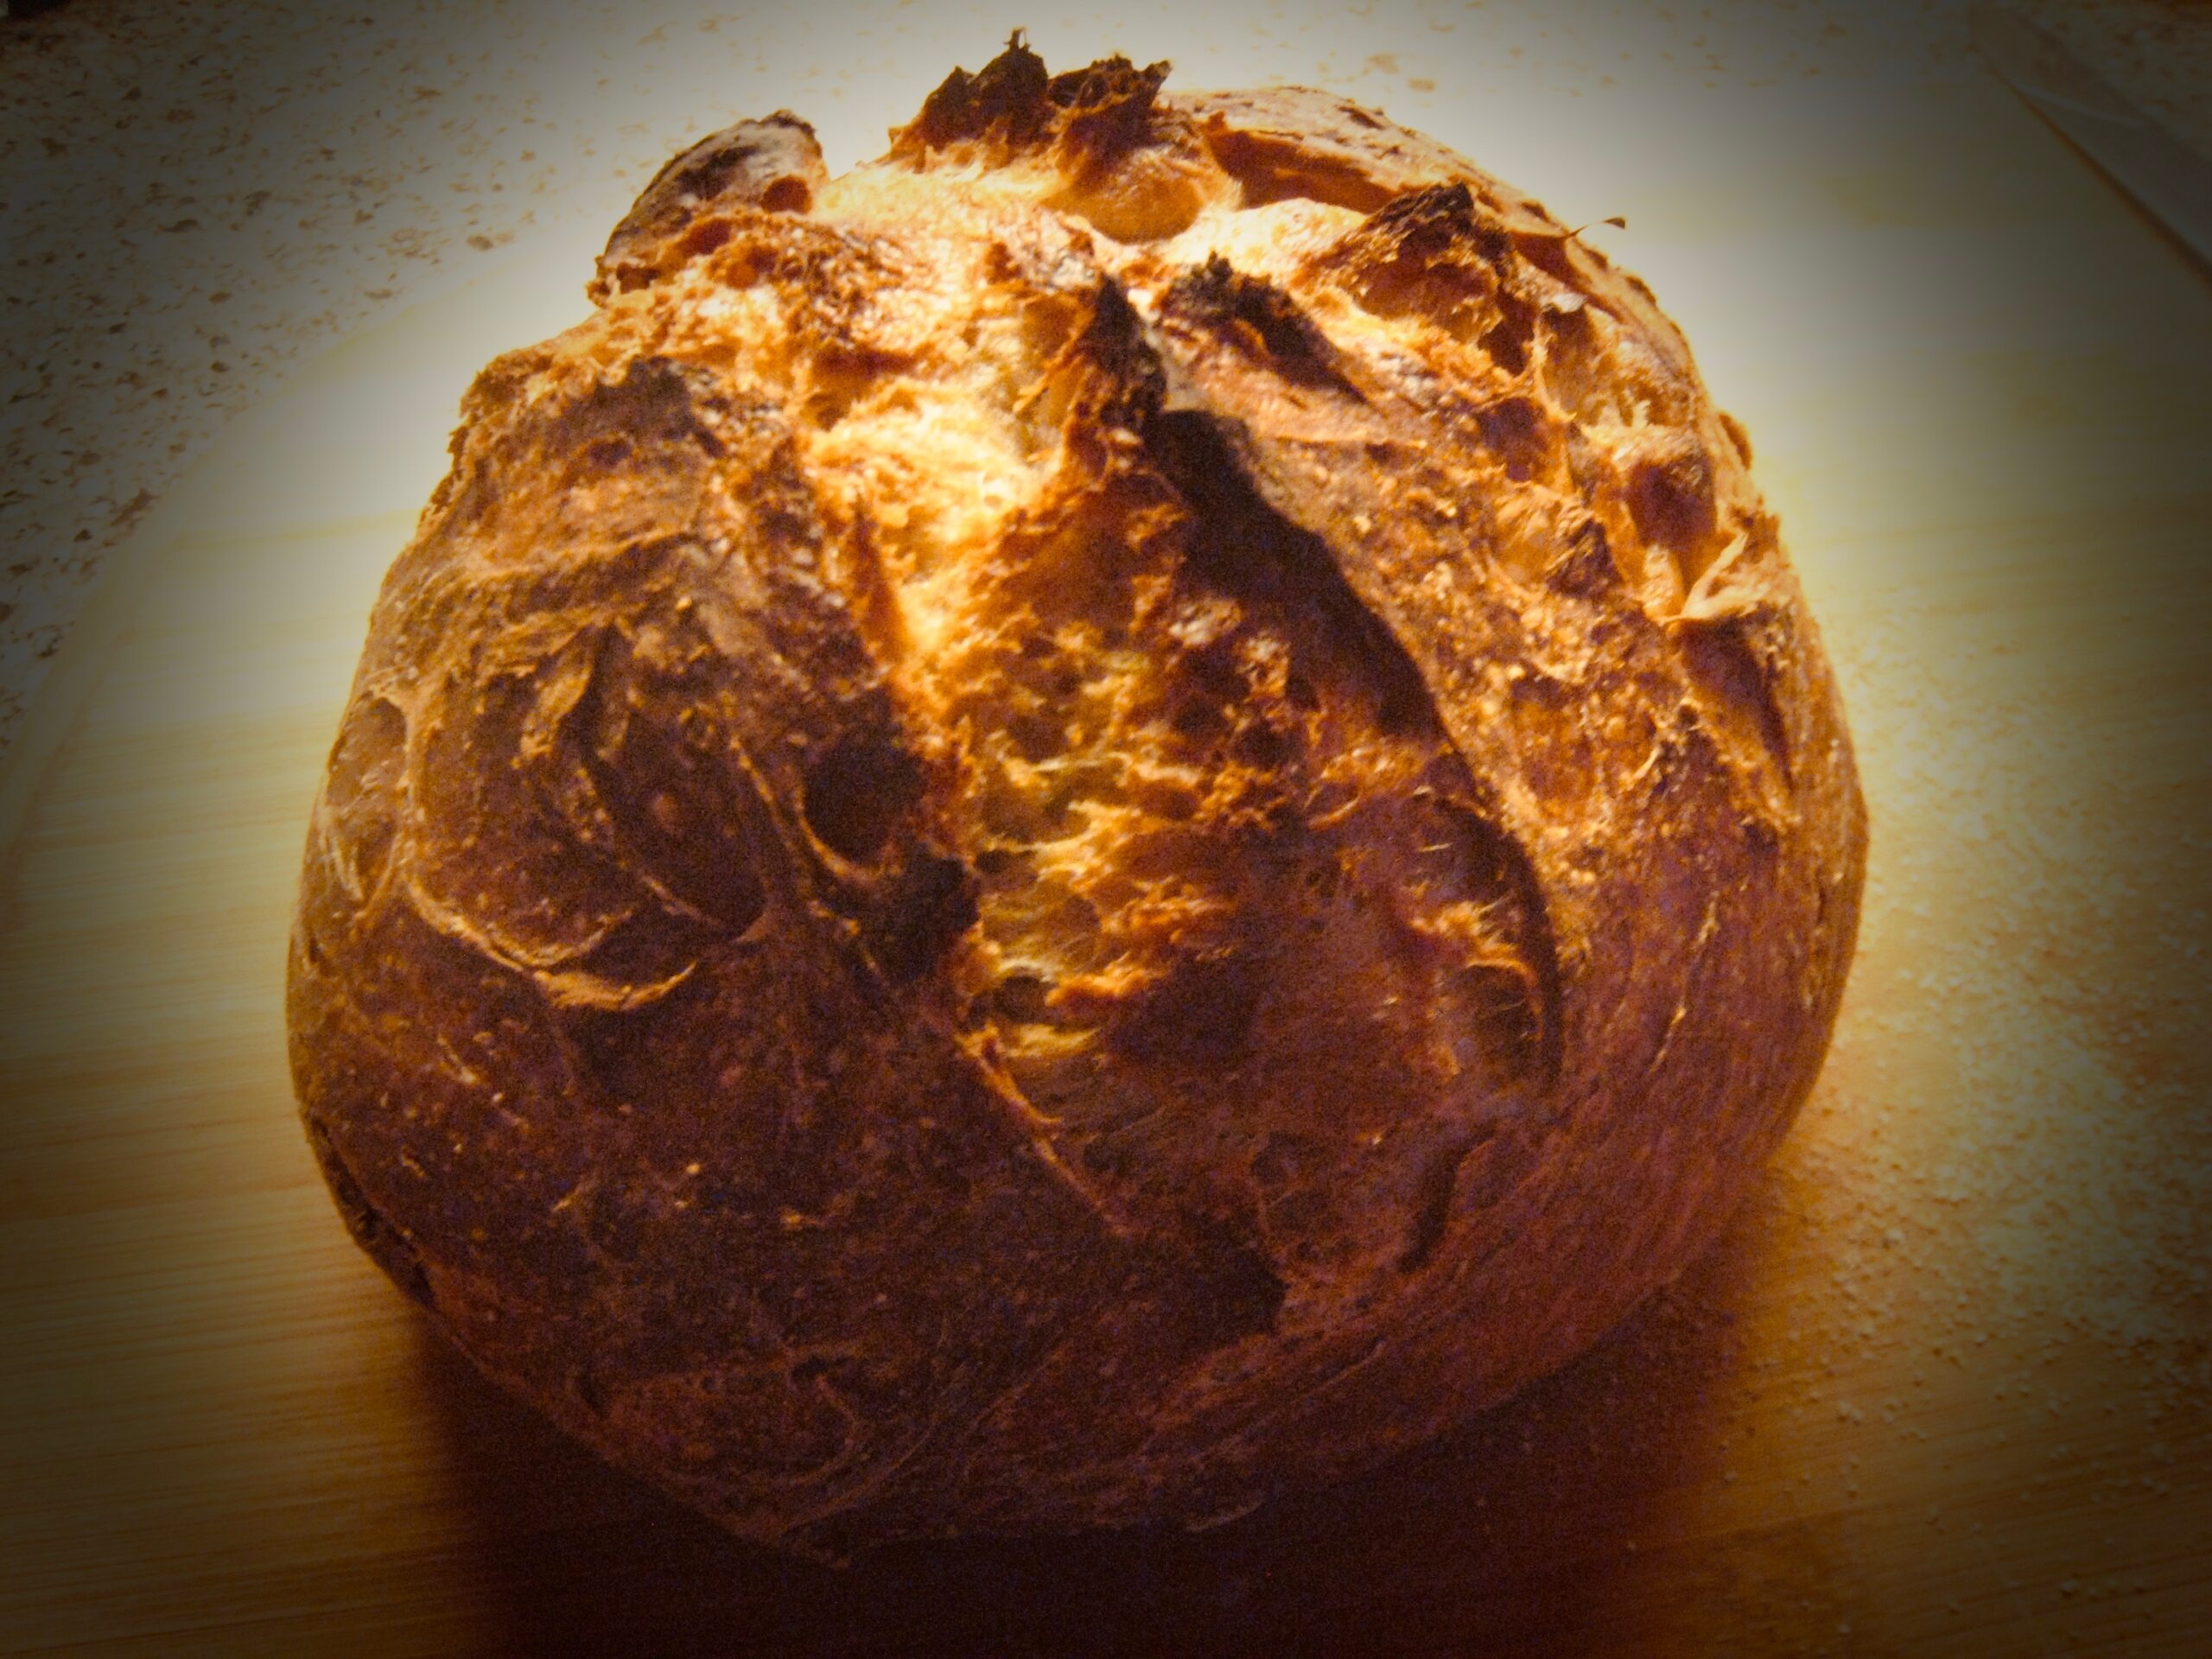
- Peasant Boule
-
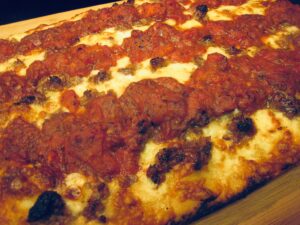
- Detroit Pie

-

- On The Peel
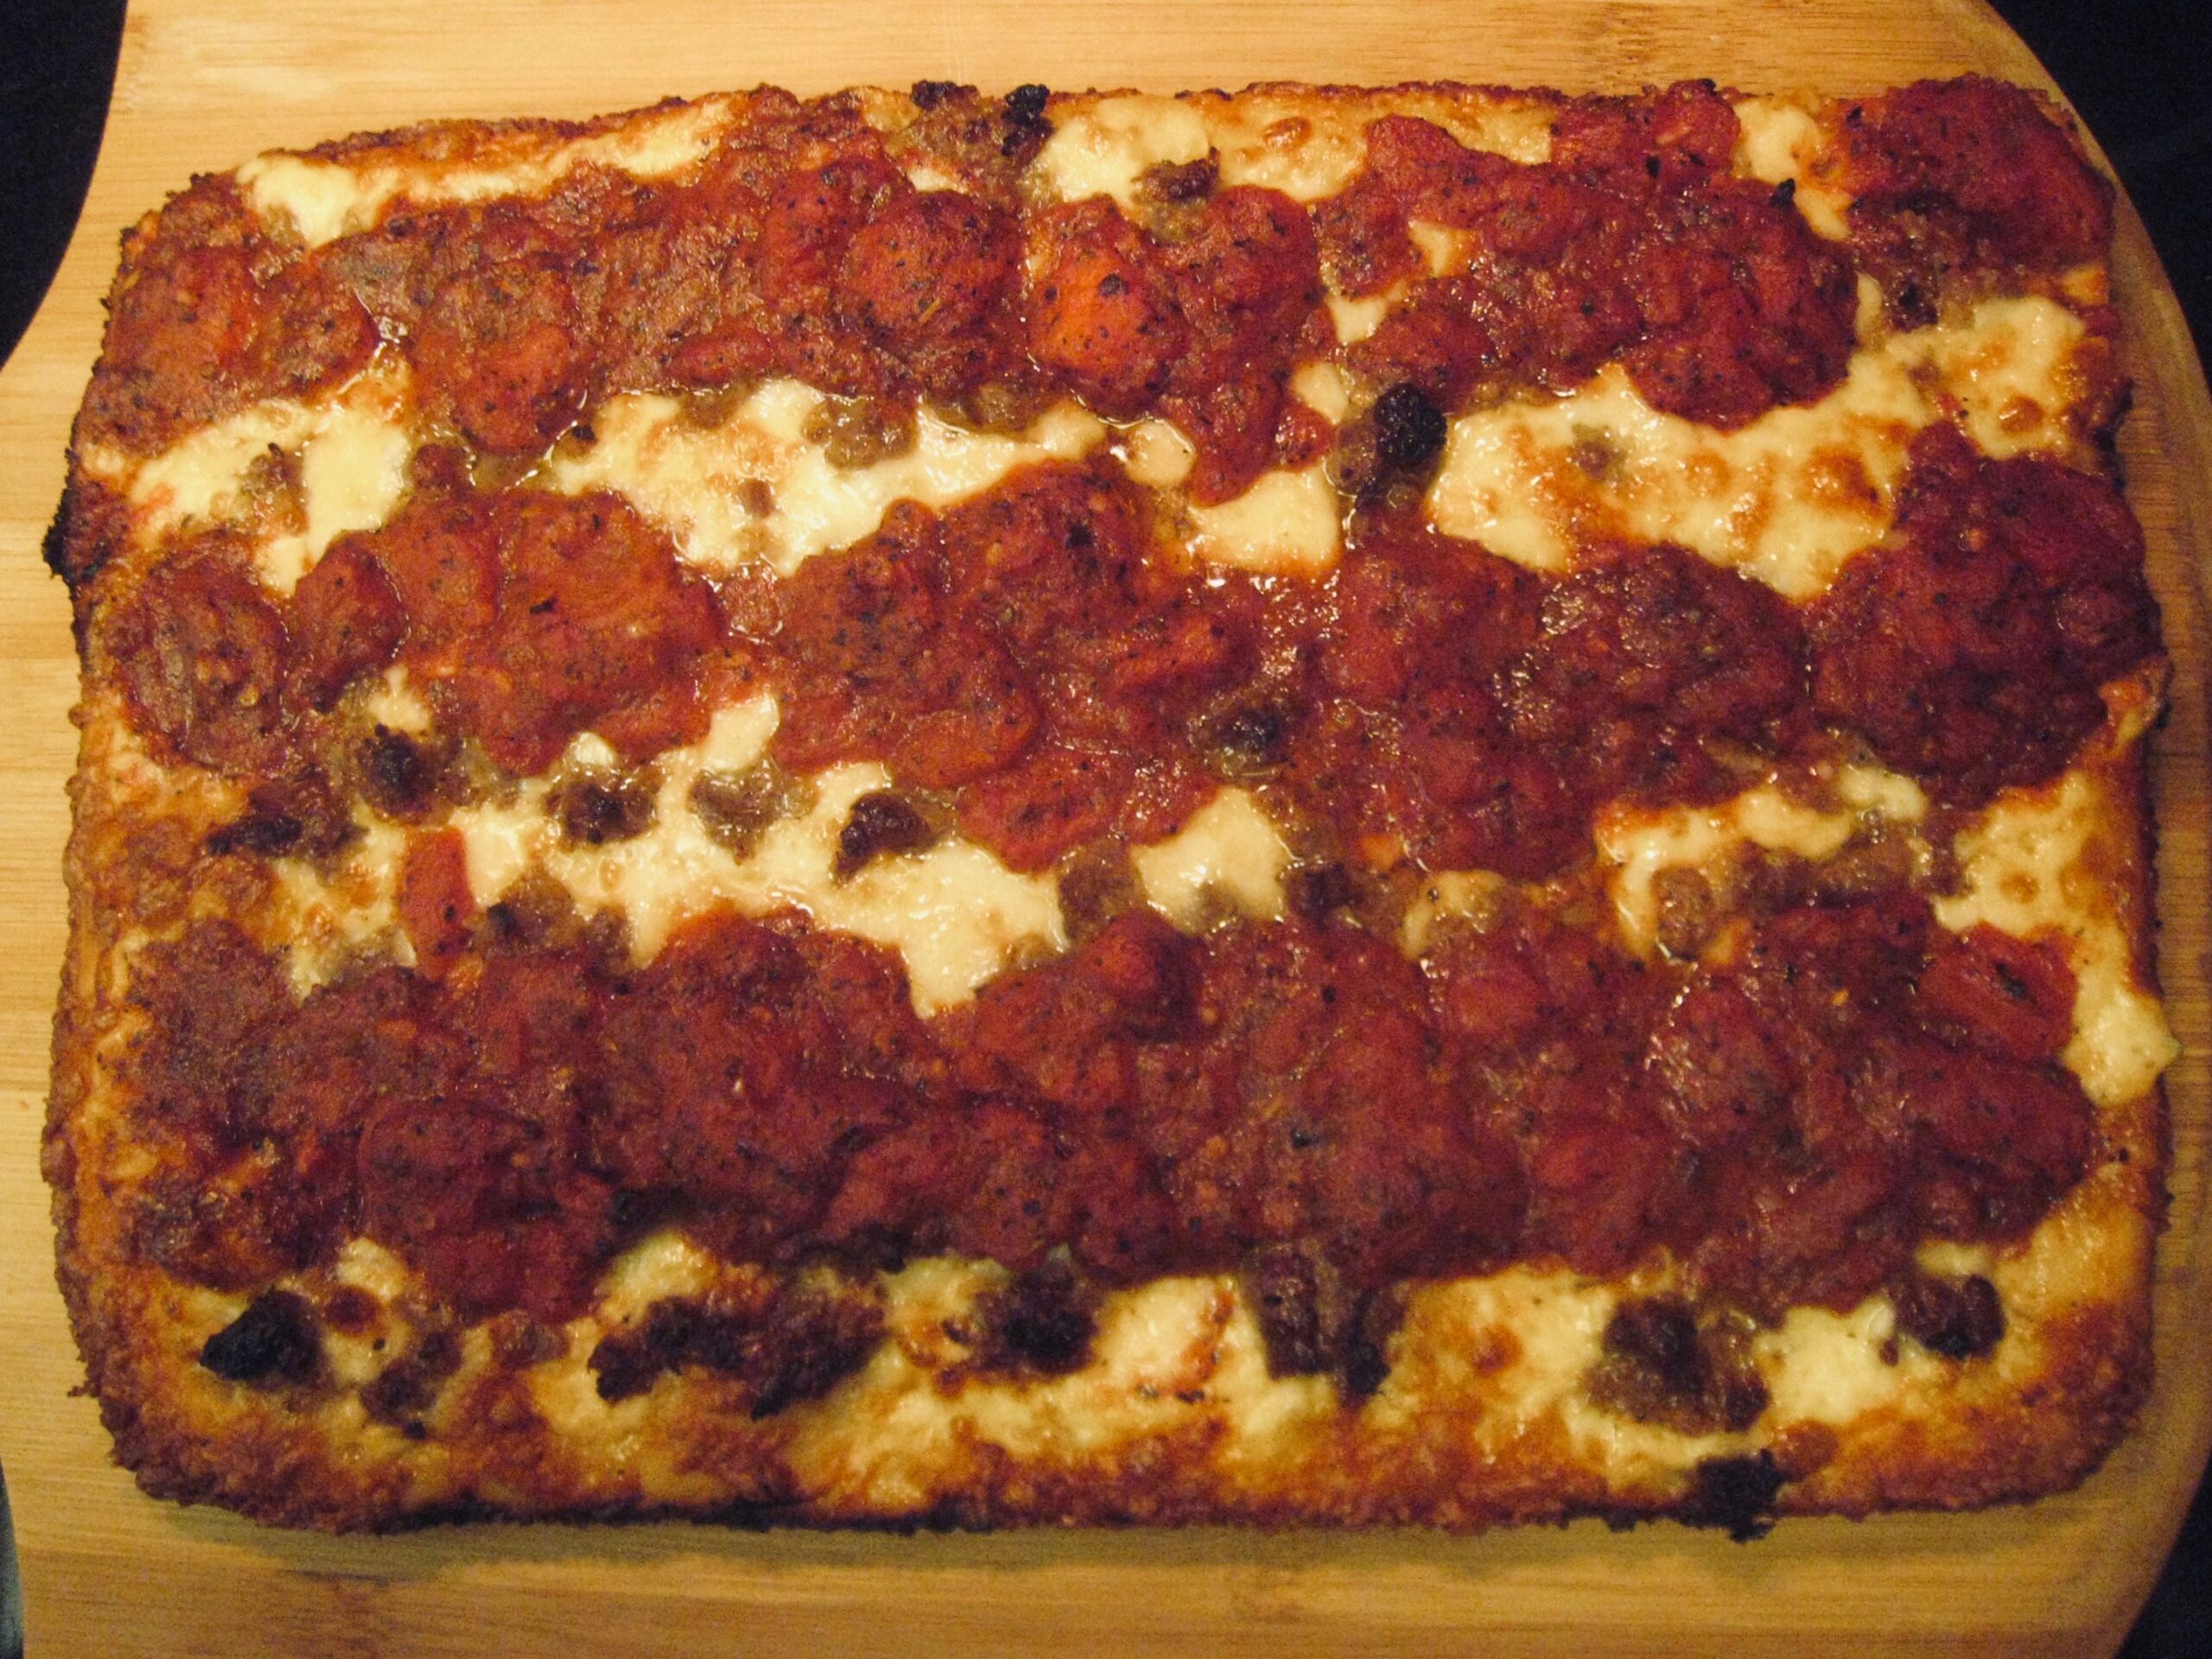
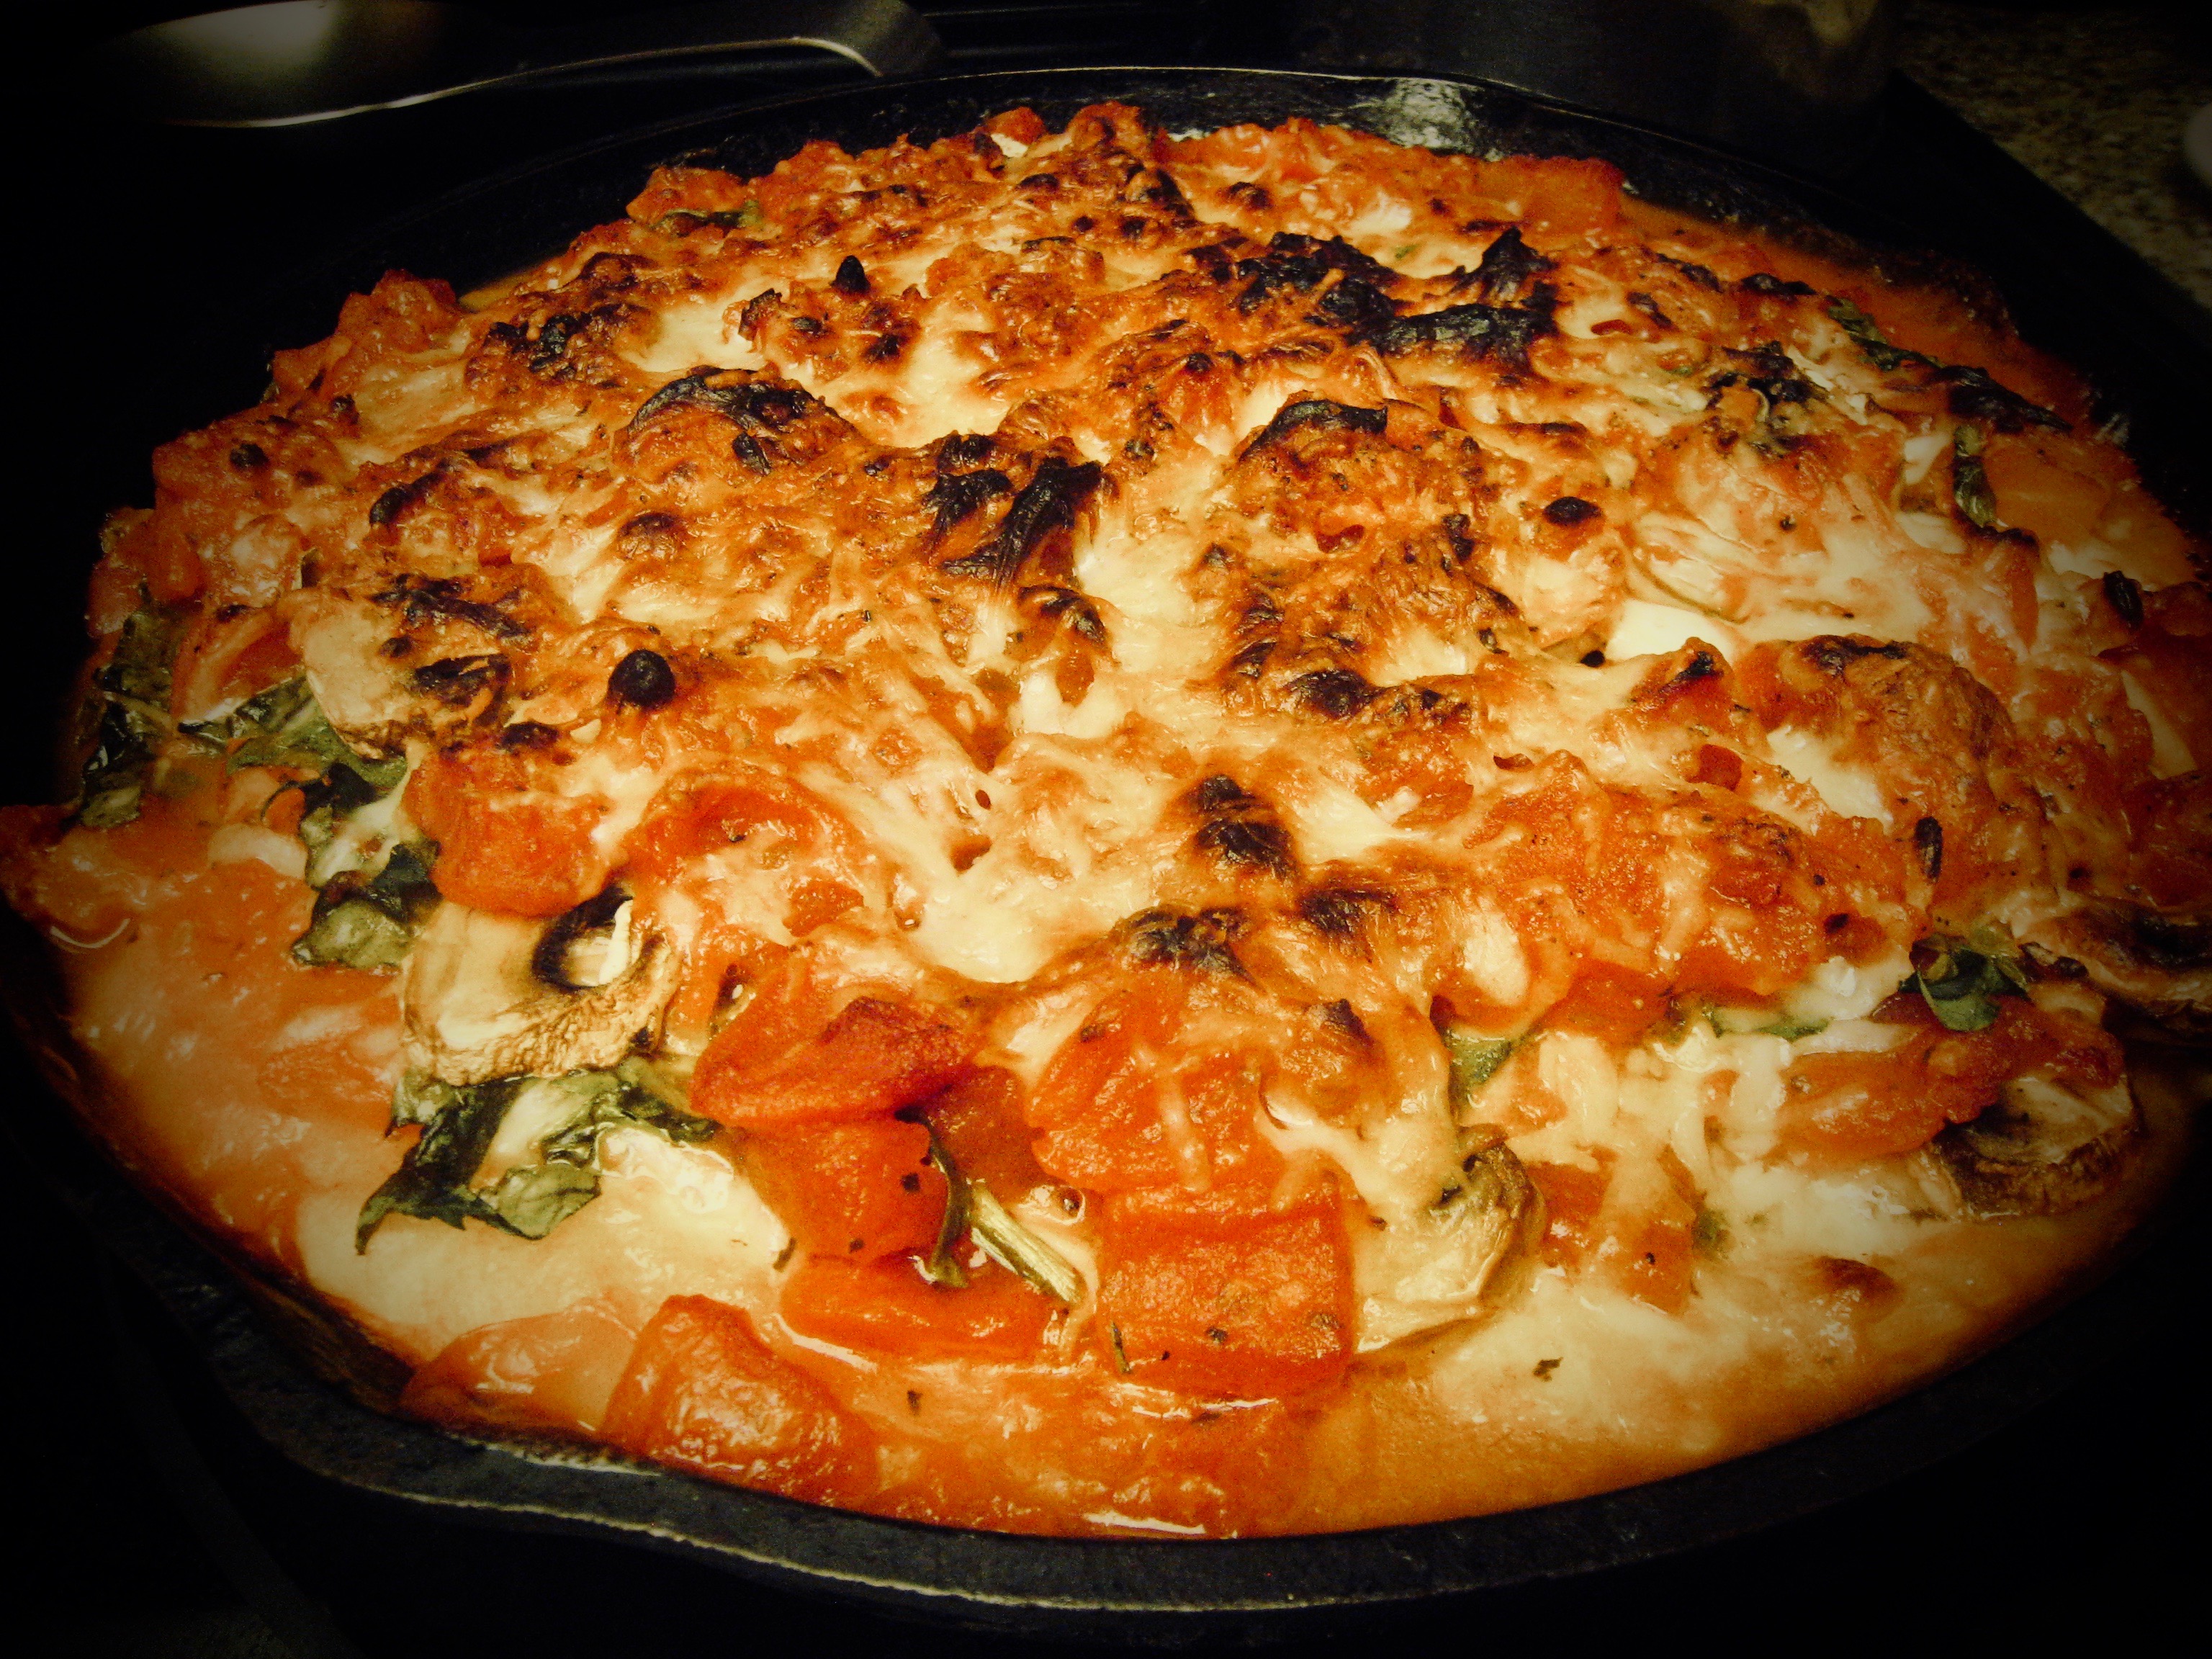
We had dough left over, so I had another run at Detroit Style Pizza for supper on Saturday Night. I picked up a cheap steel cake pan at the dollar store (made in the USA, yet) earlier in the day, browned some Italian Sausage, and made the sauce.
For the sauce, just crush everything together with a potato masher.
- 1 can diced tomatoes
- 1-2 T tomato paste
- 1 pressed clove garlic
- 2 T olive oil
- 1 T basil
- 1 t oregano
- 1 t sugar
- 1 t black pepper
- 1/2 t salt
- 1/4 t red pepper flakes
I use the Basic Artisan Pizza Crust Recipe for the dough.
- 3 1/4 cups lukewarm water
- 1/4 cup olive oil
- 1 tablespoon yeast
- 1 to 1 1/2tablespoons Kosher salt
- 2 tablespoons sugar
- 7 1/2 cups (scoop and sweep) unbleached all-purpose flour
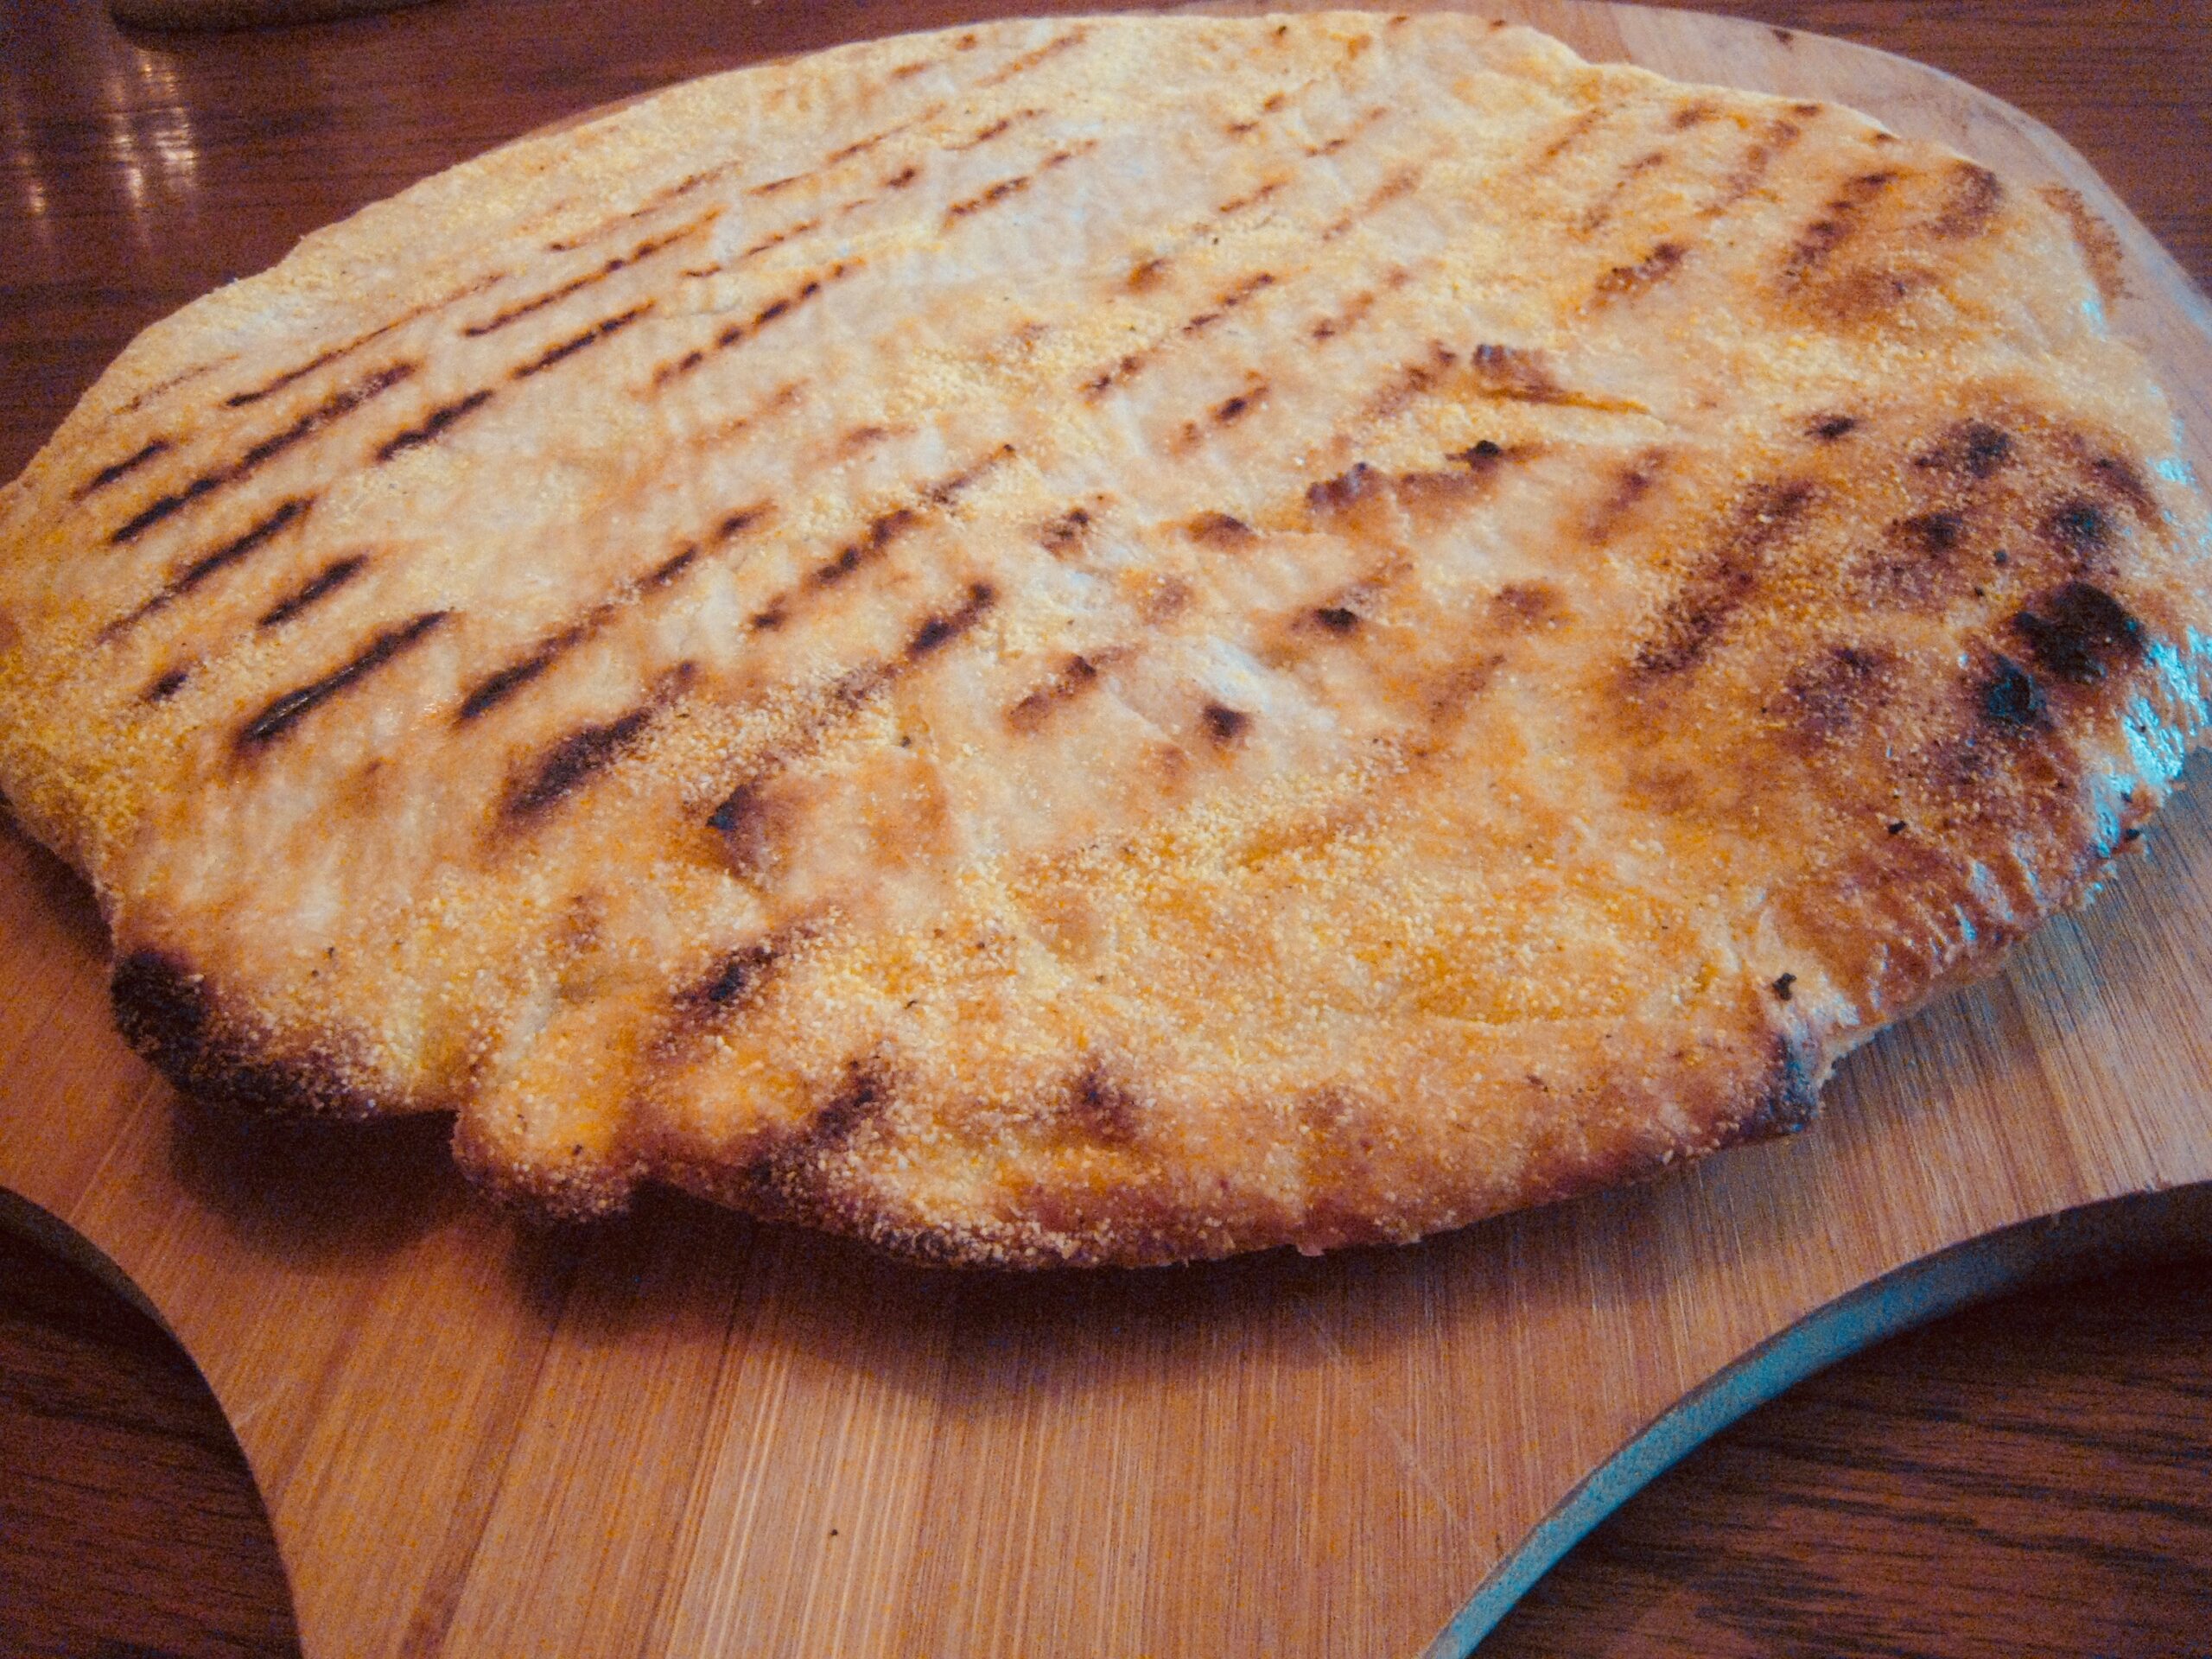
This makes enough dough for several pies. I had just enough left to cover the bottom of the pan when stretched. It was much easier to stretch this time, after having rested in the fridge for nearly a week. This is one of the things that I love about the AB5 dough.
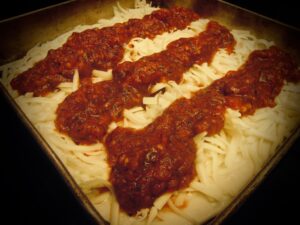
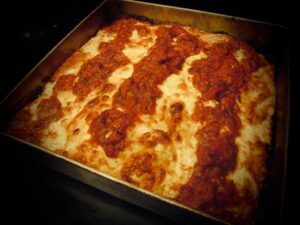
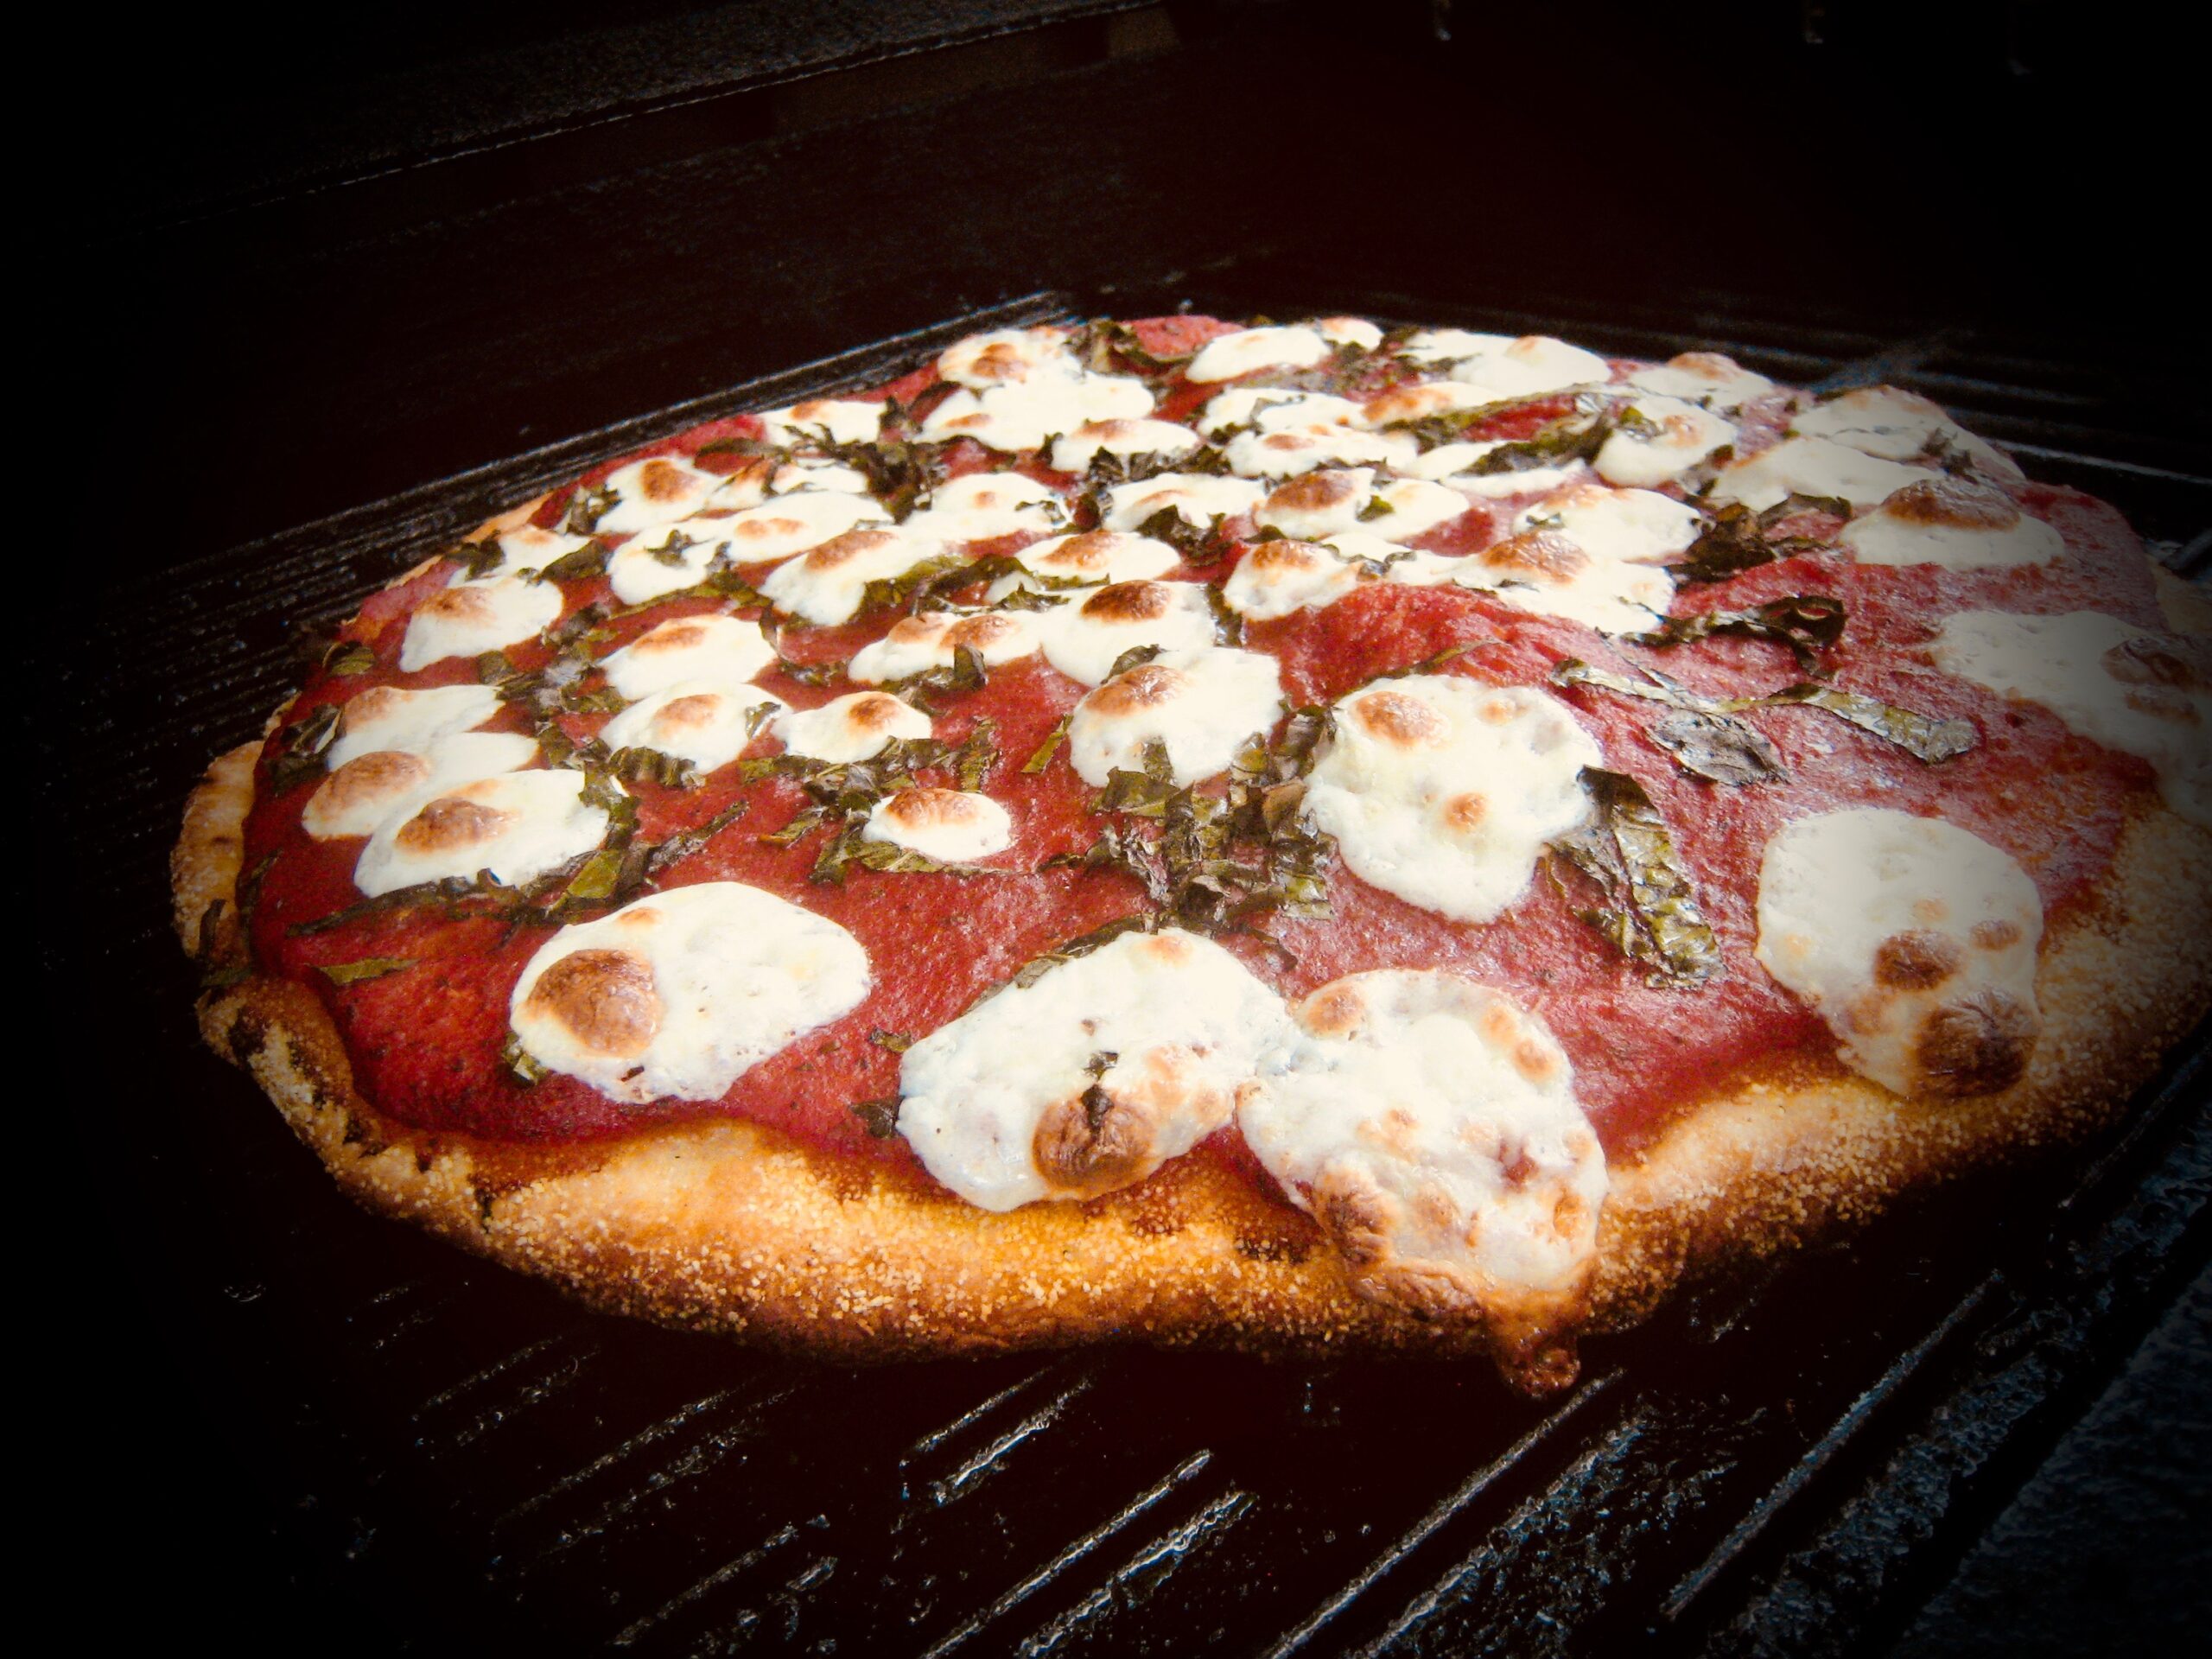
I sprayed the bottom of the cake pan, then drizzled olive oil and coated it well. I also sprinkled it with a little corn meal to add to the buttery taste, and pressed dough over bottom of pan. The Monterray Jack cheese (an 8 ounce block, grated) went on next. I got the tip on that from Cook’s Country. They did tests and it came closest to the characteristics of the Wisconsin Brick Cheese that would typically be used in Detroit. The sausage crumbles went on next, then the three iconic stripes of tomato sauce. The pie baked at 500 °F until the cheese was bubbly and brown, about 17 minutes this time.
I was amazed at how easily and quickly this pizza came together, and at how delicious it was. Our grilled pizzas are still my favorite, and we’ll continue to make the Malnati style deep dish from time to time, but I think the Detroits will be our go to, especially to use up leftover dough, and for a quick weeknight meal. I’m anxious to taste a slice of Chef Garibaldi’s again one of these days to see how ours stacks up to the authentic.
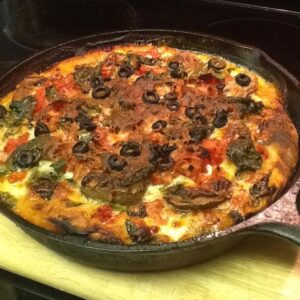
For Sunday Dinner, I made cheese soup. The recipe is one of my favorites, and comes from a restaurant in Decatur from the old days, called The Brown Jug. My Sister Marge gave me the recipe years ago and it was one of the first things I ever learned to cook.
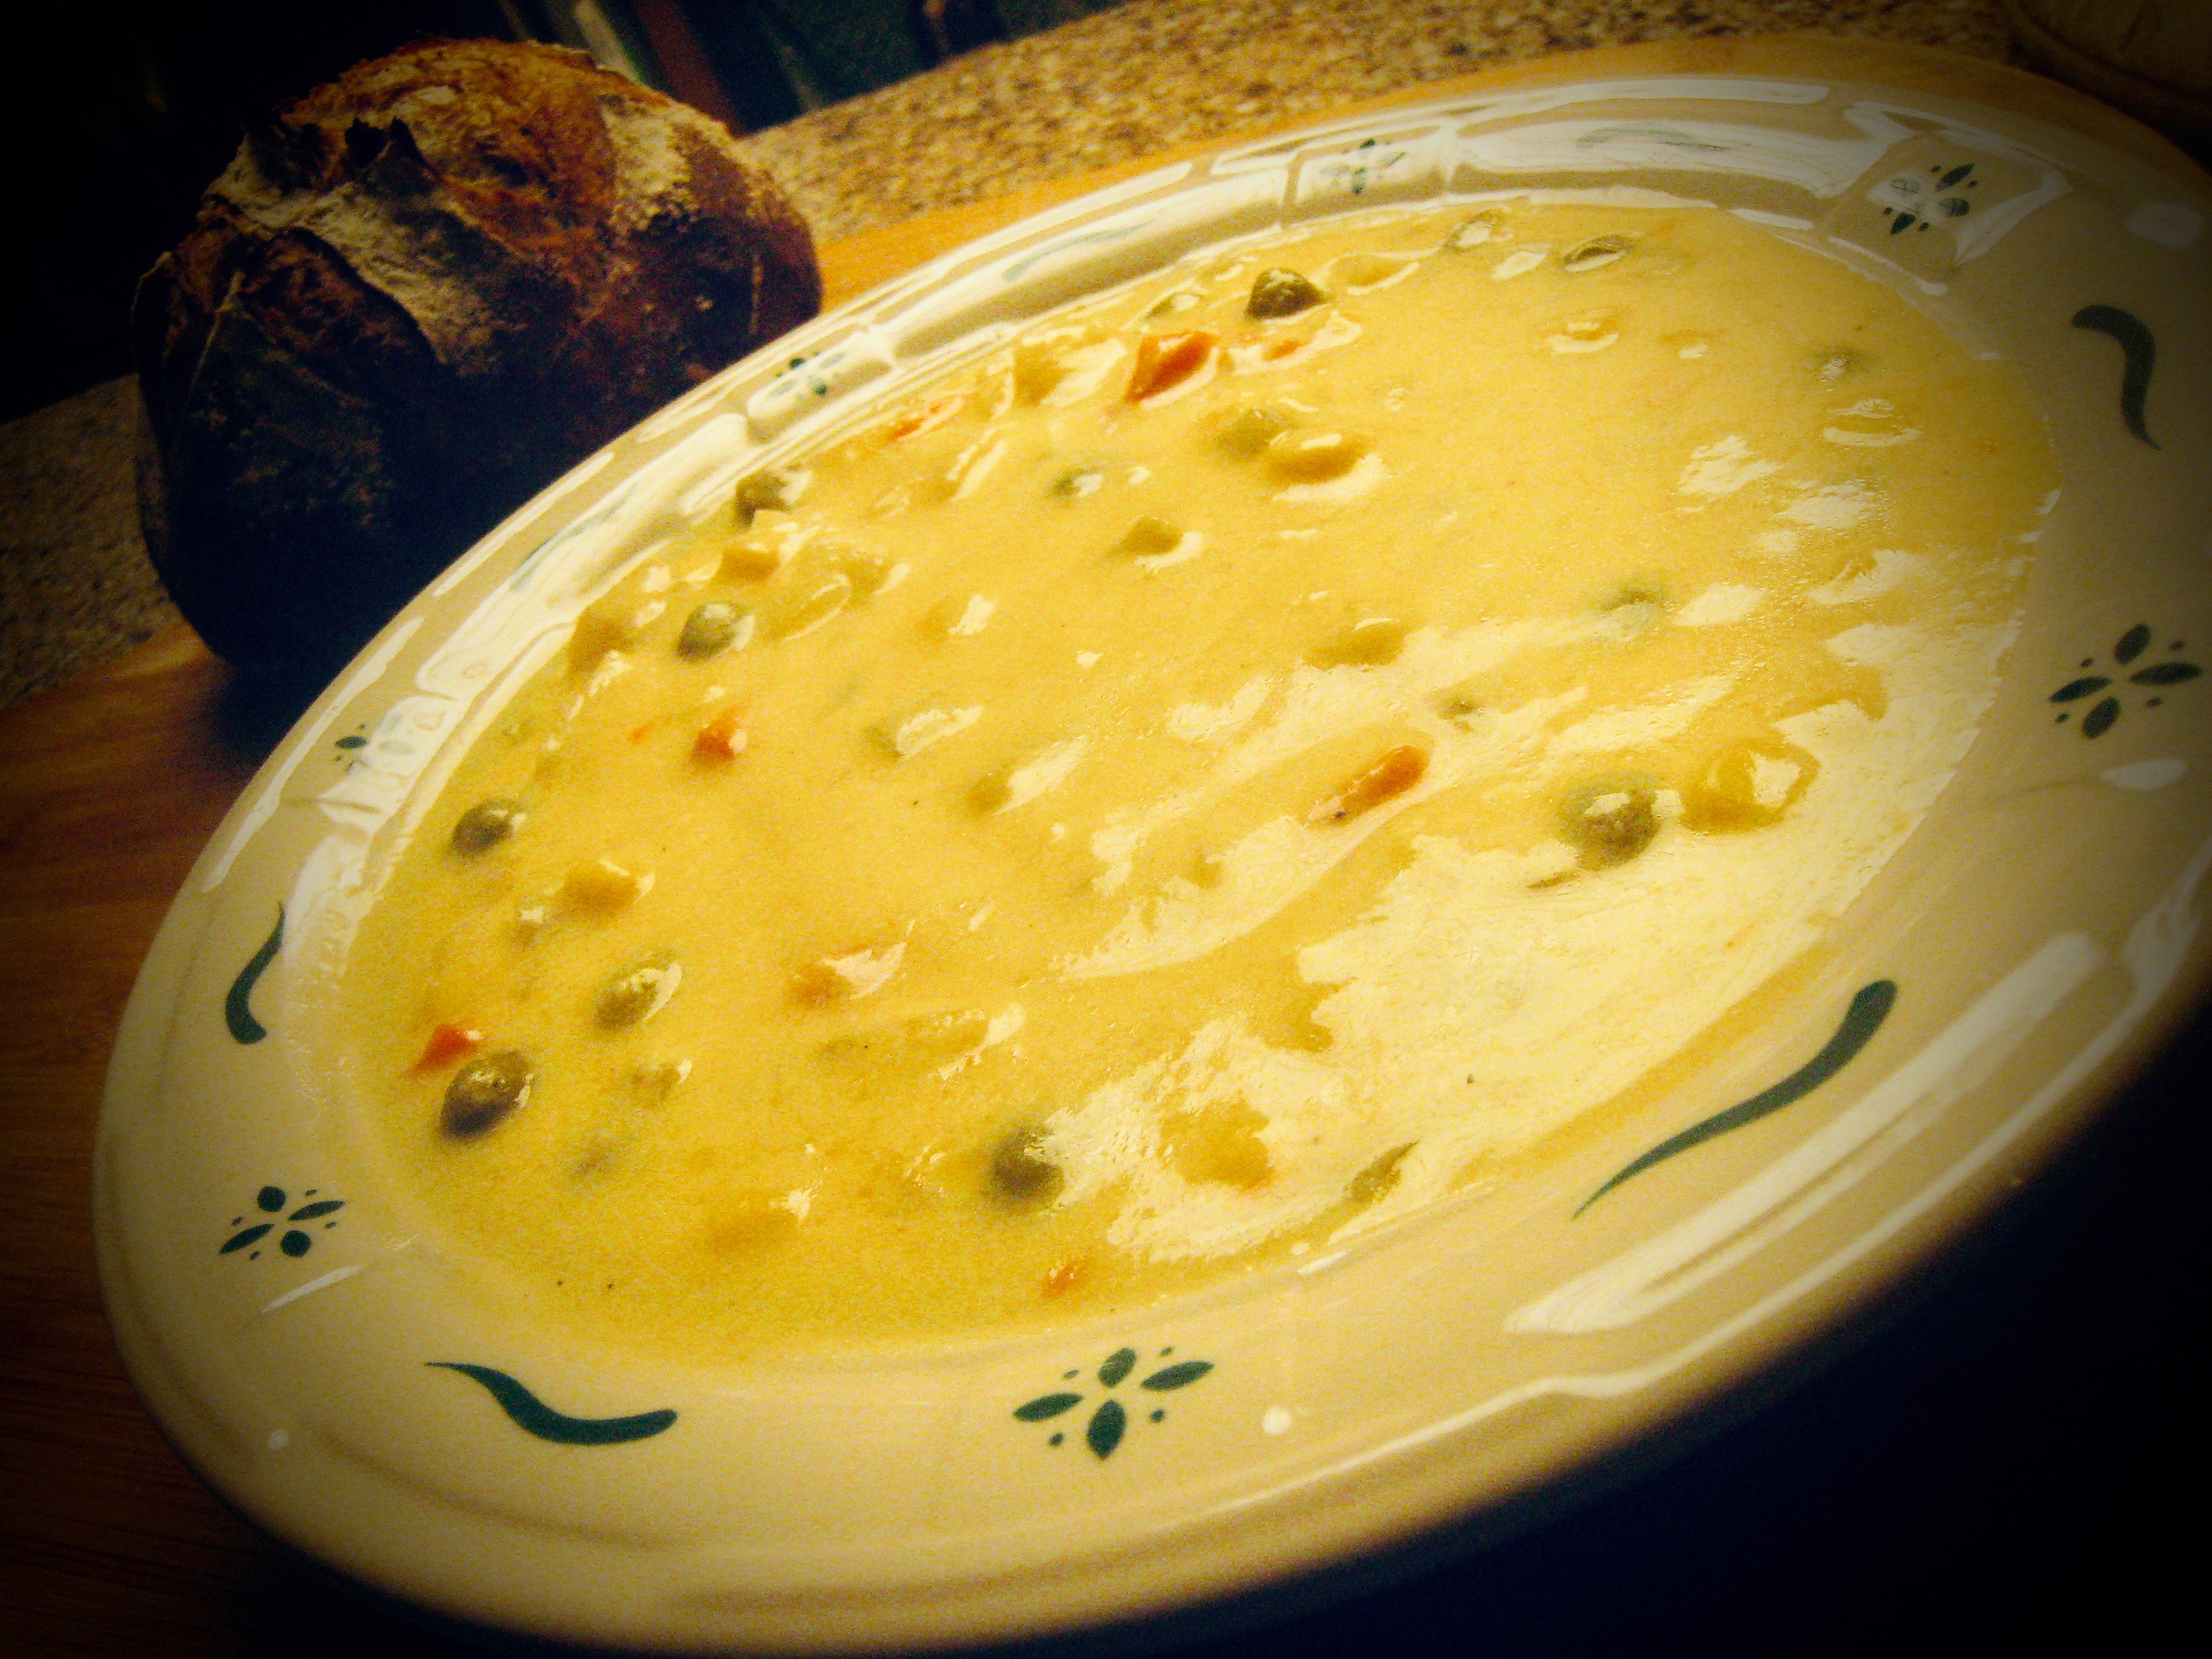
I sautéed some diced celery and onion, then added them to a crock pot with some veggie and chicken stock (maybe a quart and a half altogether), and a couple 12 ounce bags of frozen mixed vegetables. Once that all got warmed up, I added 5 diced potatoes and 2 diced carrots. Finally, after all of that was cooked through, I added two cans of cream of celery soup and a pound or so of Velveeta cheese. Once everything is melted and combined, it’s ready to serve.
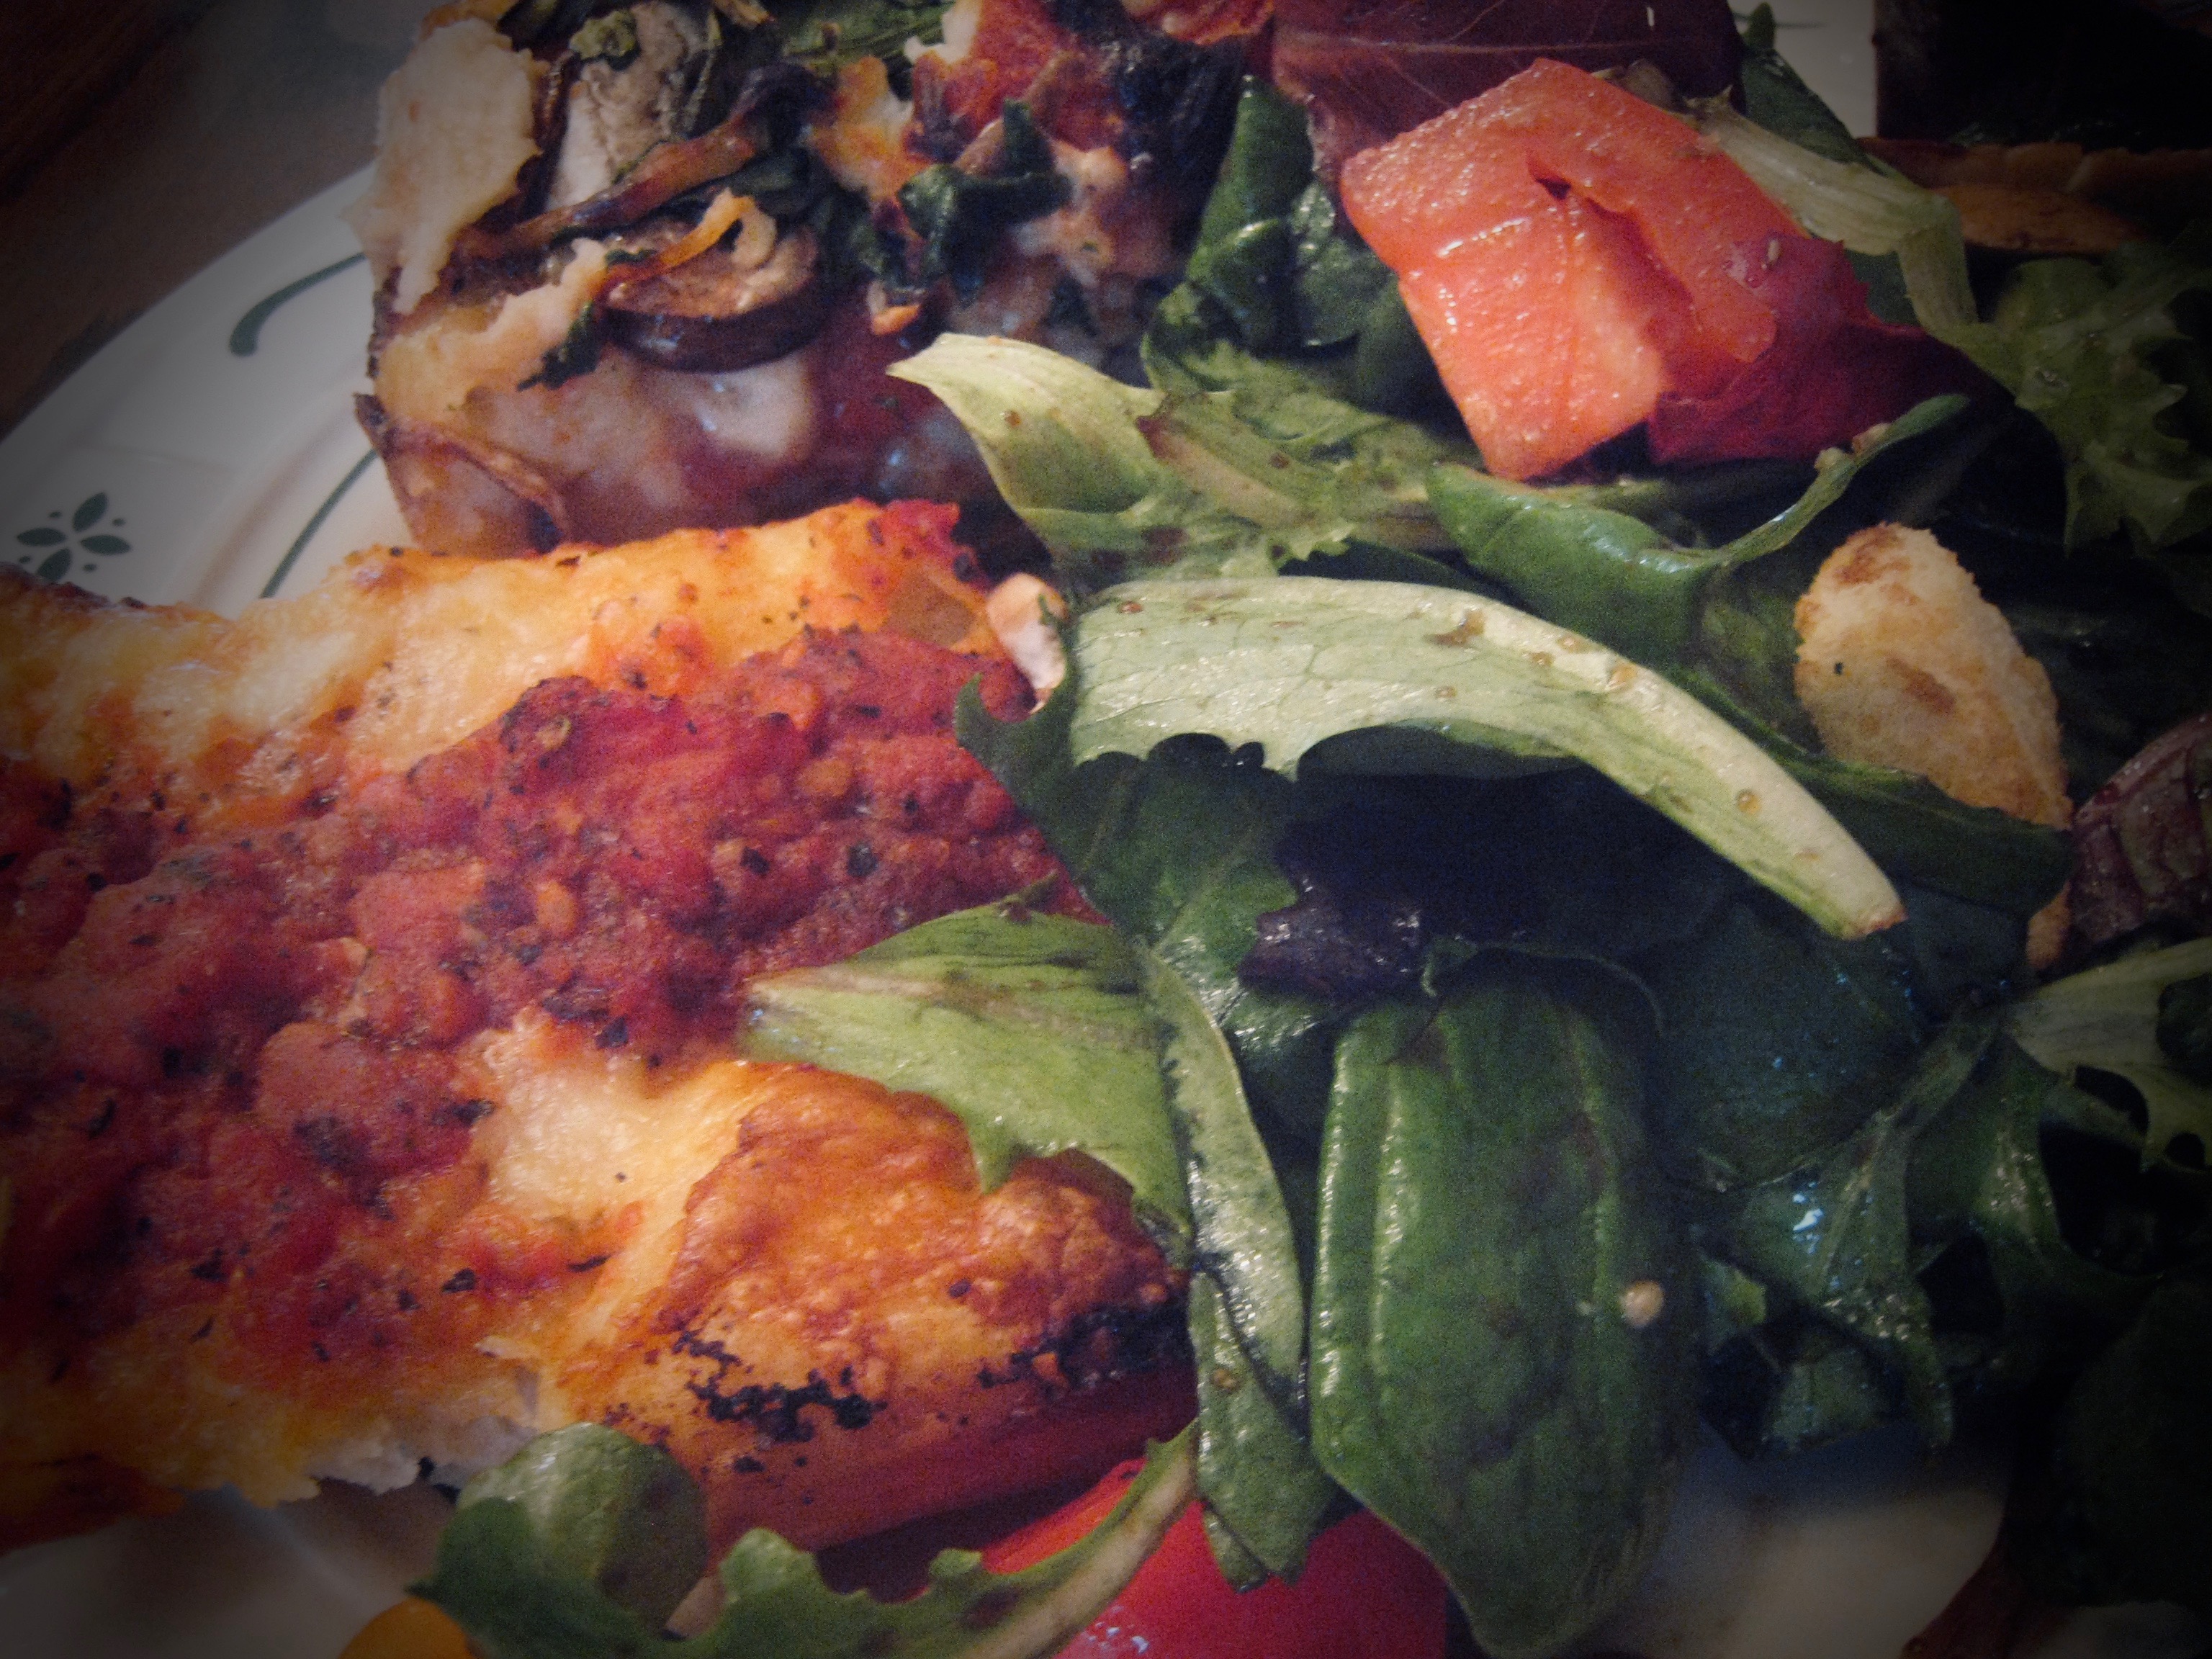
I baked a largish peasant boule with the leftover dough from earlier in the week. Again, the AB5 dough that’s been resting in the fridge for a few days takes on some great characteristics. It almost tastes like a sour dough.
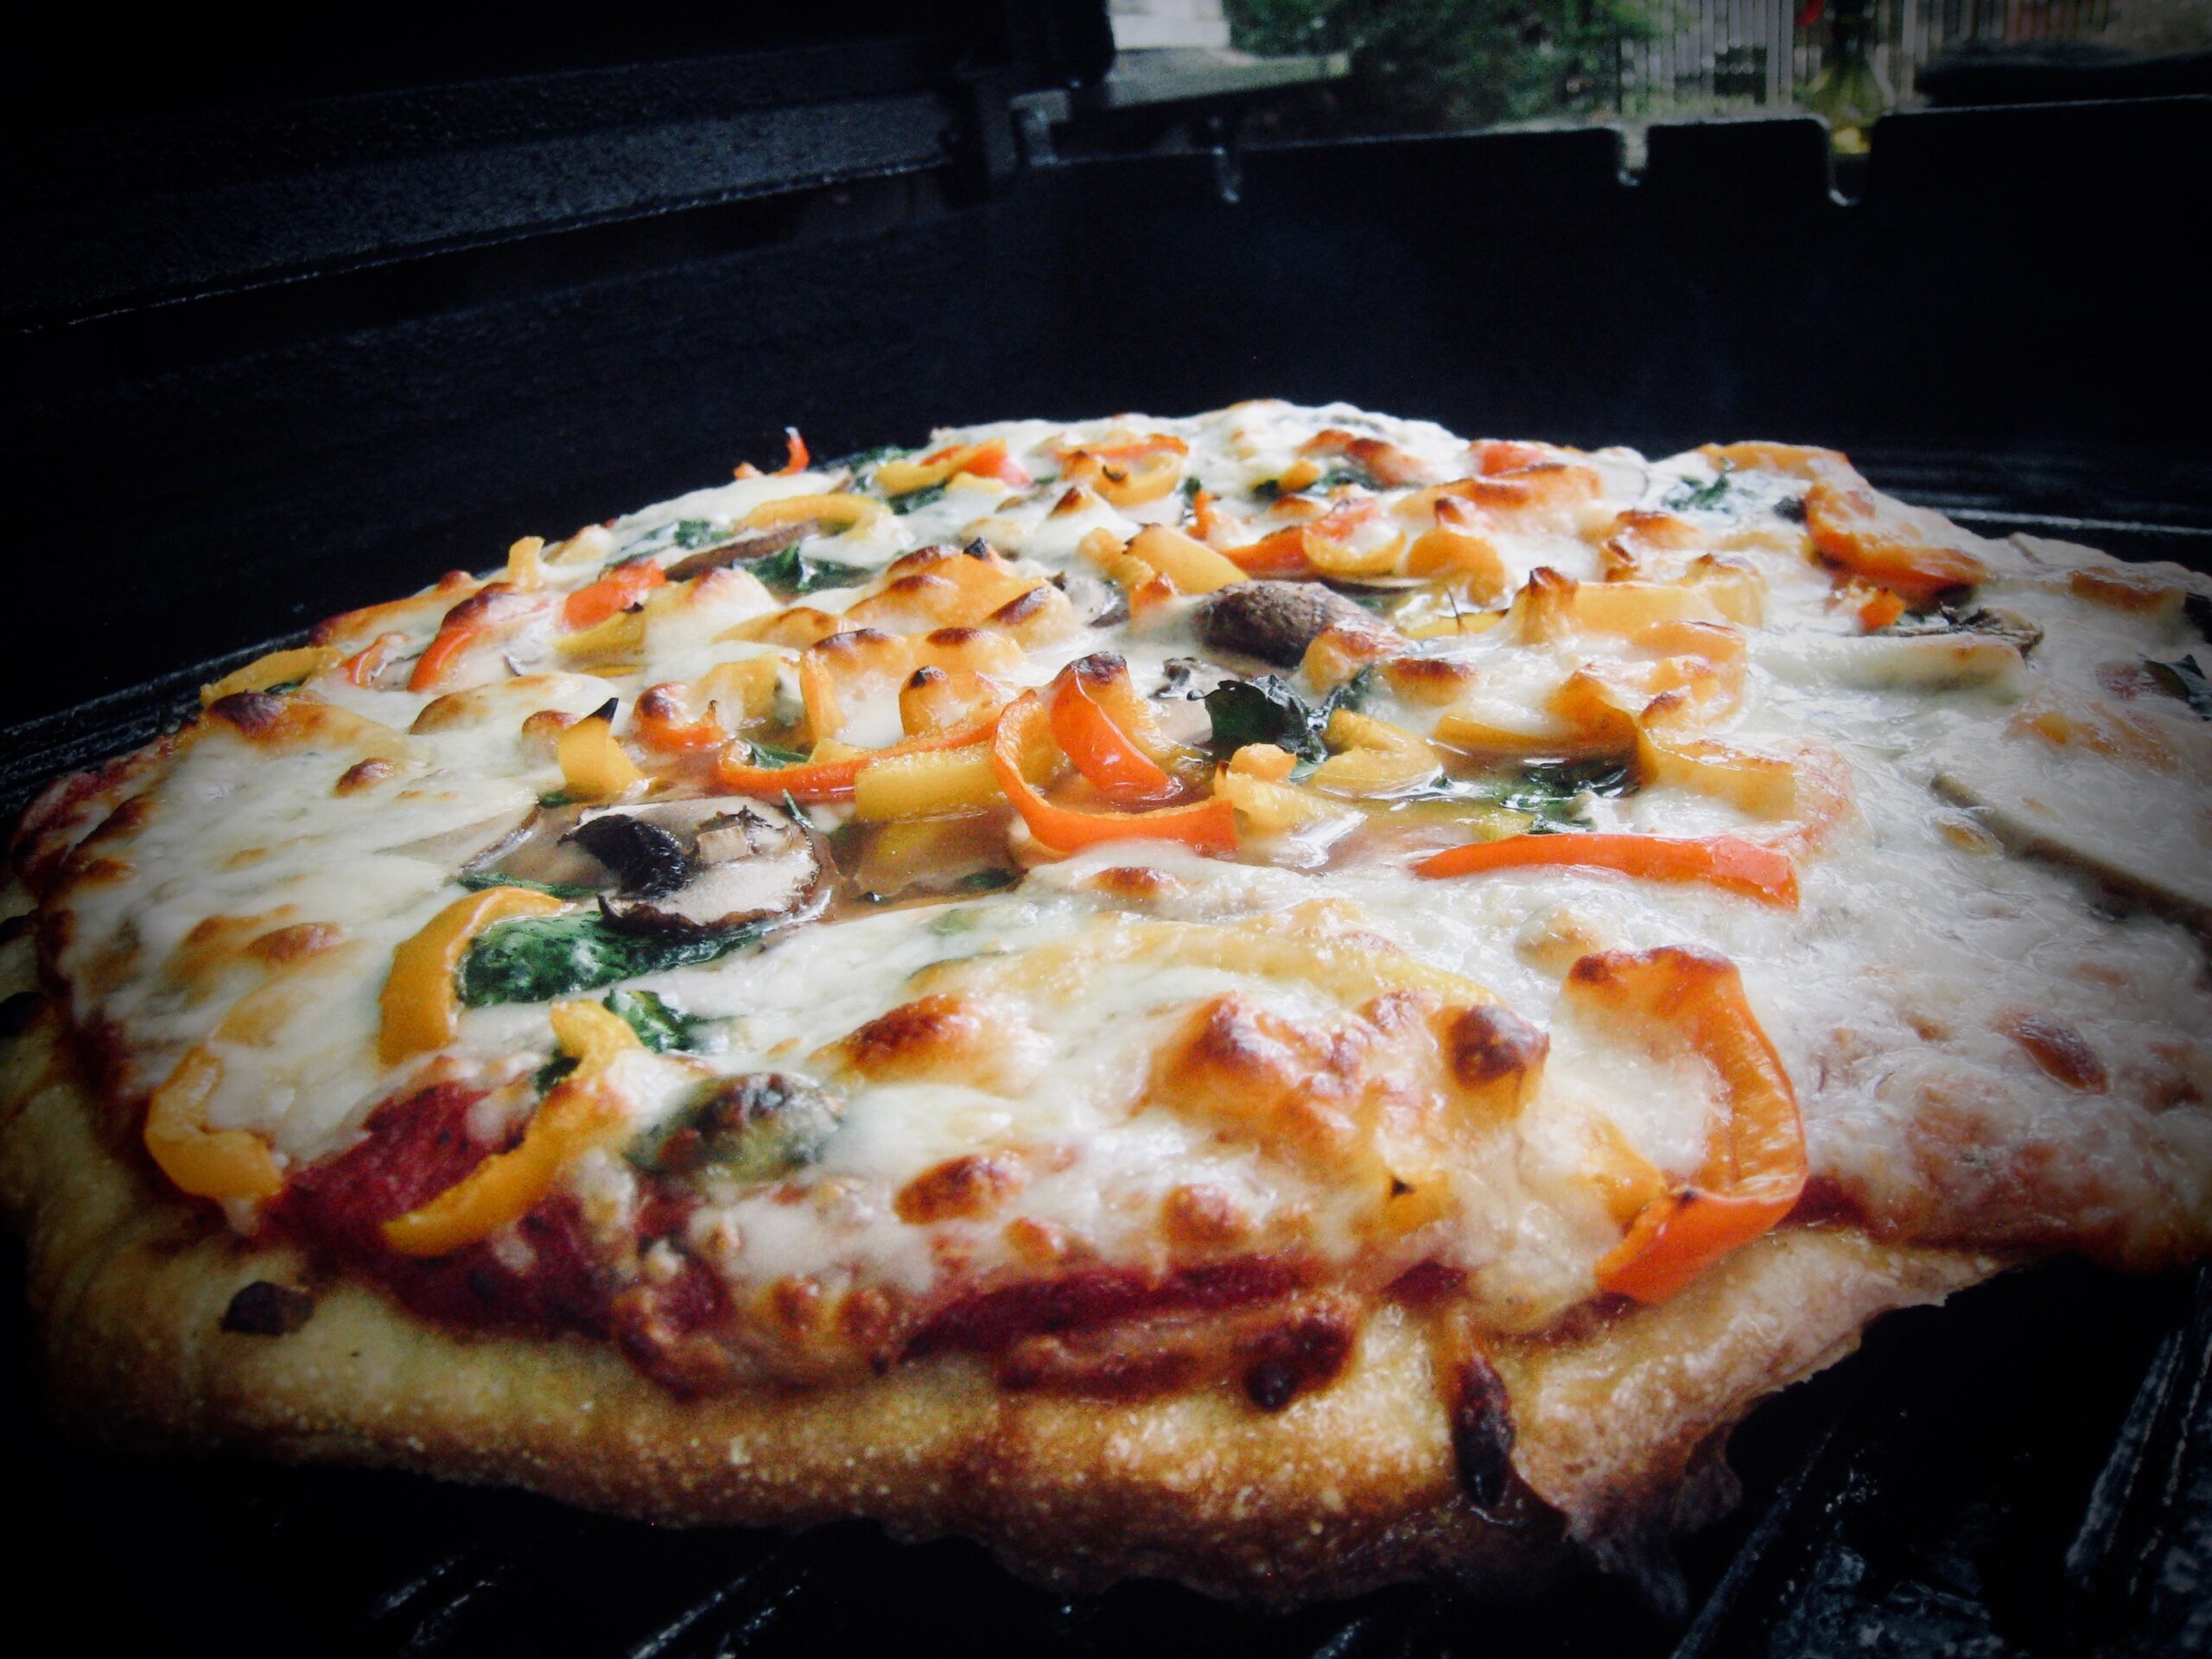
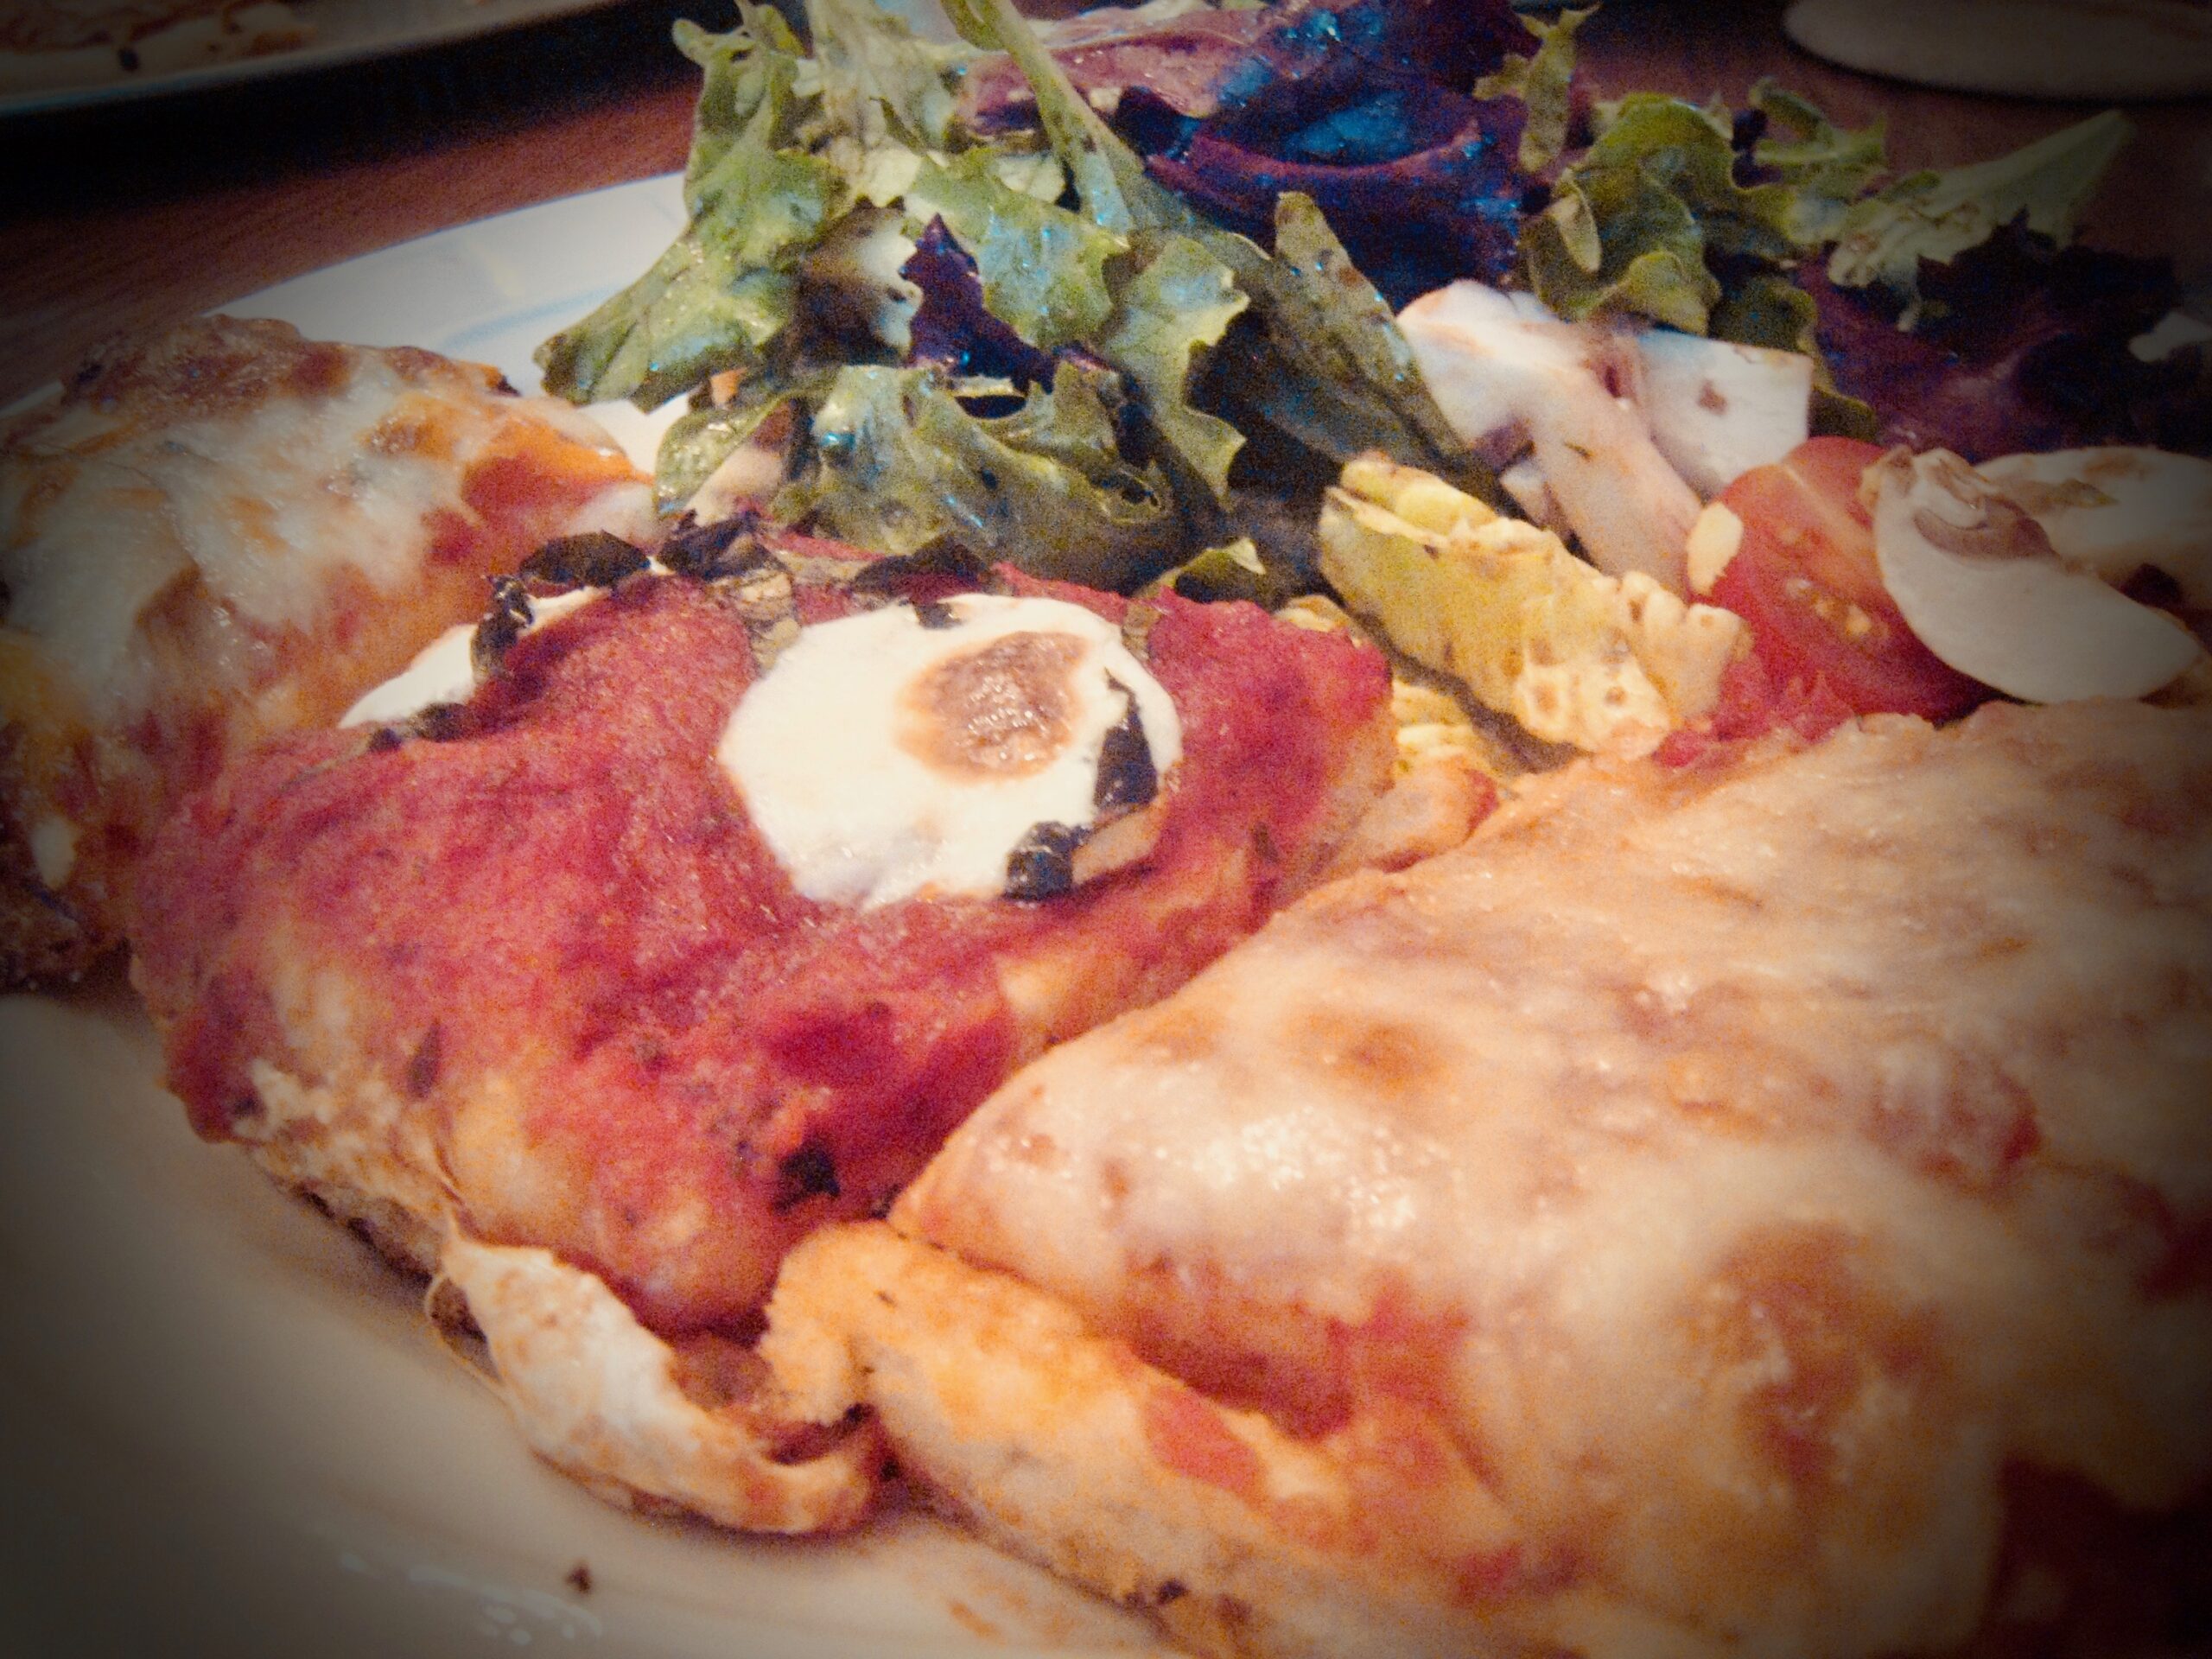
Claudia made a nice salad, and we had Wisconsin Supper Club relishes, including marinated olives, marinated mushrooms and cornichons. The wine was Sharon Weeks’ Cattoo Red, which was just perfect. Later on, Aunt Pat and Caroline picked up some soft serve from DQ to go with Christmas cookies for dessert.
My sons were with us for a little while in the afternoon, and had their soup with a bit of hot sauce. 🙂