 For Sunday Dinner the day before St. Patrick’s Day this year, in addition to the traditional corned beef and cabbage I decided to try making a Jackfruit version. It was my very first experience preparing, cooking or eating it, and it exceeded my expectations in every way.
I had intended to pick up some prepared Jackfruit, but when I asked if they had it at our neighborhood Jewel, the produce guy said “sure – right over on that table.” Turns out there were two (humongous) whole Jackfruit at a decent markdown. So I grabbed the smaller of the two and headed to check out.
When I got back home, I checked YouTube for tutorials on how to prepare it, and was a little daunted but decided to give it a try anyway.
The first step was to cut the thing up into pieces, just about like you would when you’re slicing up a watermelon to serve. Except Jackfruit contains this white sticky substance inside that looks and behaves for all the world like latex. So I put some newspapers down on a table on the back patio, sprayed my knife with cooking spray, and went to work. It was messy, but not as bad as I had expected.
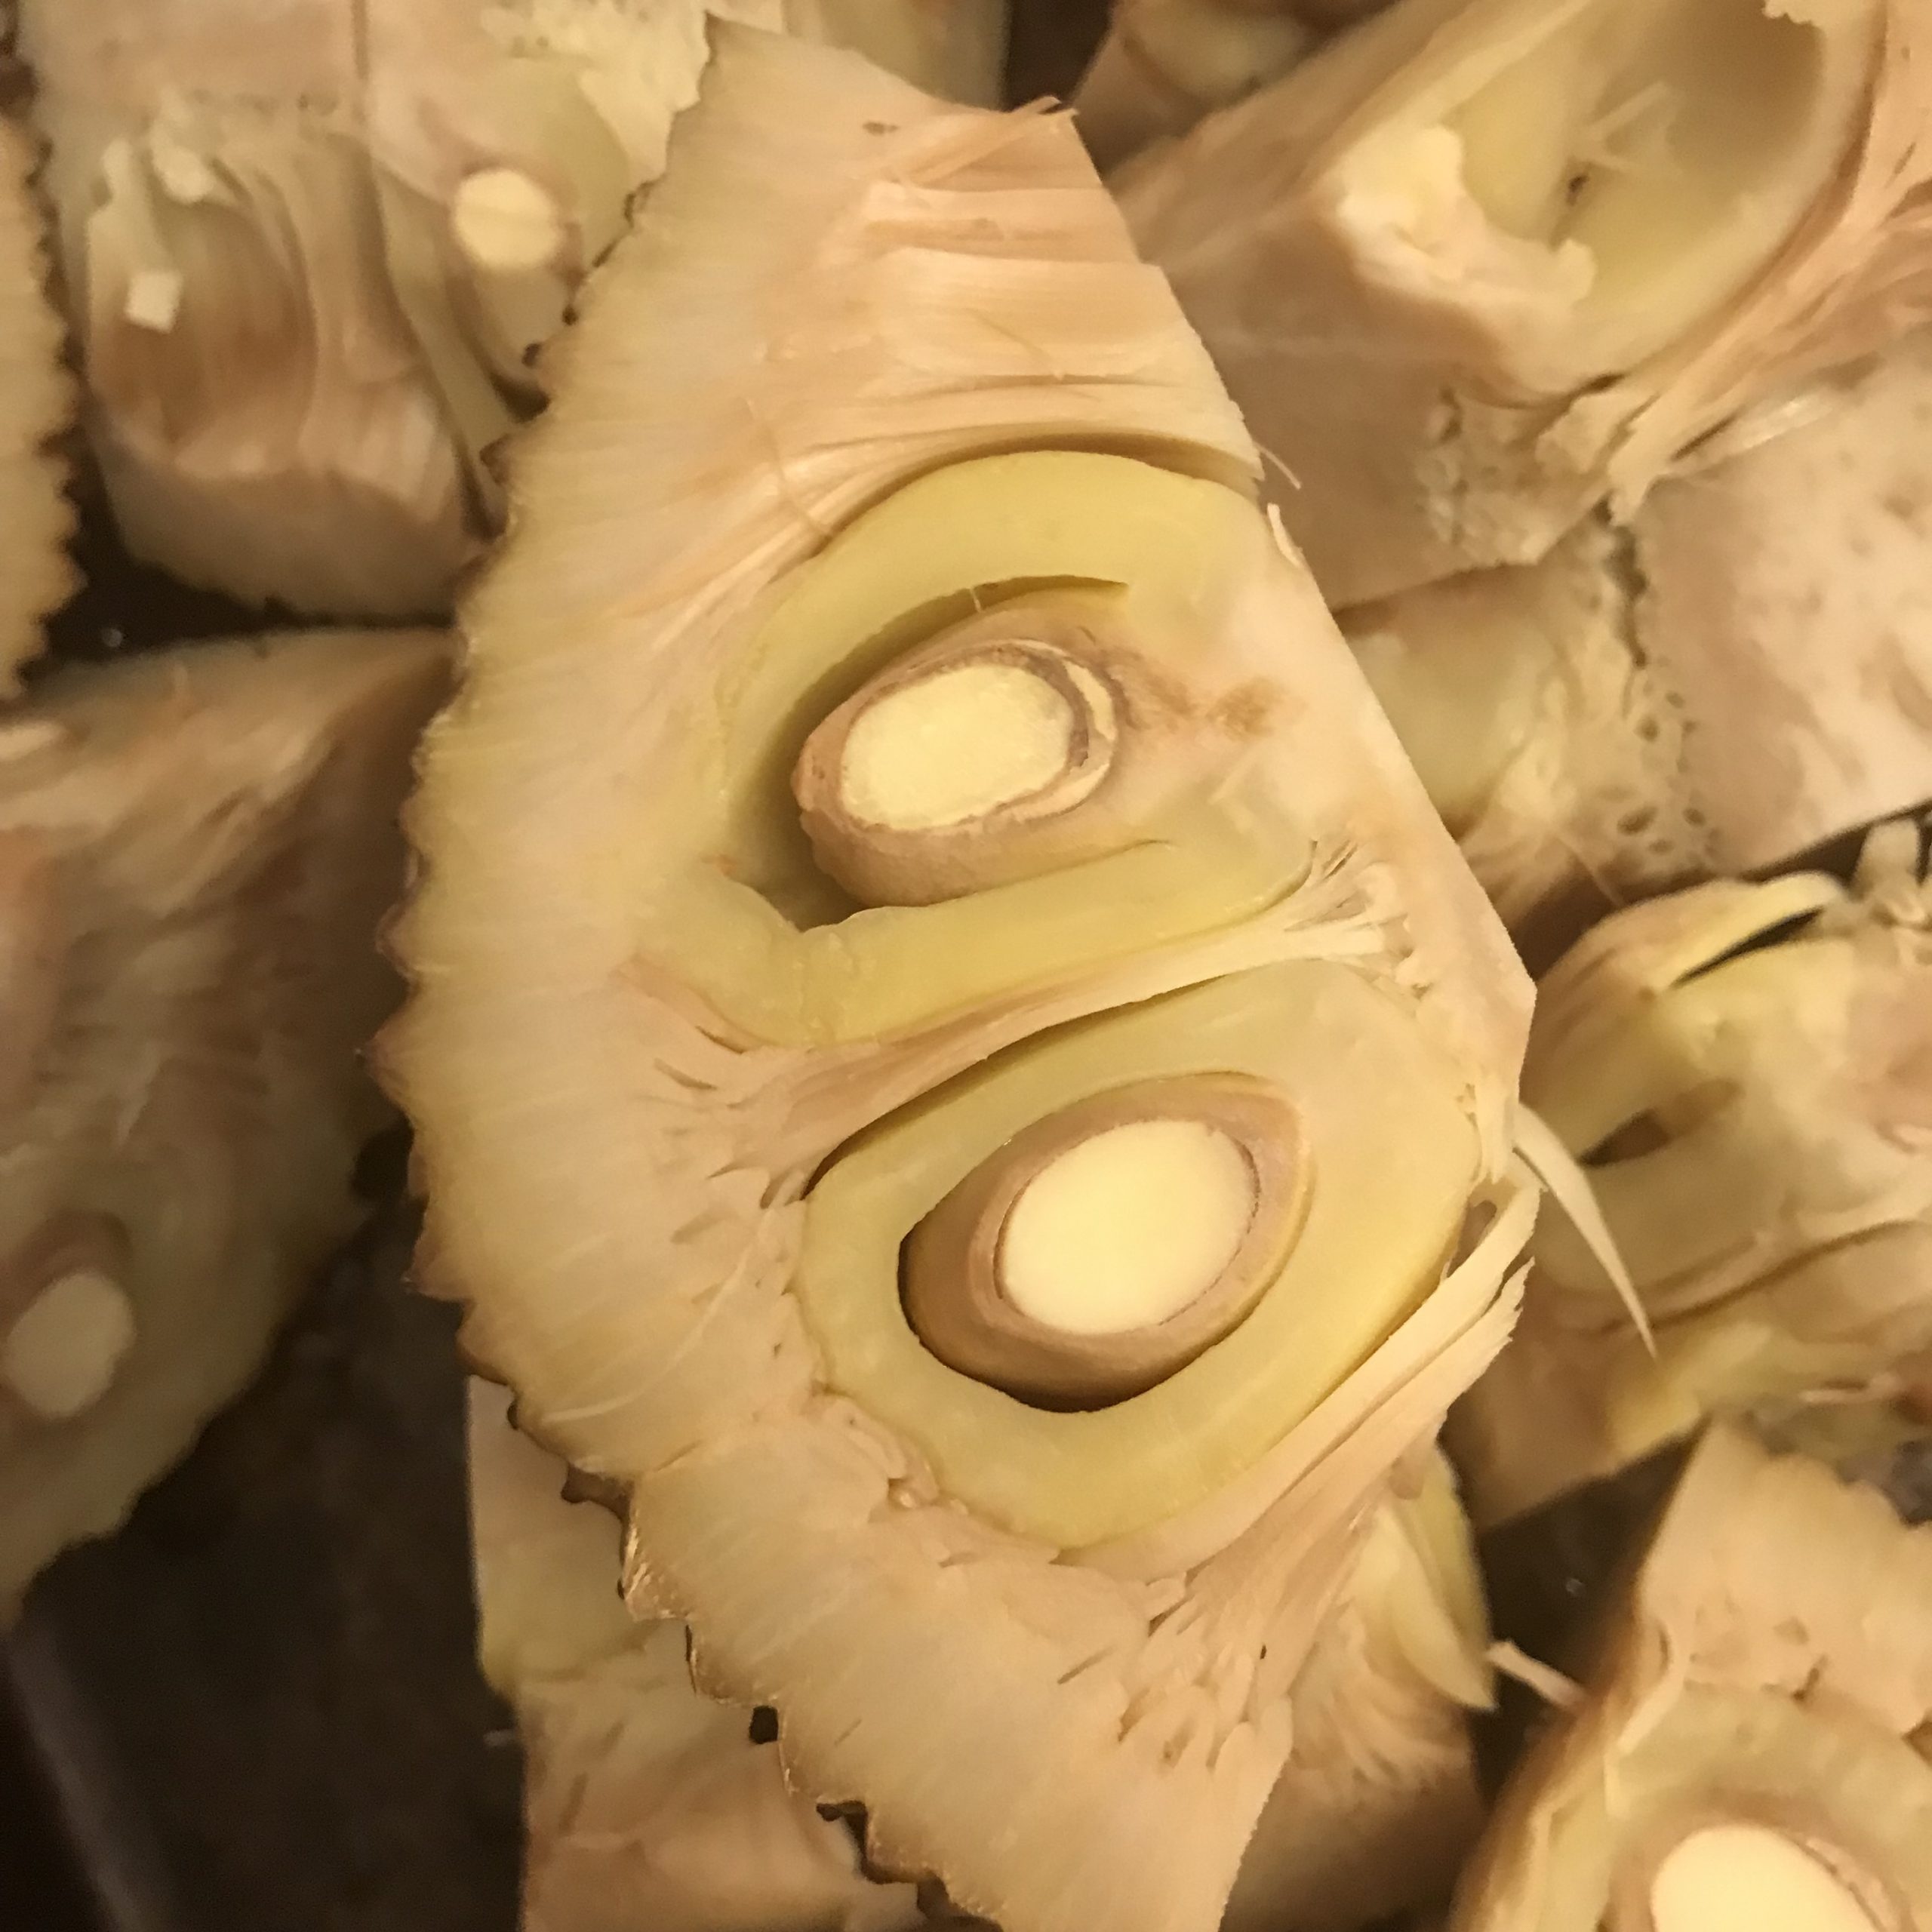
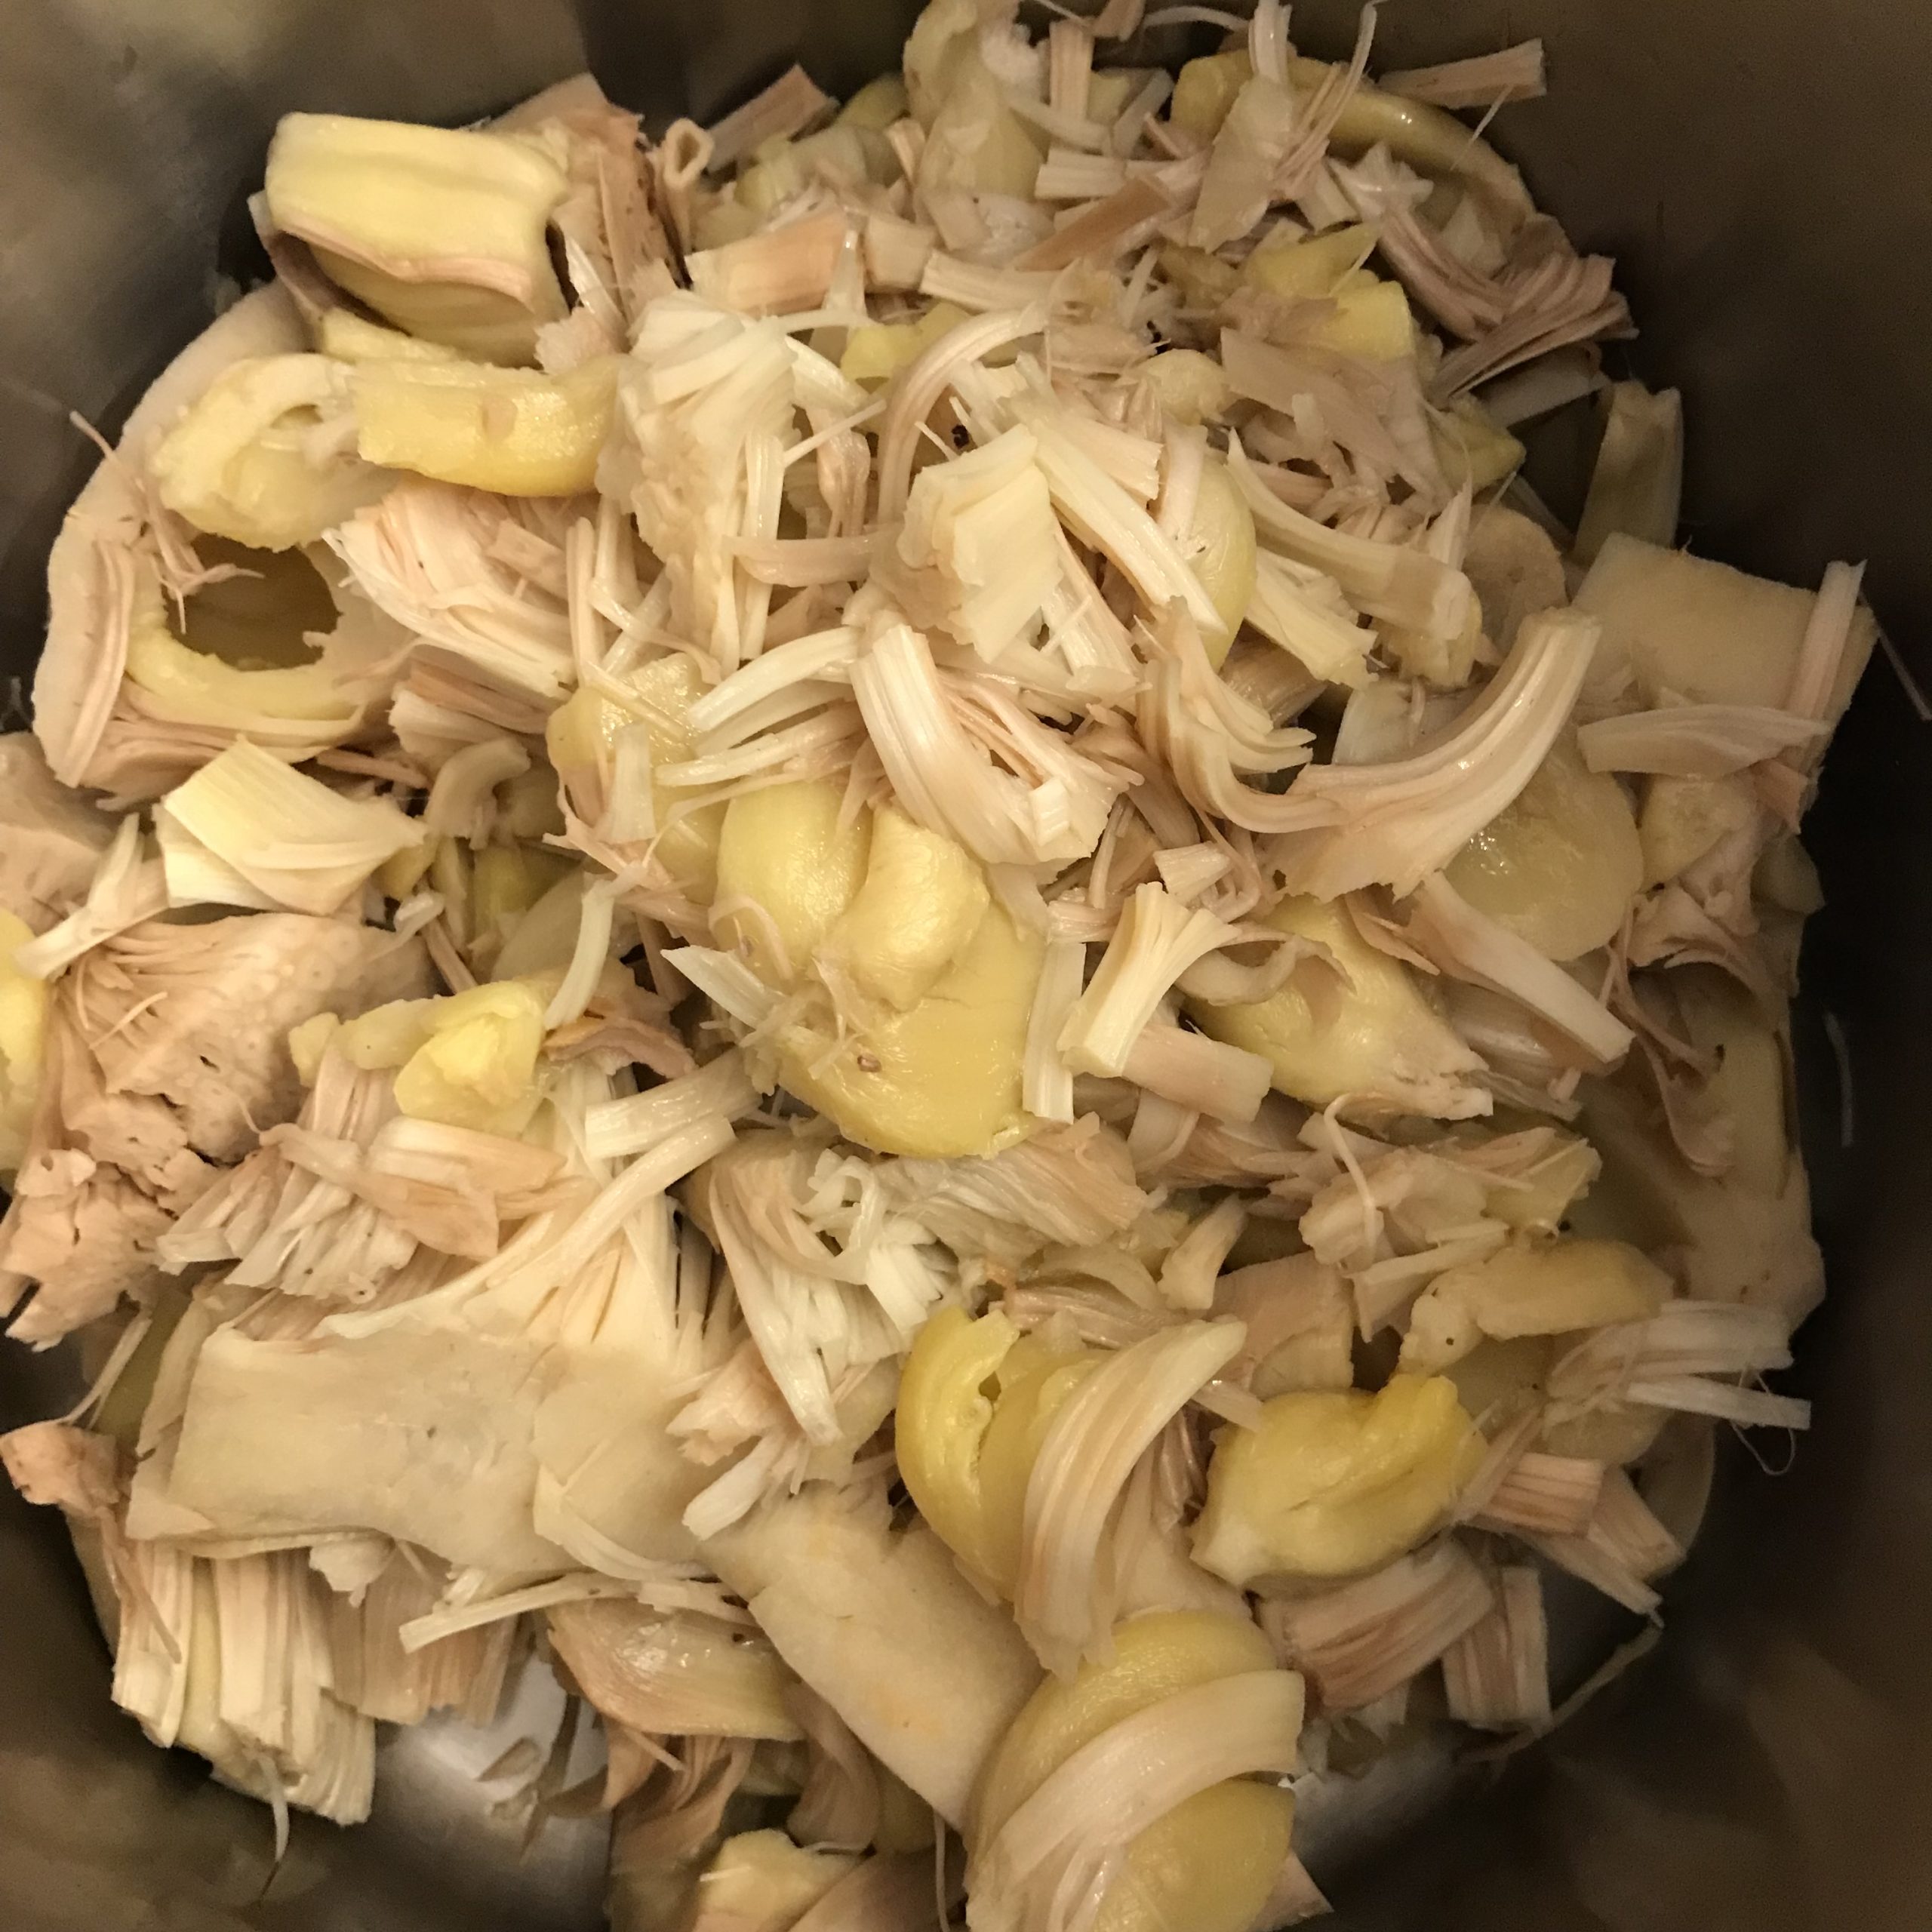
I boiled the pieces in a large stock pot for about twenty minutes, and once they had cooled a bit I removed the husks with a paring knife, and picked through the sections for the seed pods. They say that the seeds can be used to make Hummus, but this time around I just discarded them.
Once the sections were all picked clean, I put them back in the stock pot with pickling spices and some beet powder to marinate overnight. On Sunday Morning, I drained them, spread them out on a baking sheet, hit them with a little more seasoning, and baked them for an hour at 375 °F.
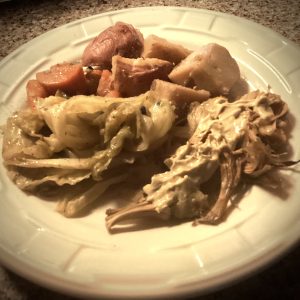
Finally, I pan fried enough portions for the three Vegetarians at our table just before serving to warm them up.
Even though it was quite a lengthy and involved process to prepare and cook the Jackfruit, I would definitely do it again. The texture was very much like corned beef, and the taste was marvelous and savory. I think that doing a long cook with it on a smoker and topping with Carolina Barbecue Sauce would be most excellent.
-
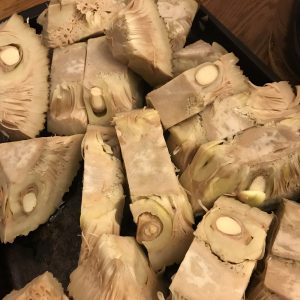
- Jackfruit Pieces

-

- Seed Pods
-
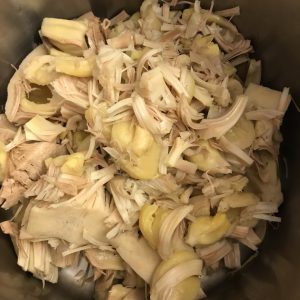
- Prepared Jackfruit
-
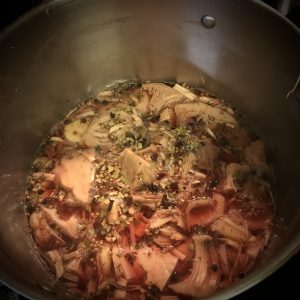
- Marinating

-
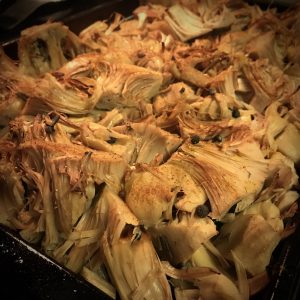
- After Baking

-

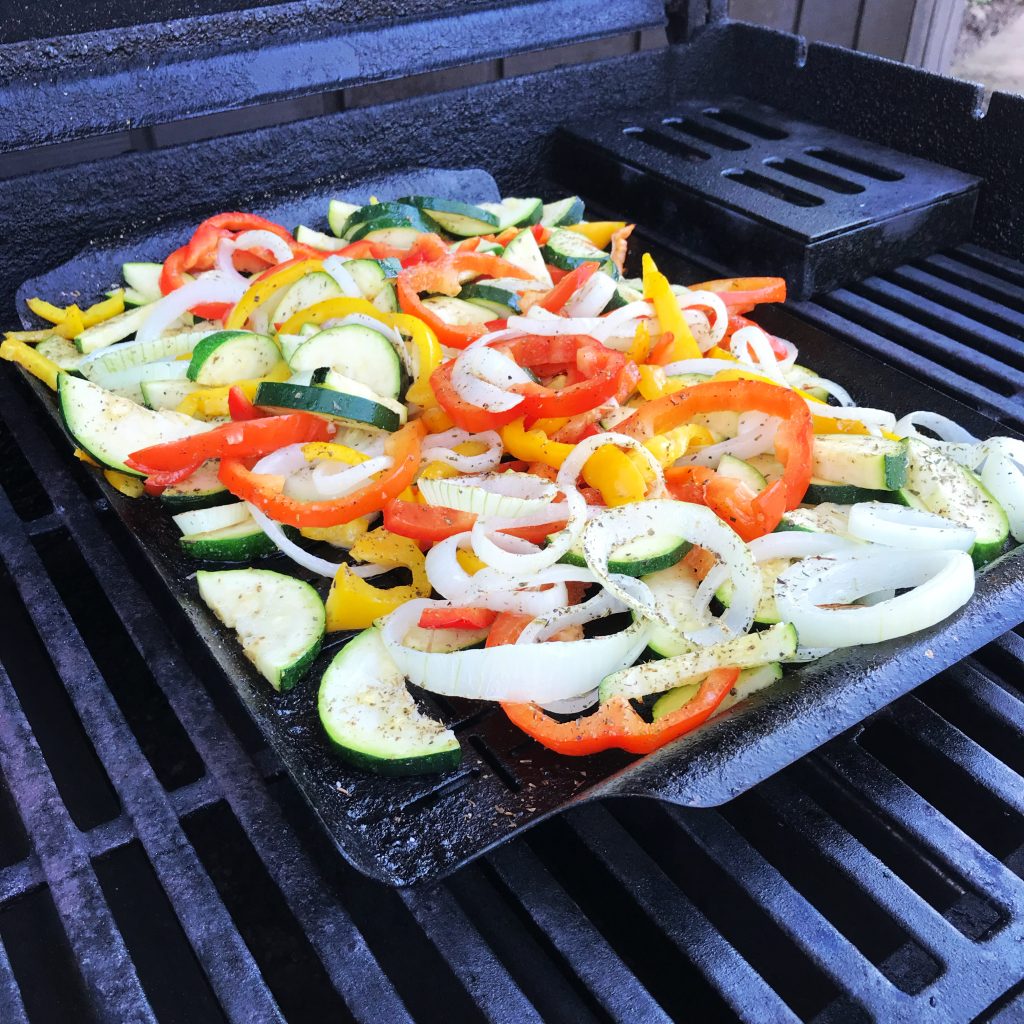
- Carrots and Onions 🙂

 For many years, I made fun of the trend toward gluten-free foods. I would quip “I’ve only been gluten-free for three days, and already I’m a jackass.” I was convinced that unless someone had an actual diagnosed allergy, or a health condition such as Celiac Disease, that there was no health benefit in maintaining a gluten-free diet, and chalked it all up as just another dietary fad.
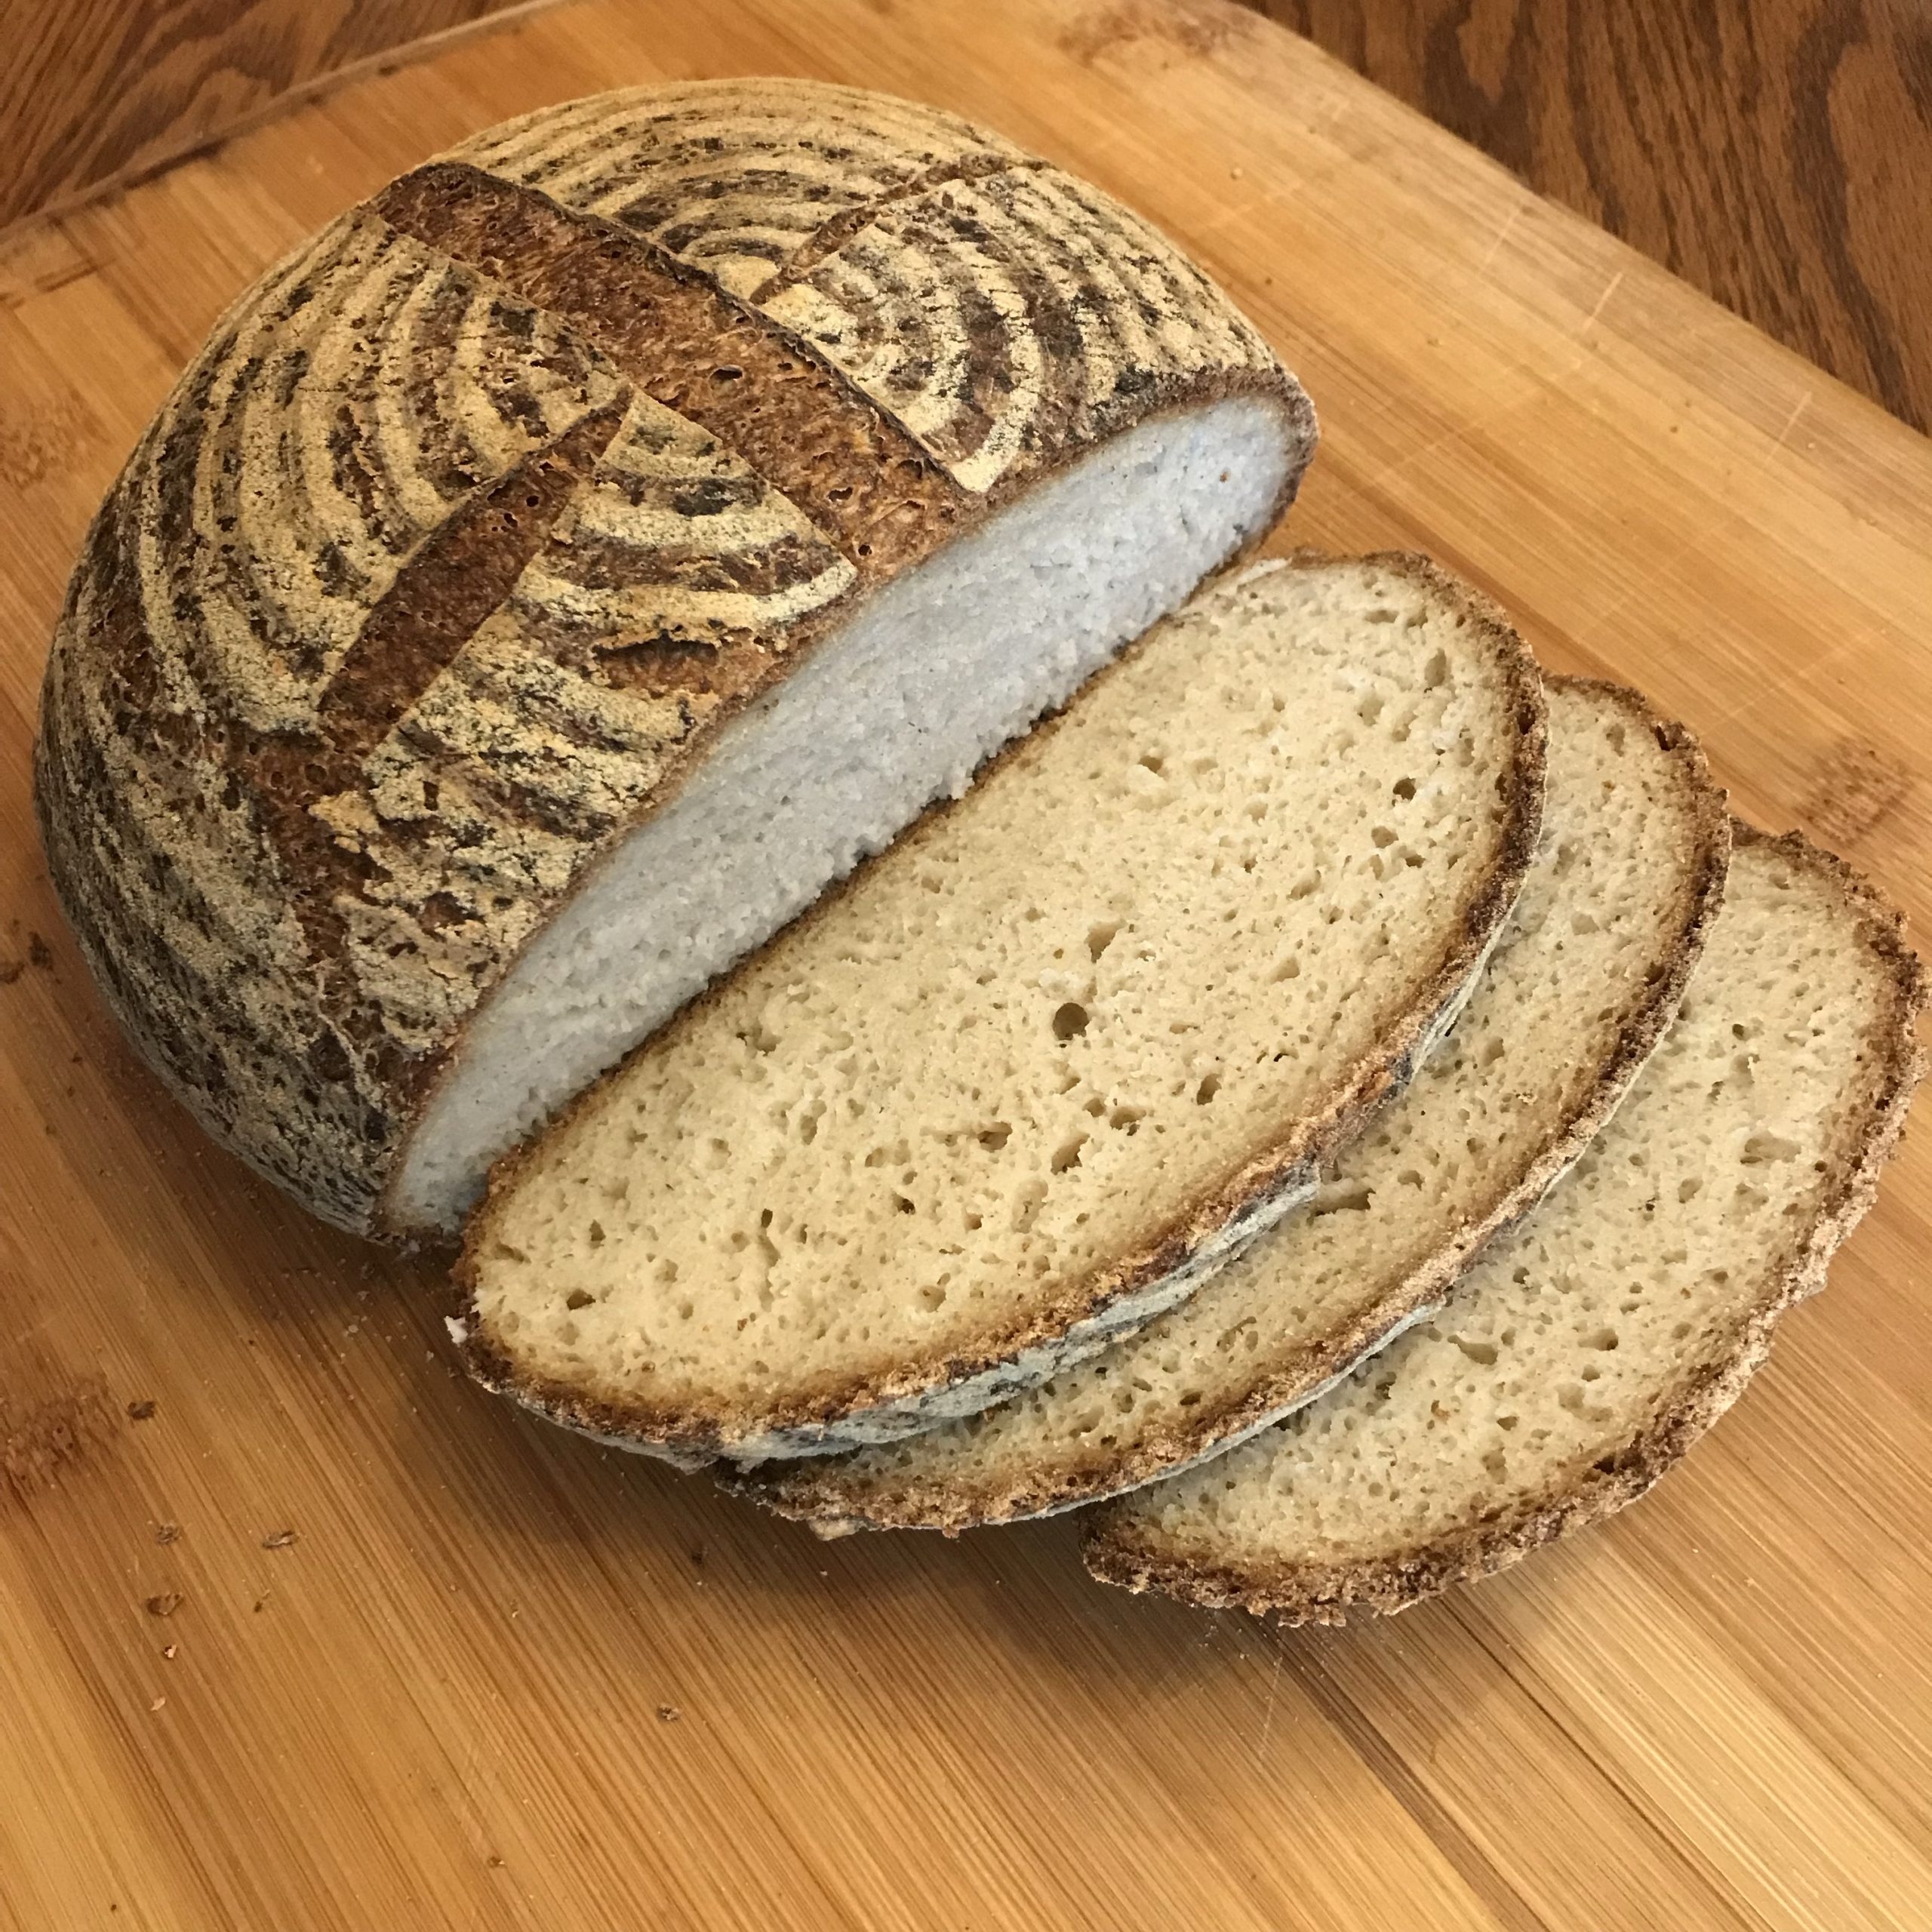
 Apparently I am in my cake era.
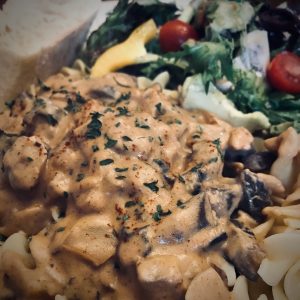 For Sunday Dinner this week, Claudia made a recipe she found on a