Sunday Dinner – 19 August 2018
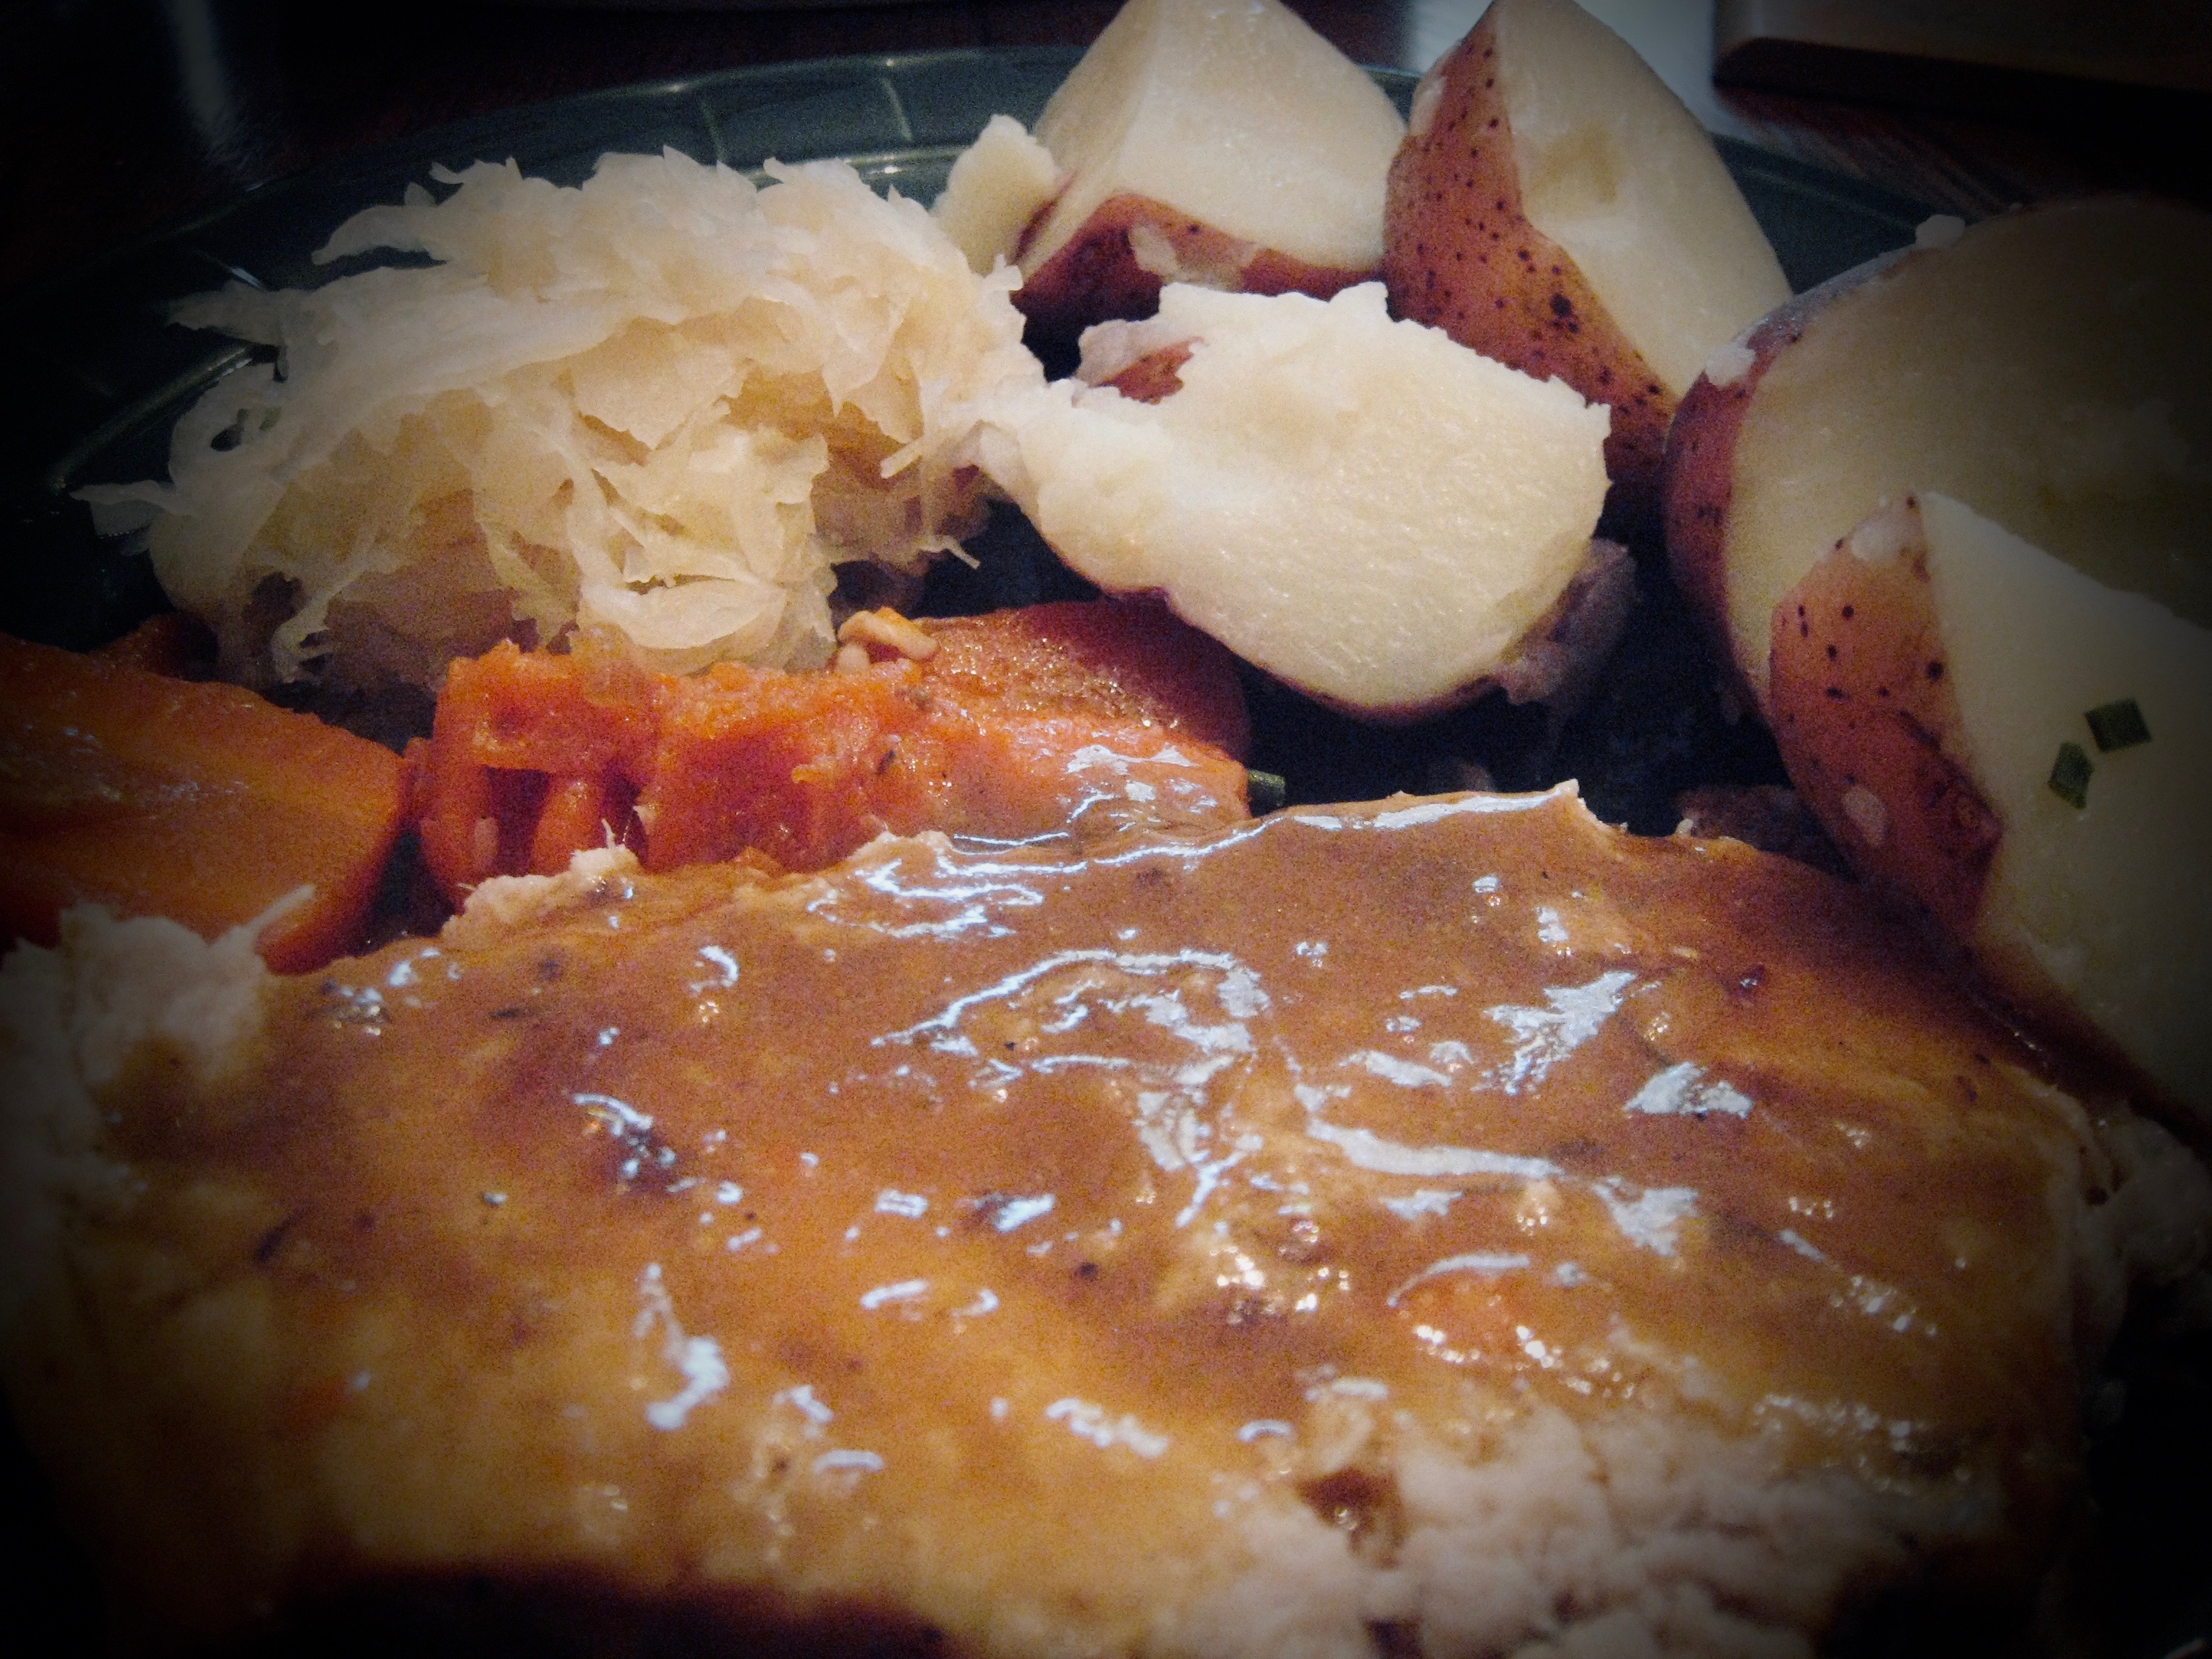
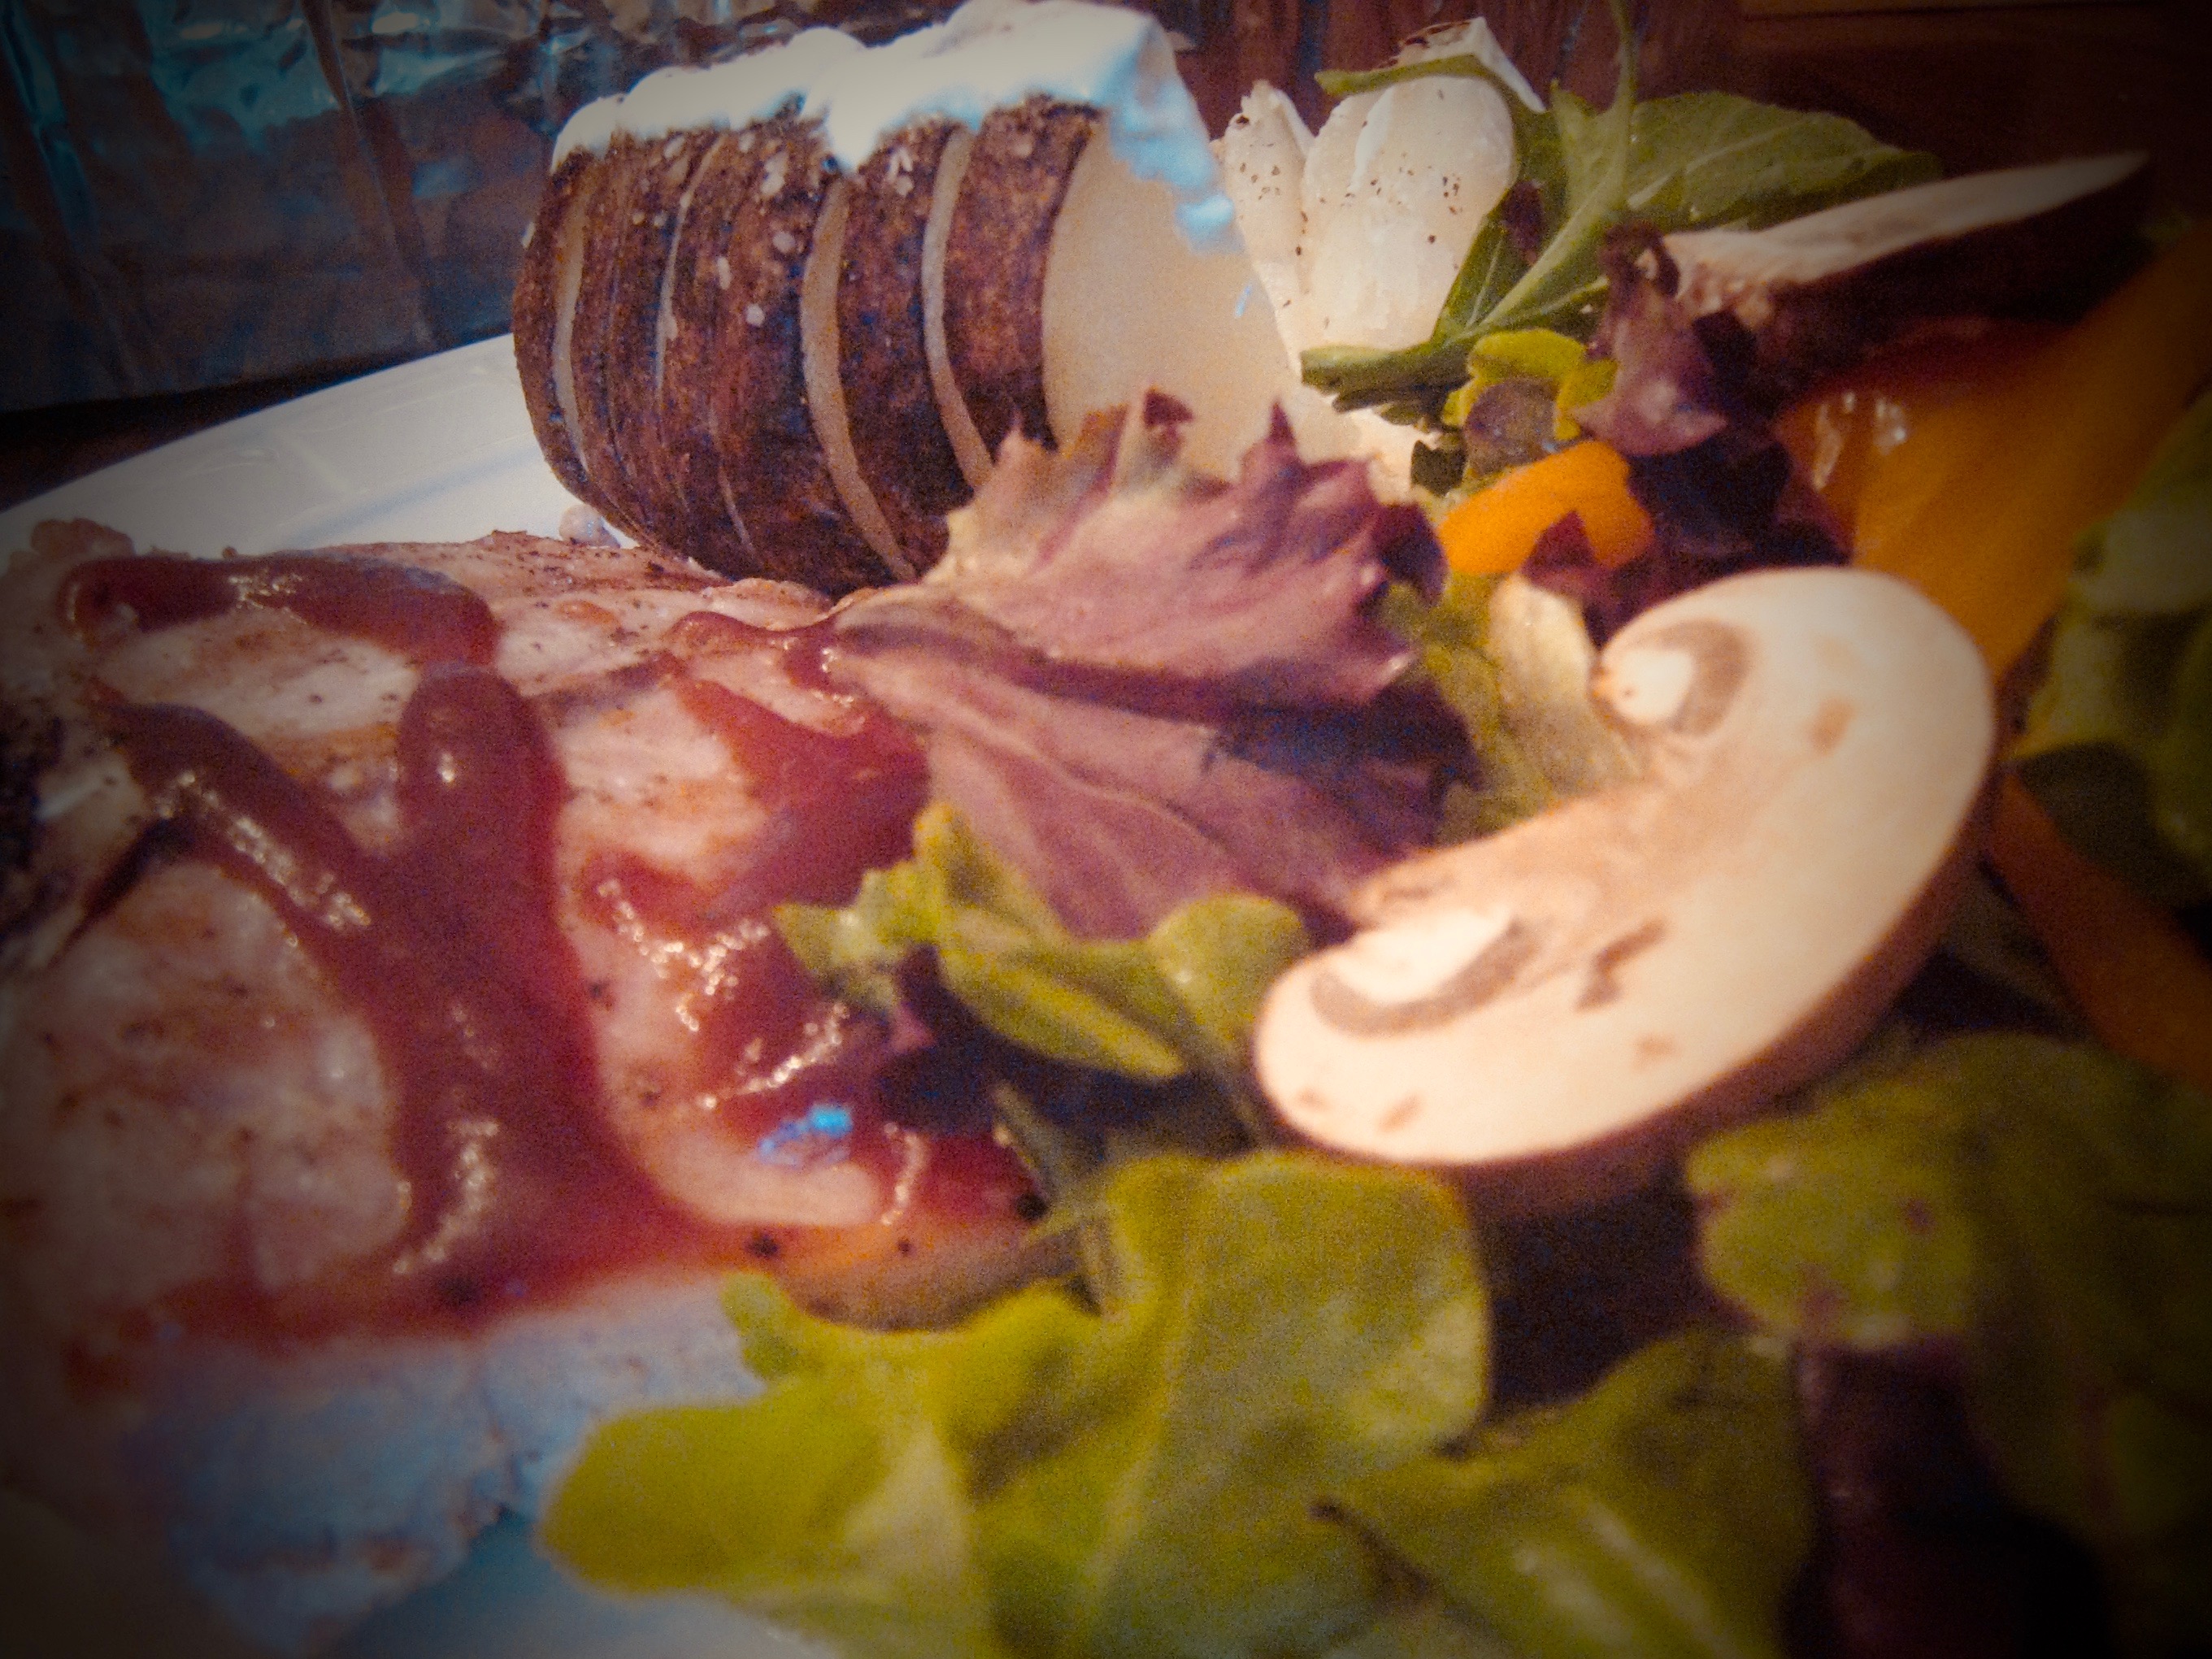
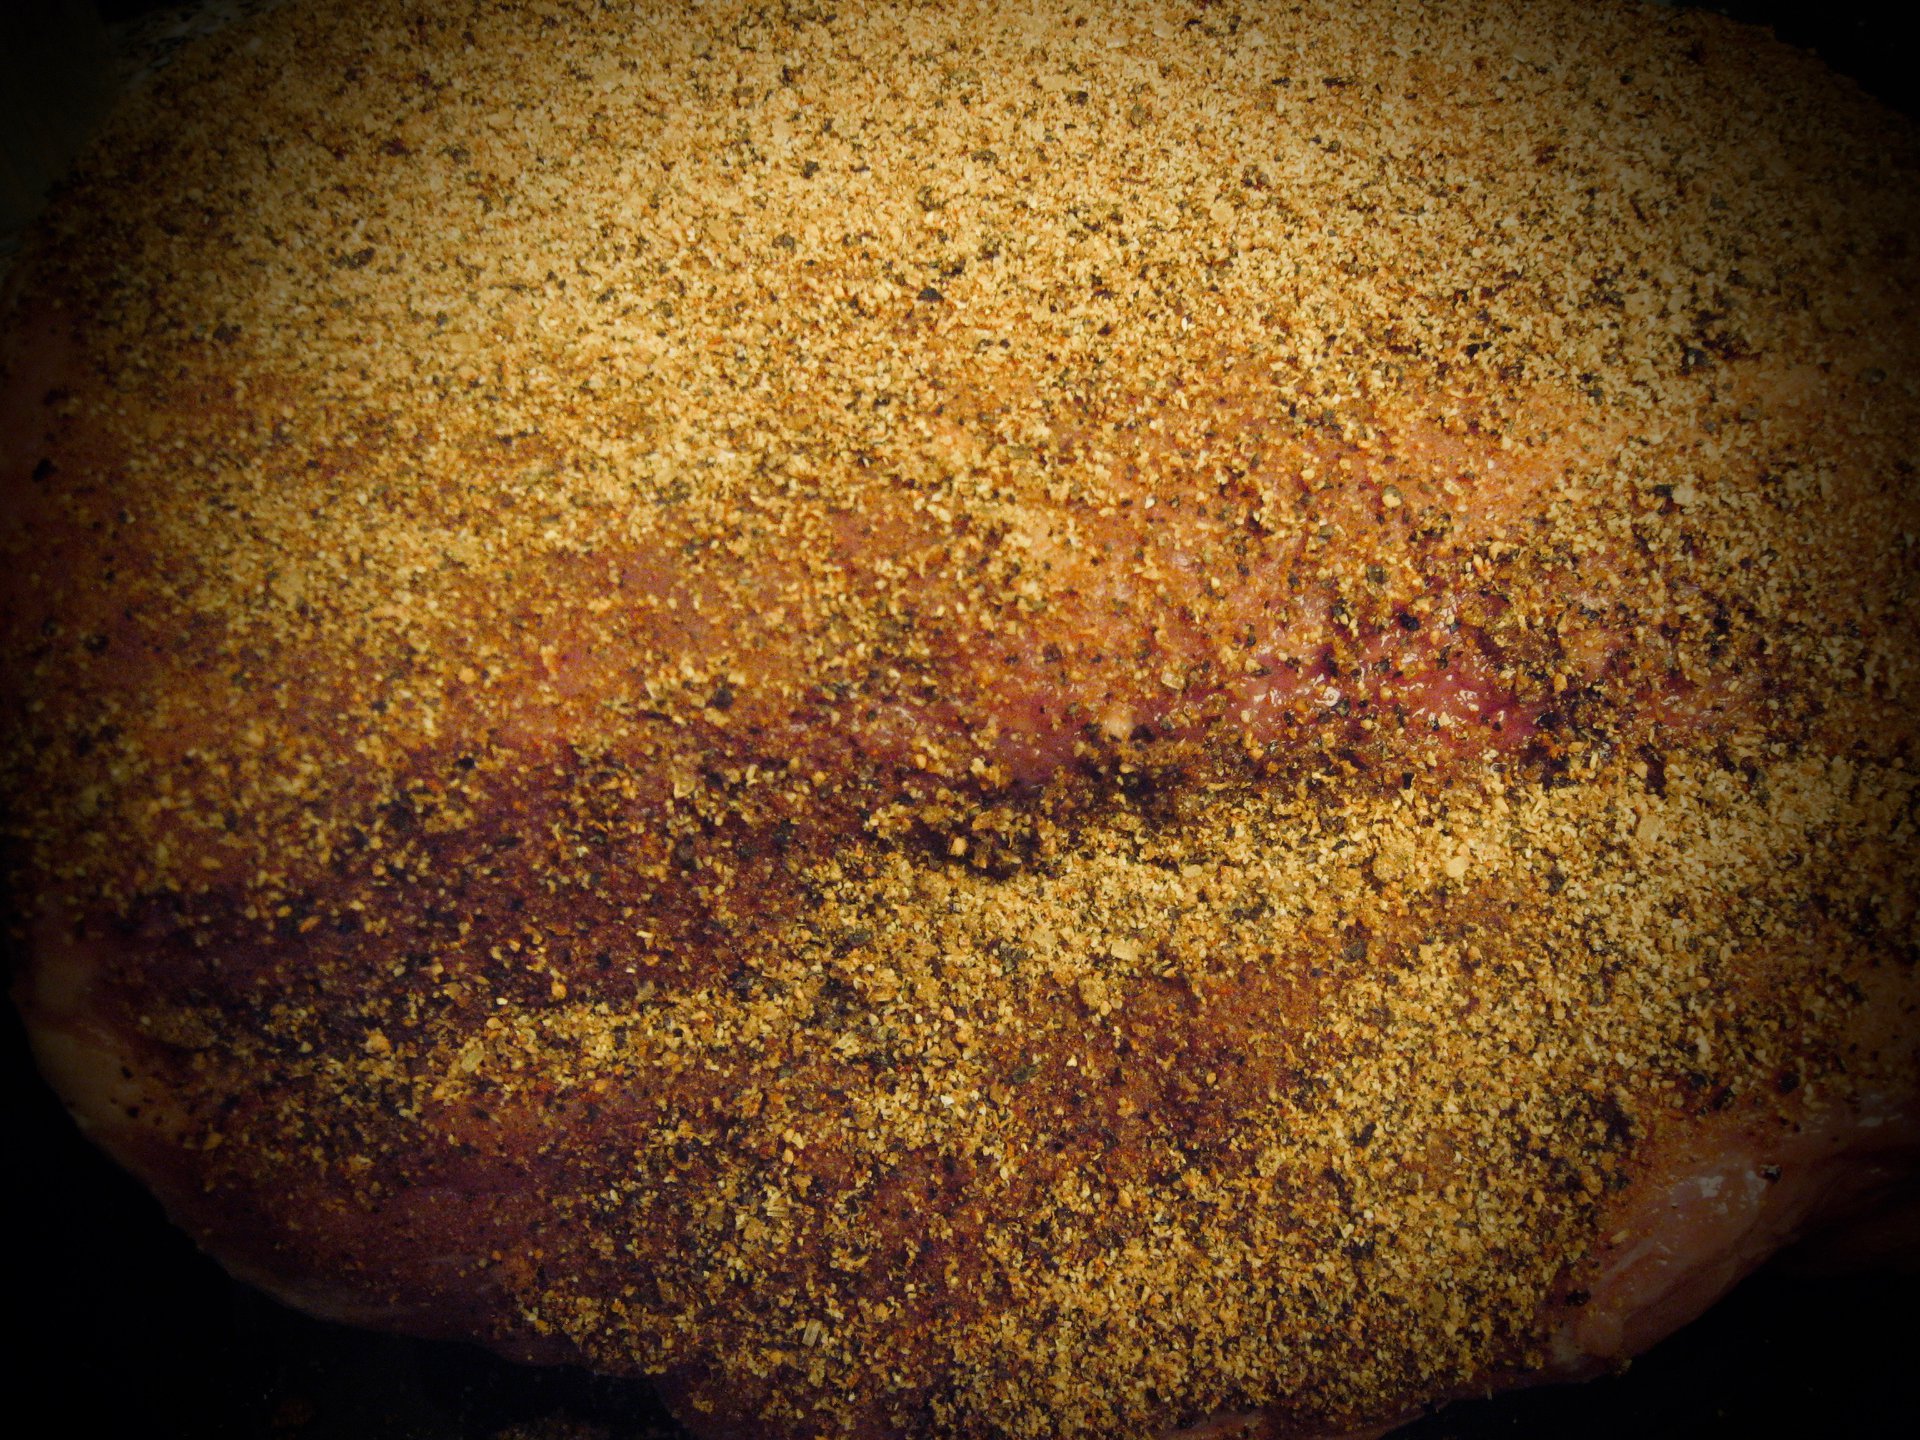
Still clearing out the freezer, so I decided to make pork roast with mustard gravy this week from a five pound pork loin.
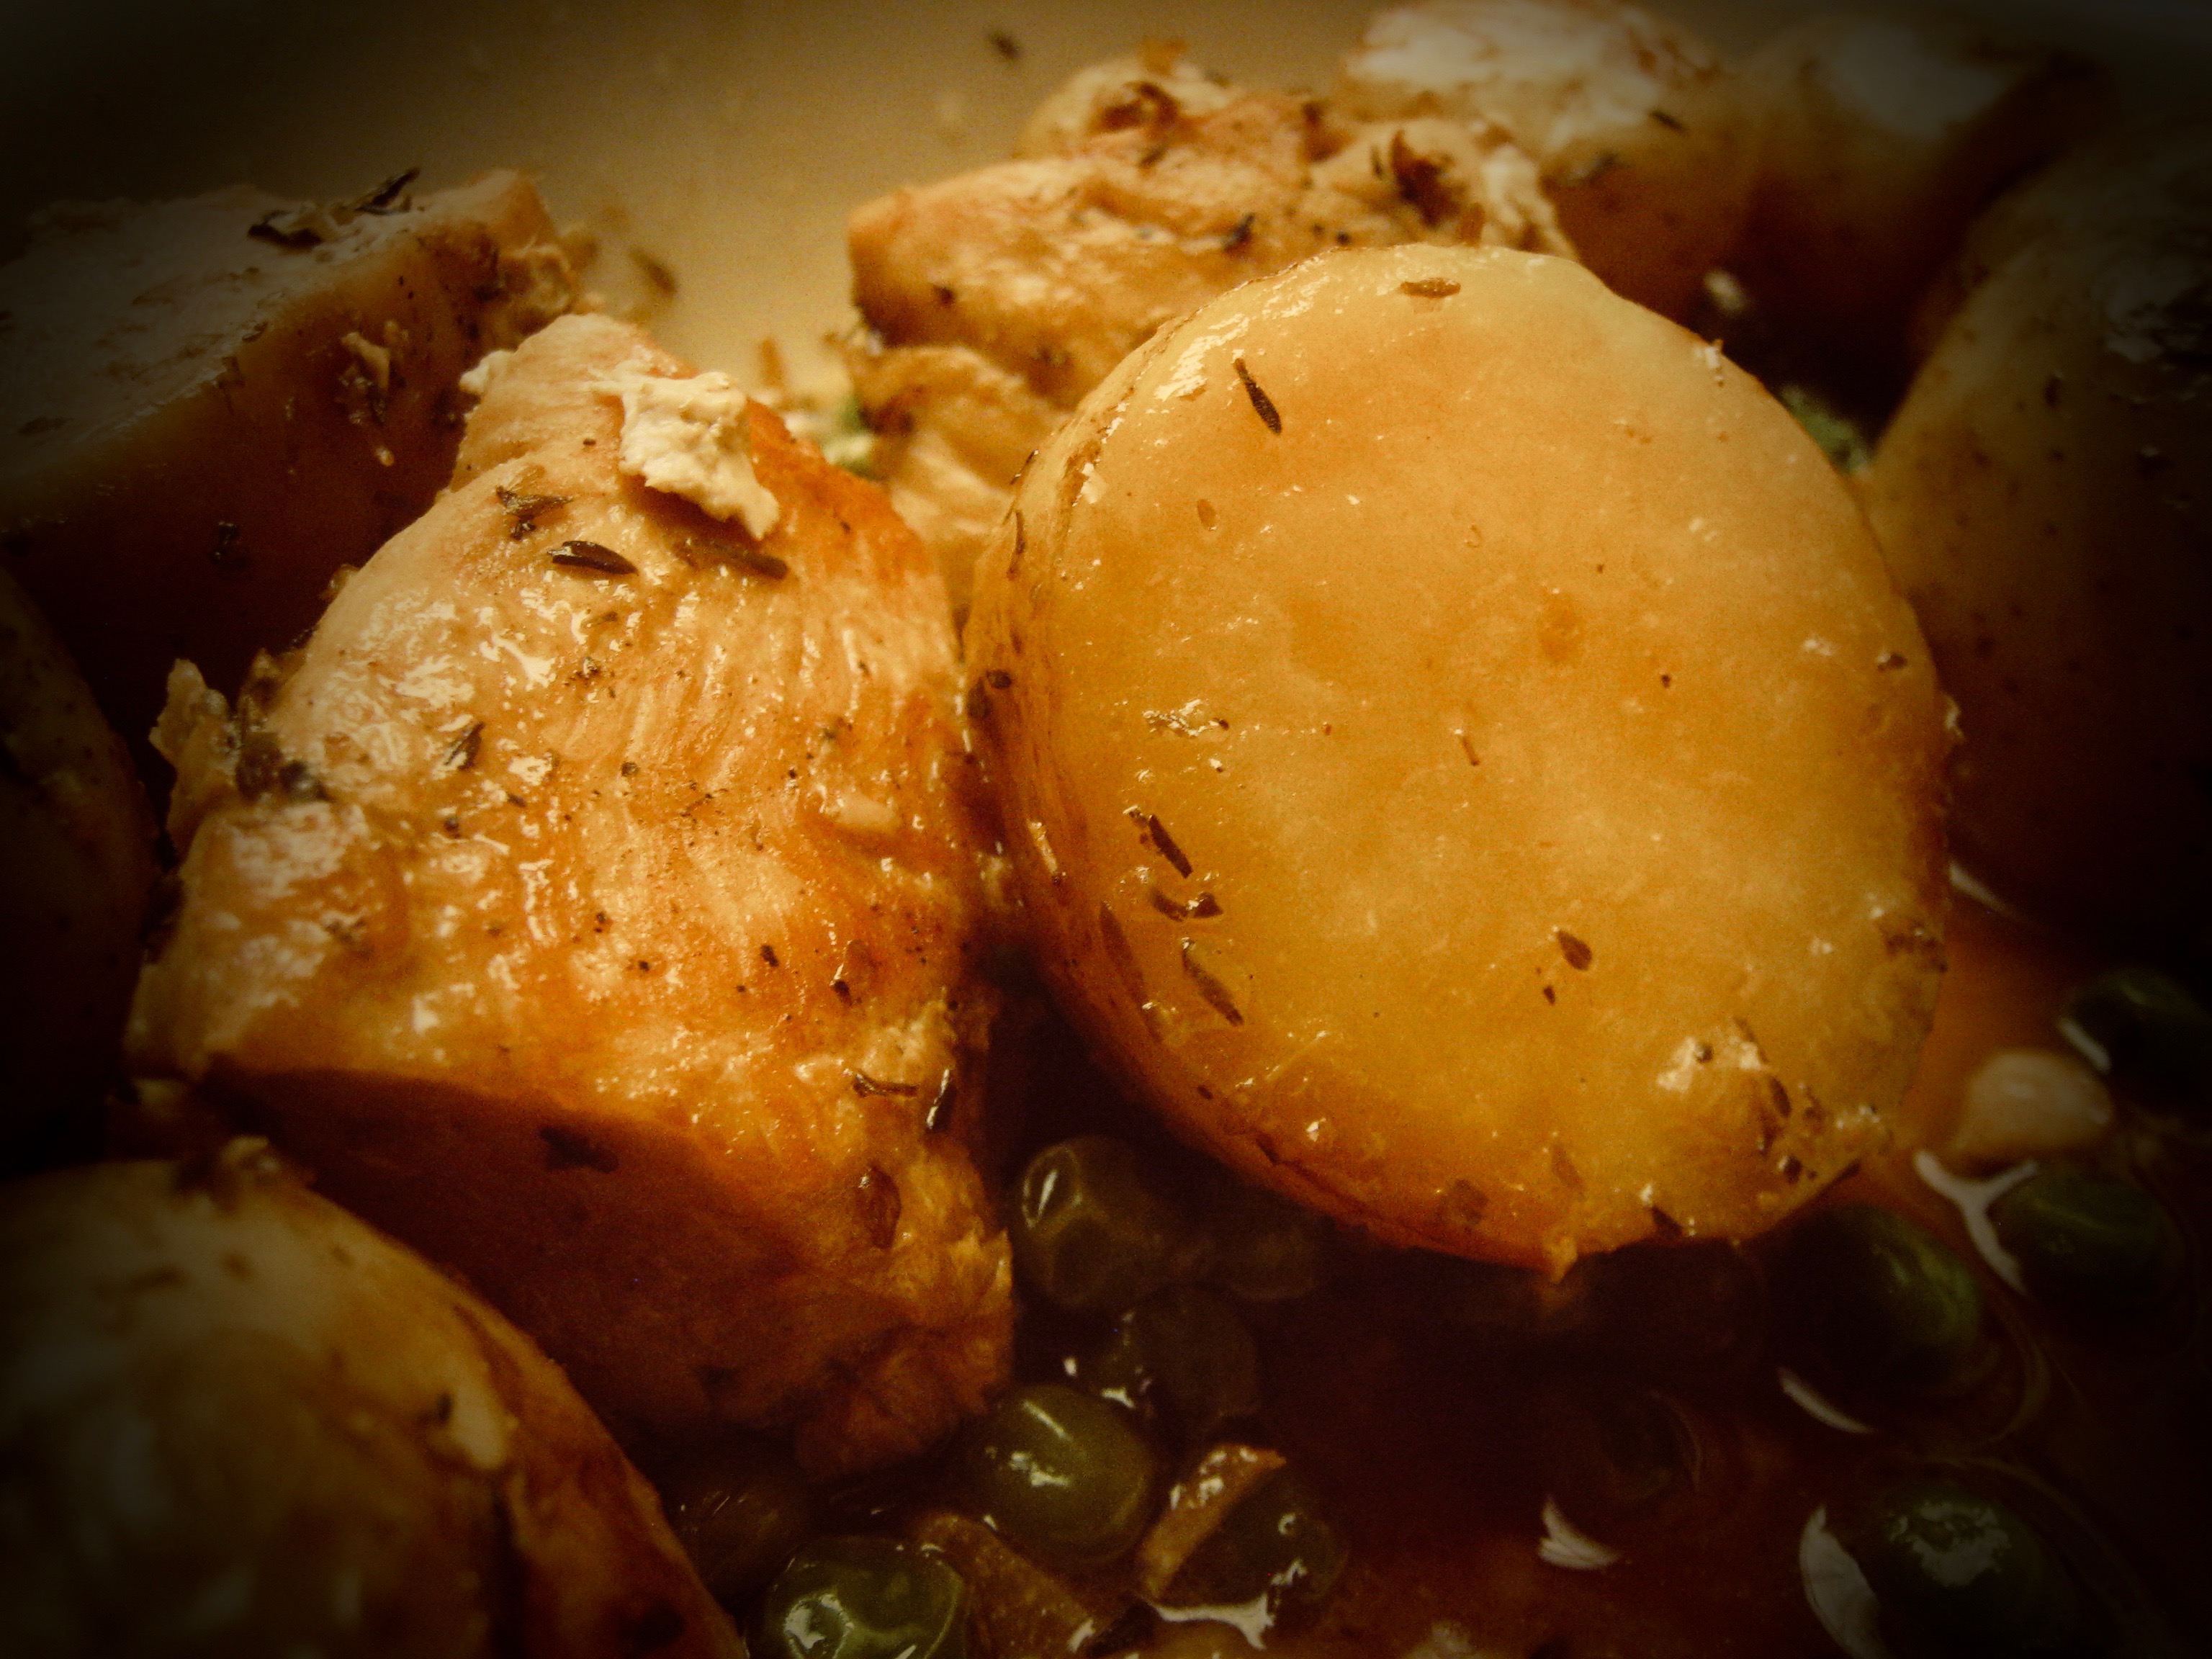
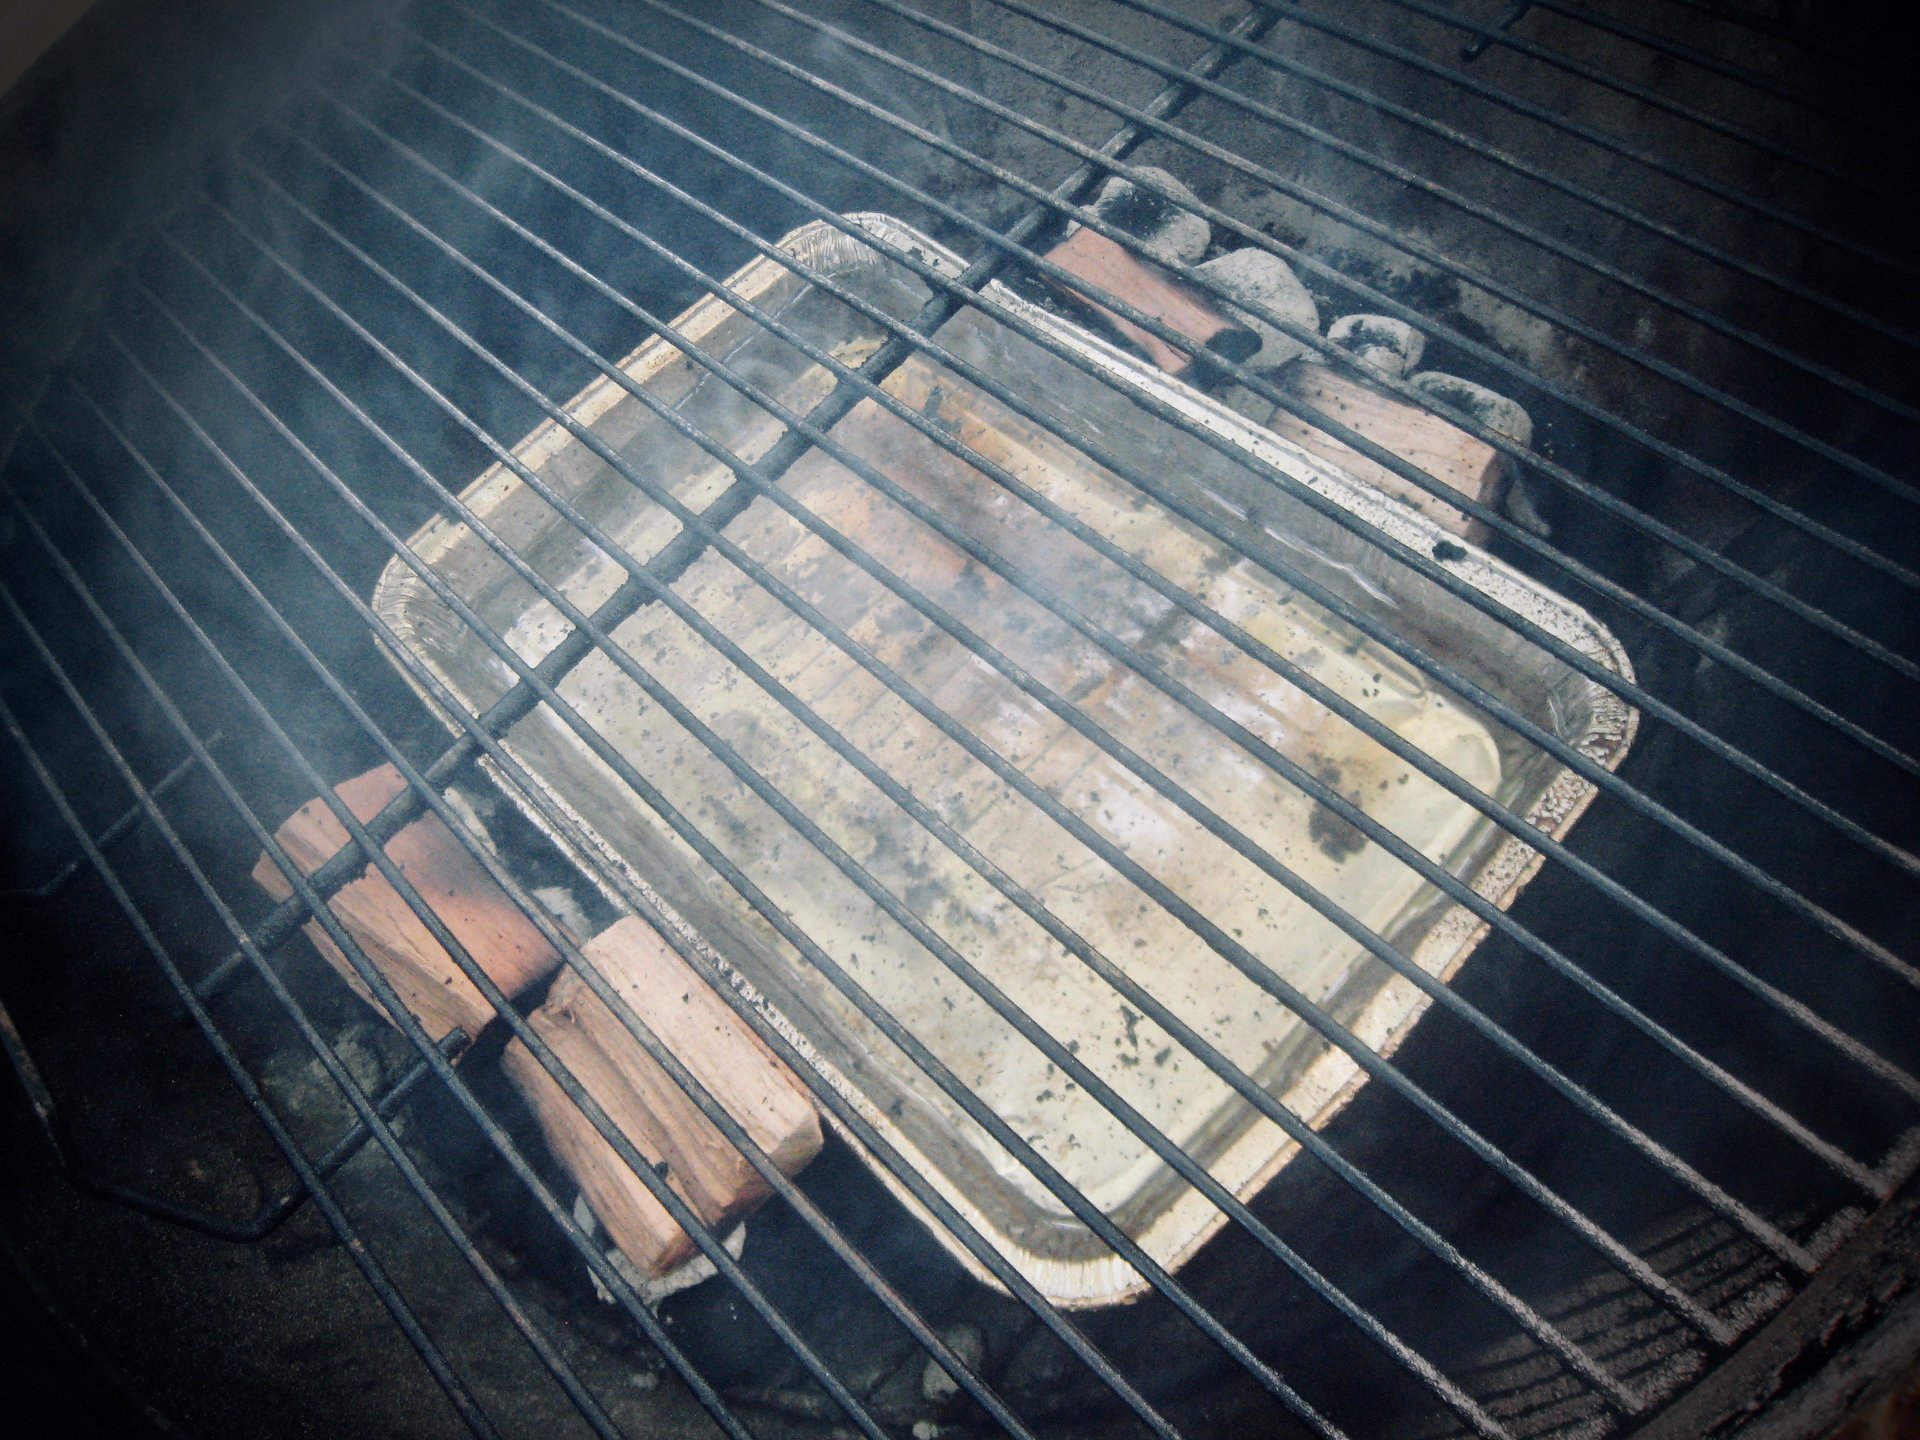
The recipe came from The Daring Gourmet. Essentially, you slather the roast with mustard, brown it in a Dutch Oven, add some aromatics, wine and broth, and cook it at 325 for three hours. When everything comes out, you add a flour and stock slurry and simmer to thicken the gravy.
This is the sort of simple, savory food that my mother would have prepared when I was a child. I don’t remember her ever cooking this particular recipe, but the flavors brought back memories nonetheless.
Grampy’s 80th birthday is coming up in a few days, and he does love his pork, so I figured it would be a fitting dinner this weekend.
Aunt Pat had other family obligations today, so she didn’t join us, but we did have a chance to get together with her and Claudia’s cousins, Dan and Monica (and Monica’s husband, Ron) Saturday evening for a bit.
We served a Columbia Valley Riesling from Aldi’s with the Senfbraten, and I went easy on it because I may have been overserved Saturday night. It rarely happens, but it does happen. ¯\_(ツ)_/¯
Grammy brought a super delicious cherry pie for dessert.