It’s probably no secret that pizza is one of our family’s favorite foods. Ordering a pizza on Friday night was our routine for literally years when we were first married. Both of my sons worked for a time in our favorite pizza joint where we used to live. We still enjoy a good restaurant pie from time to time, whether thin and crackly crust, thick and chewy or Chicago style deep dish.
We’ve also always made our own pizzas at home, first using store-bought crusts, then eventually making them from scratch. Finding the dough recipe from Artisan Bread in Five Minutes a Day made a huge difference in the quality of our home-made pizzas.
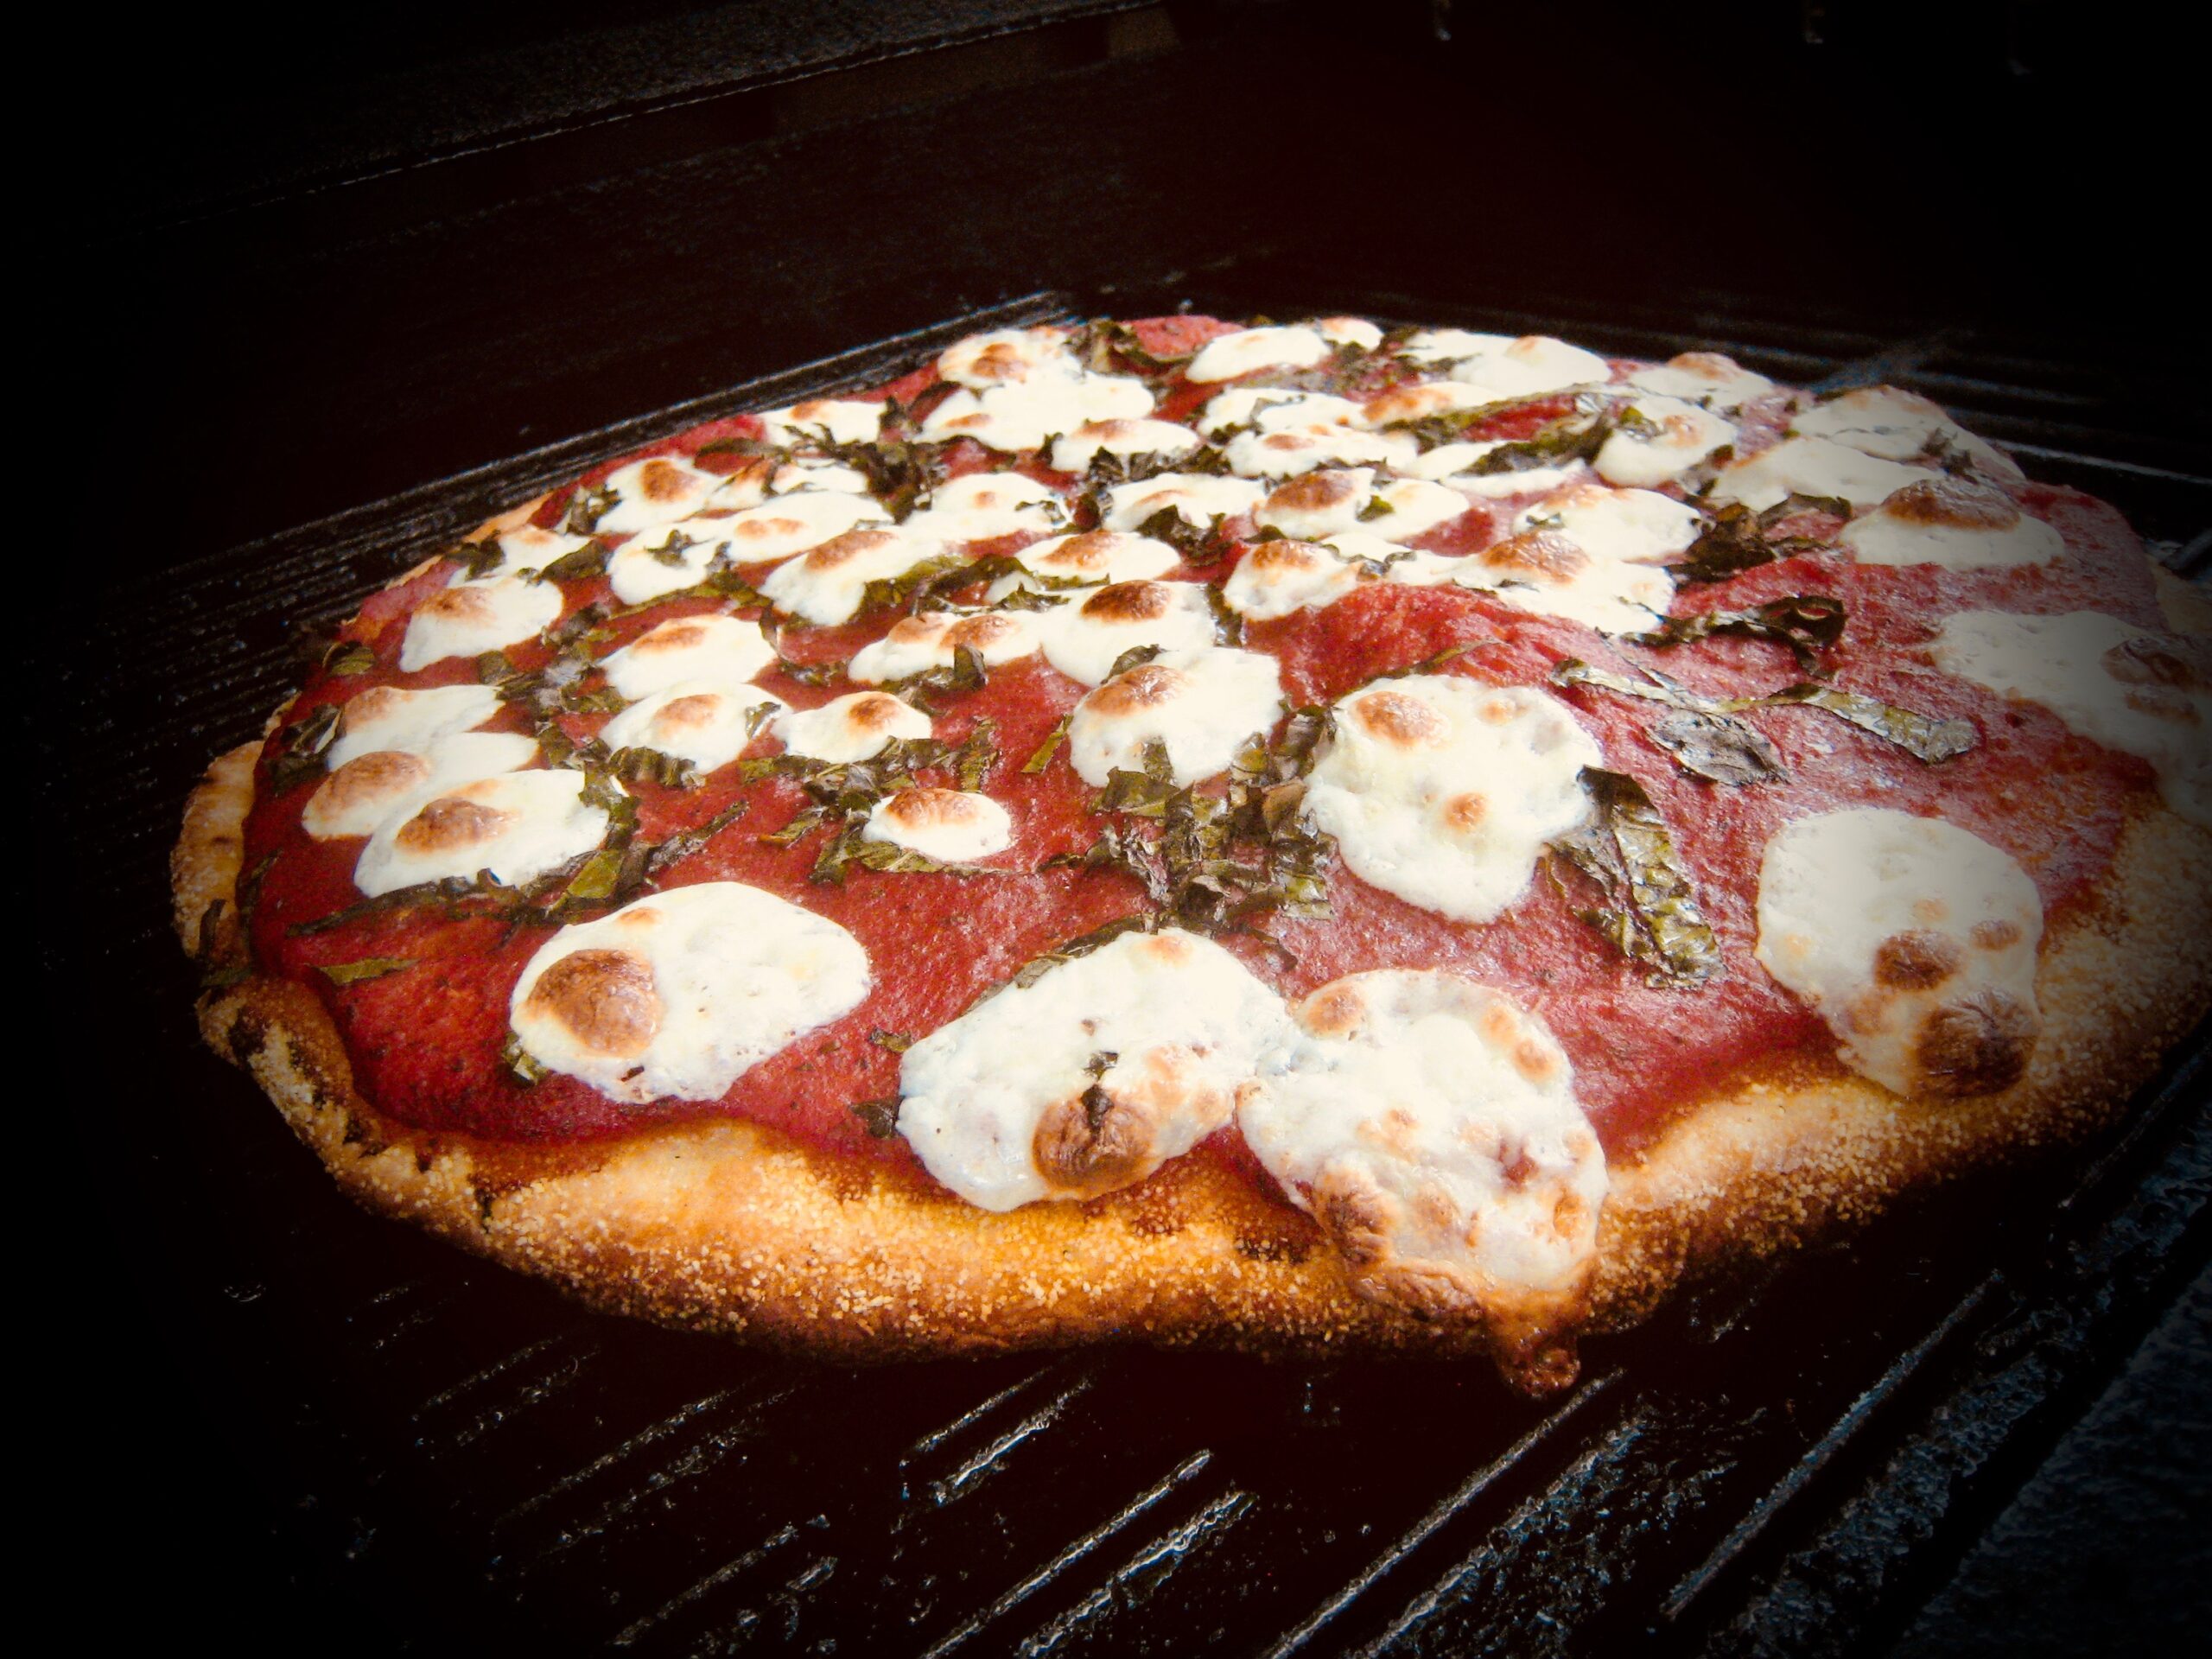
In addition to baking pizza on the grill we love this version of deep dish, and have been making it for the better part of a decade now. It draws on a recipe from Lou Malati’s in Chicago.
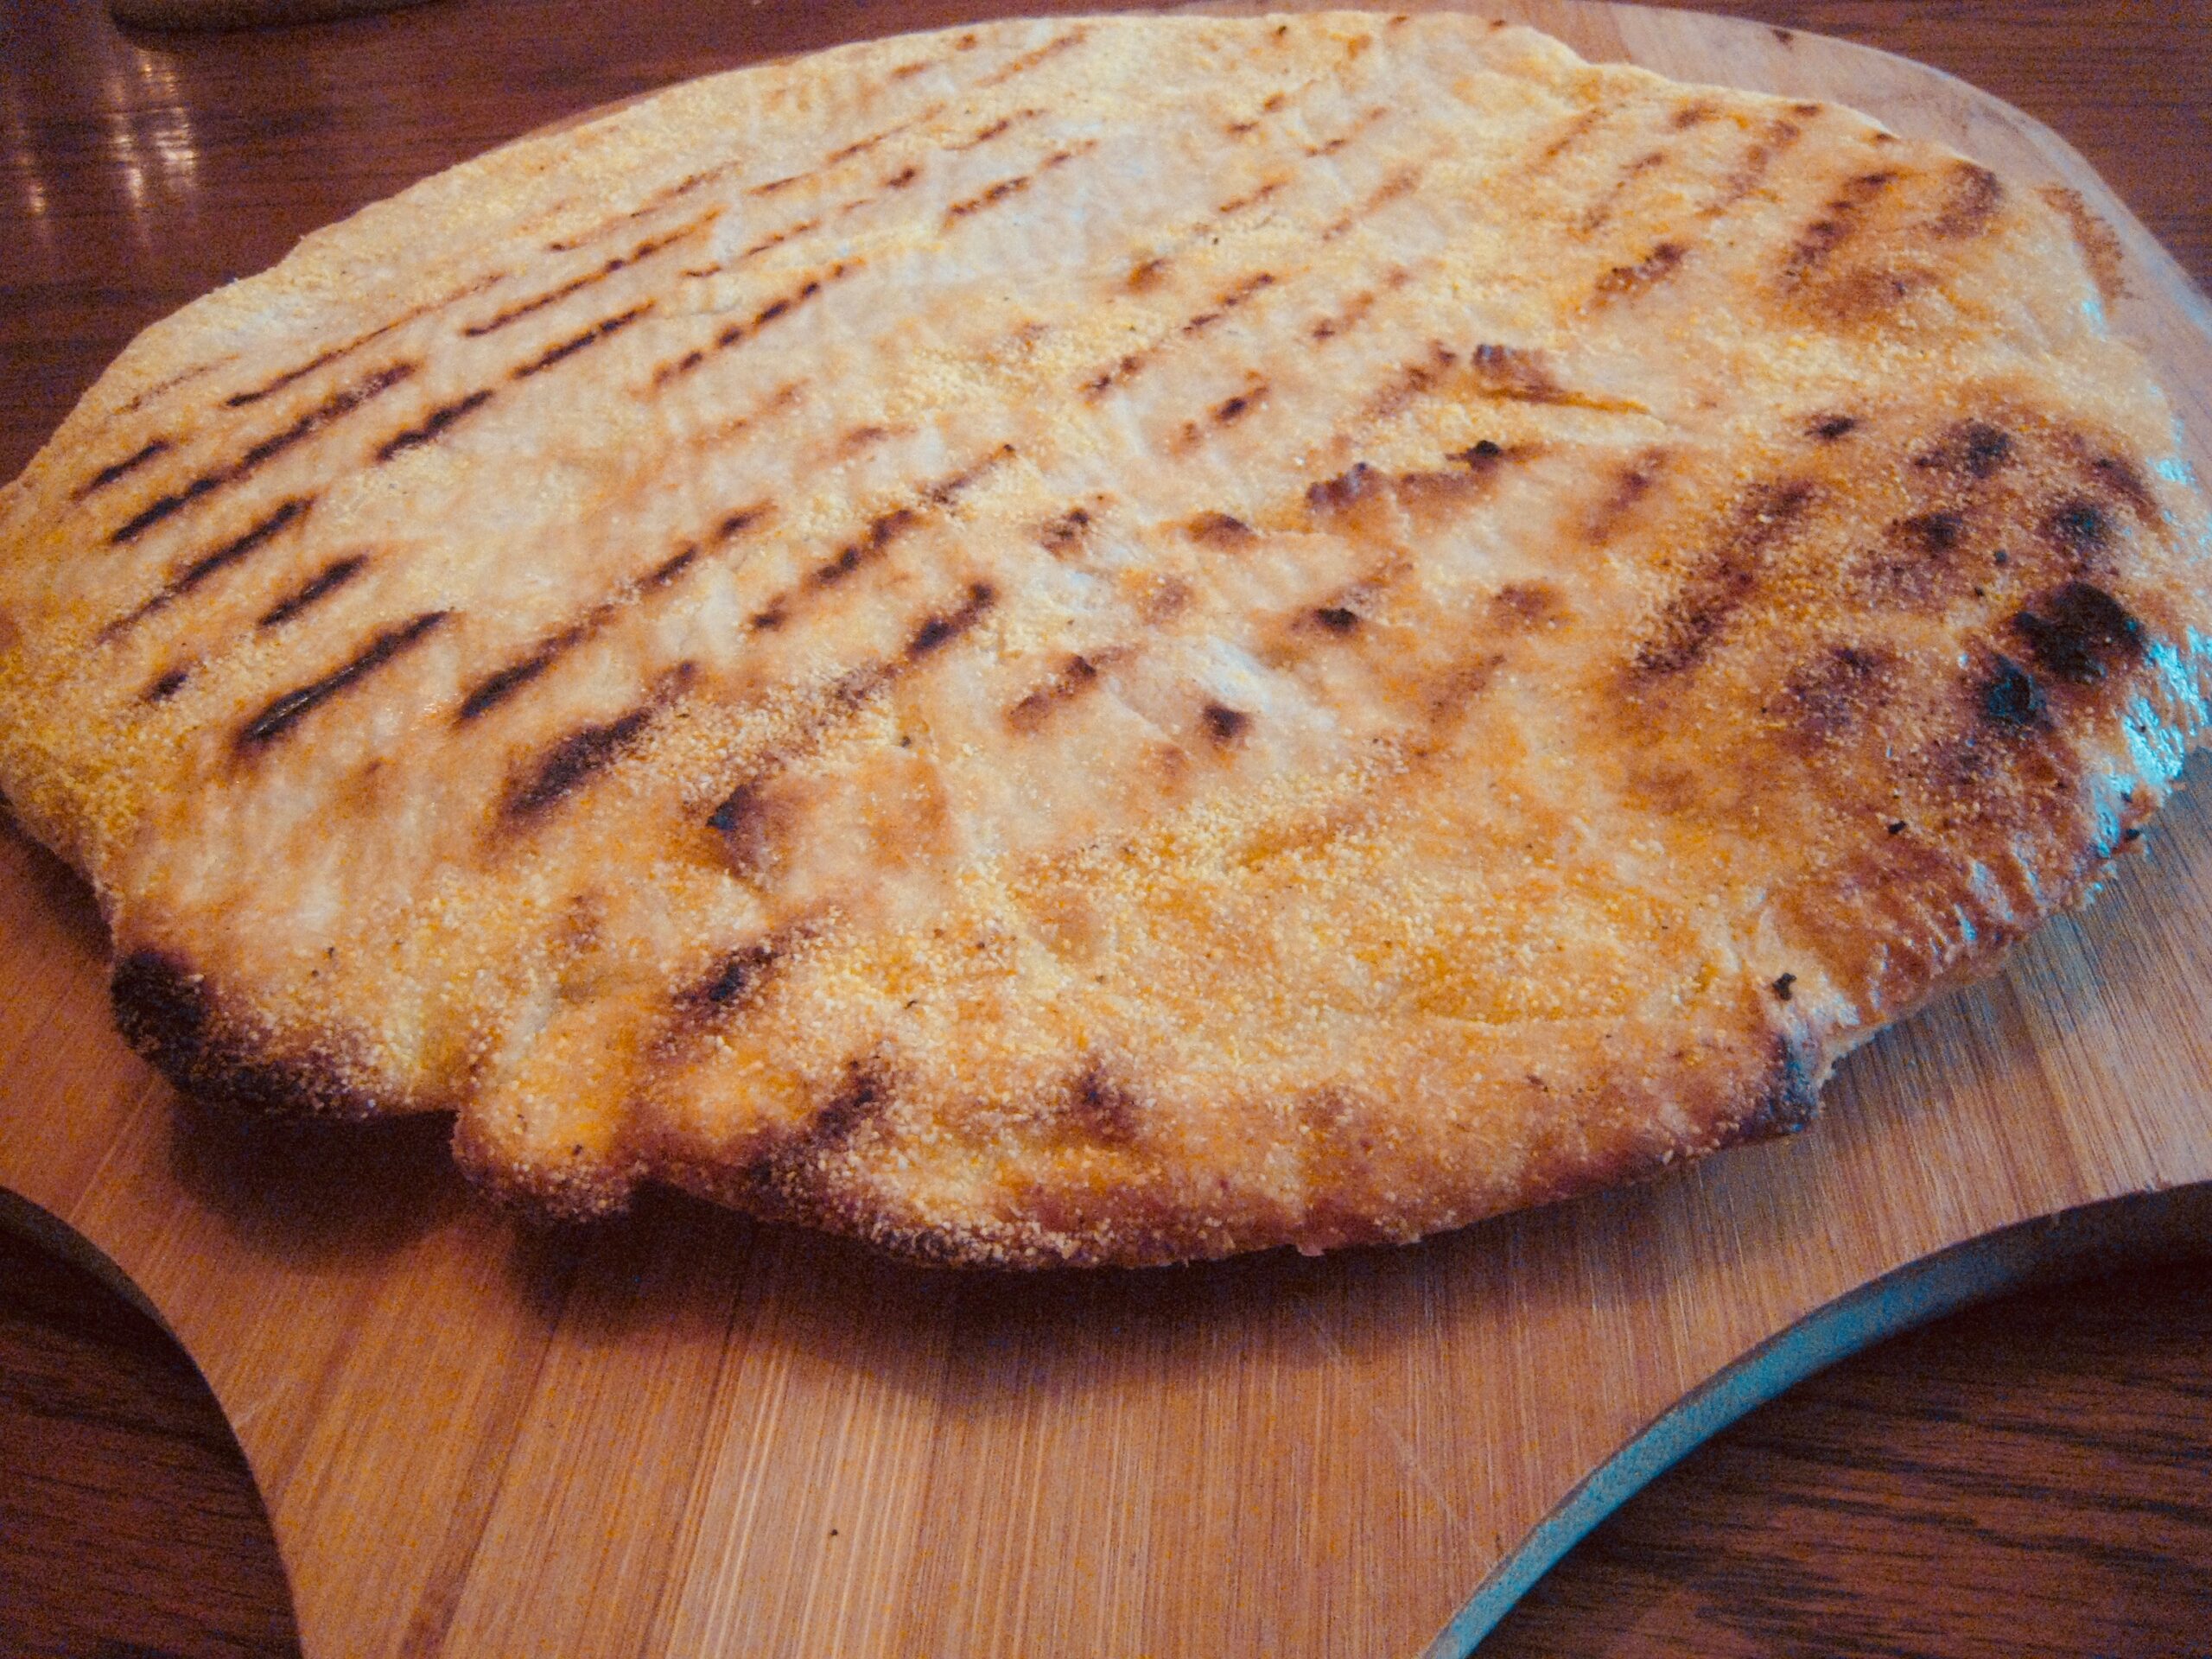
I start by prepping a ball of one-quarter of the dough from a batch of the AB5 recipe linked above. My iron skillet gets a liberal spray of olive oil, and then a good dusting of corn meal before the dough is spread out in the bottom. I press it down and out until it comes up the side of the pan about a quarter to half an inch.
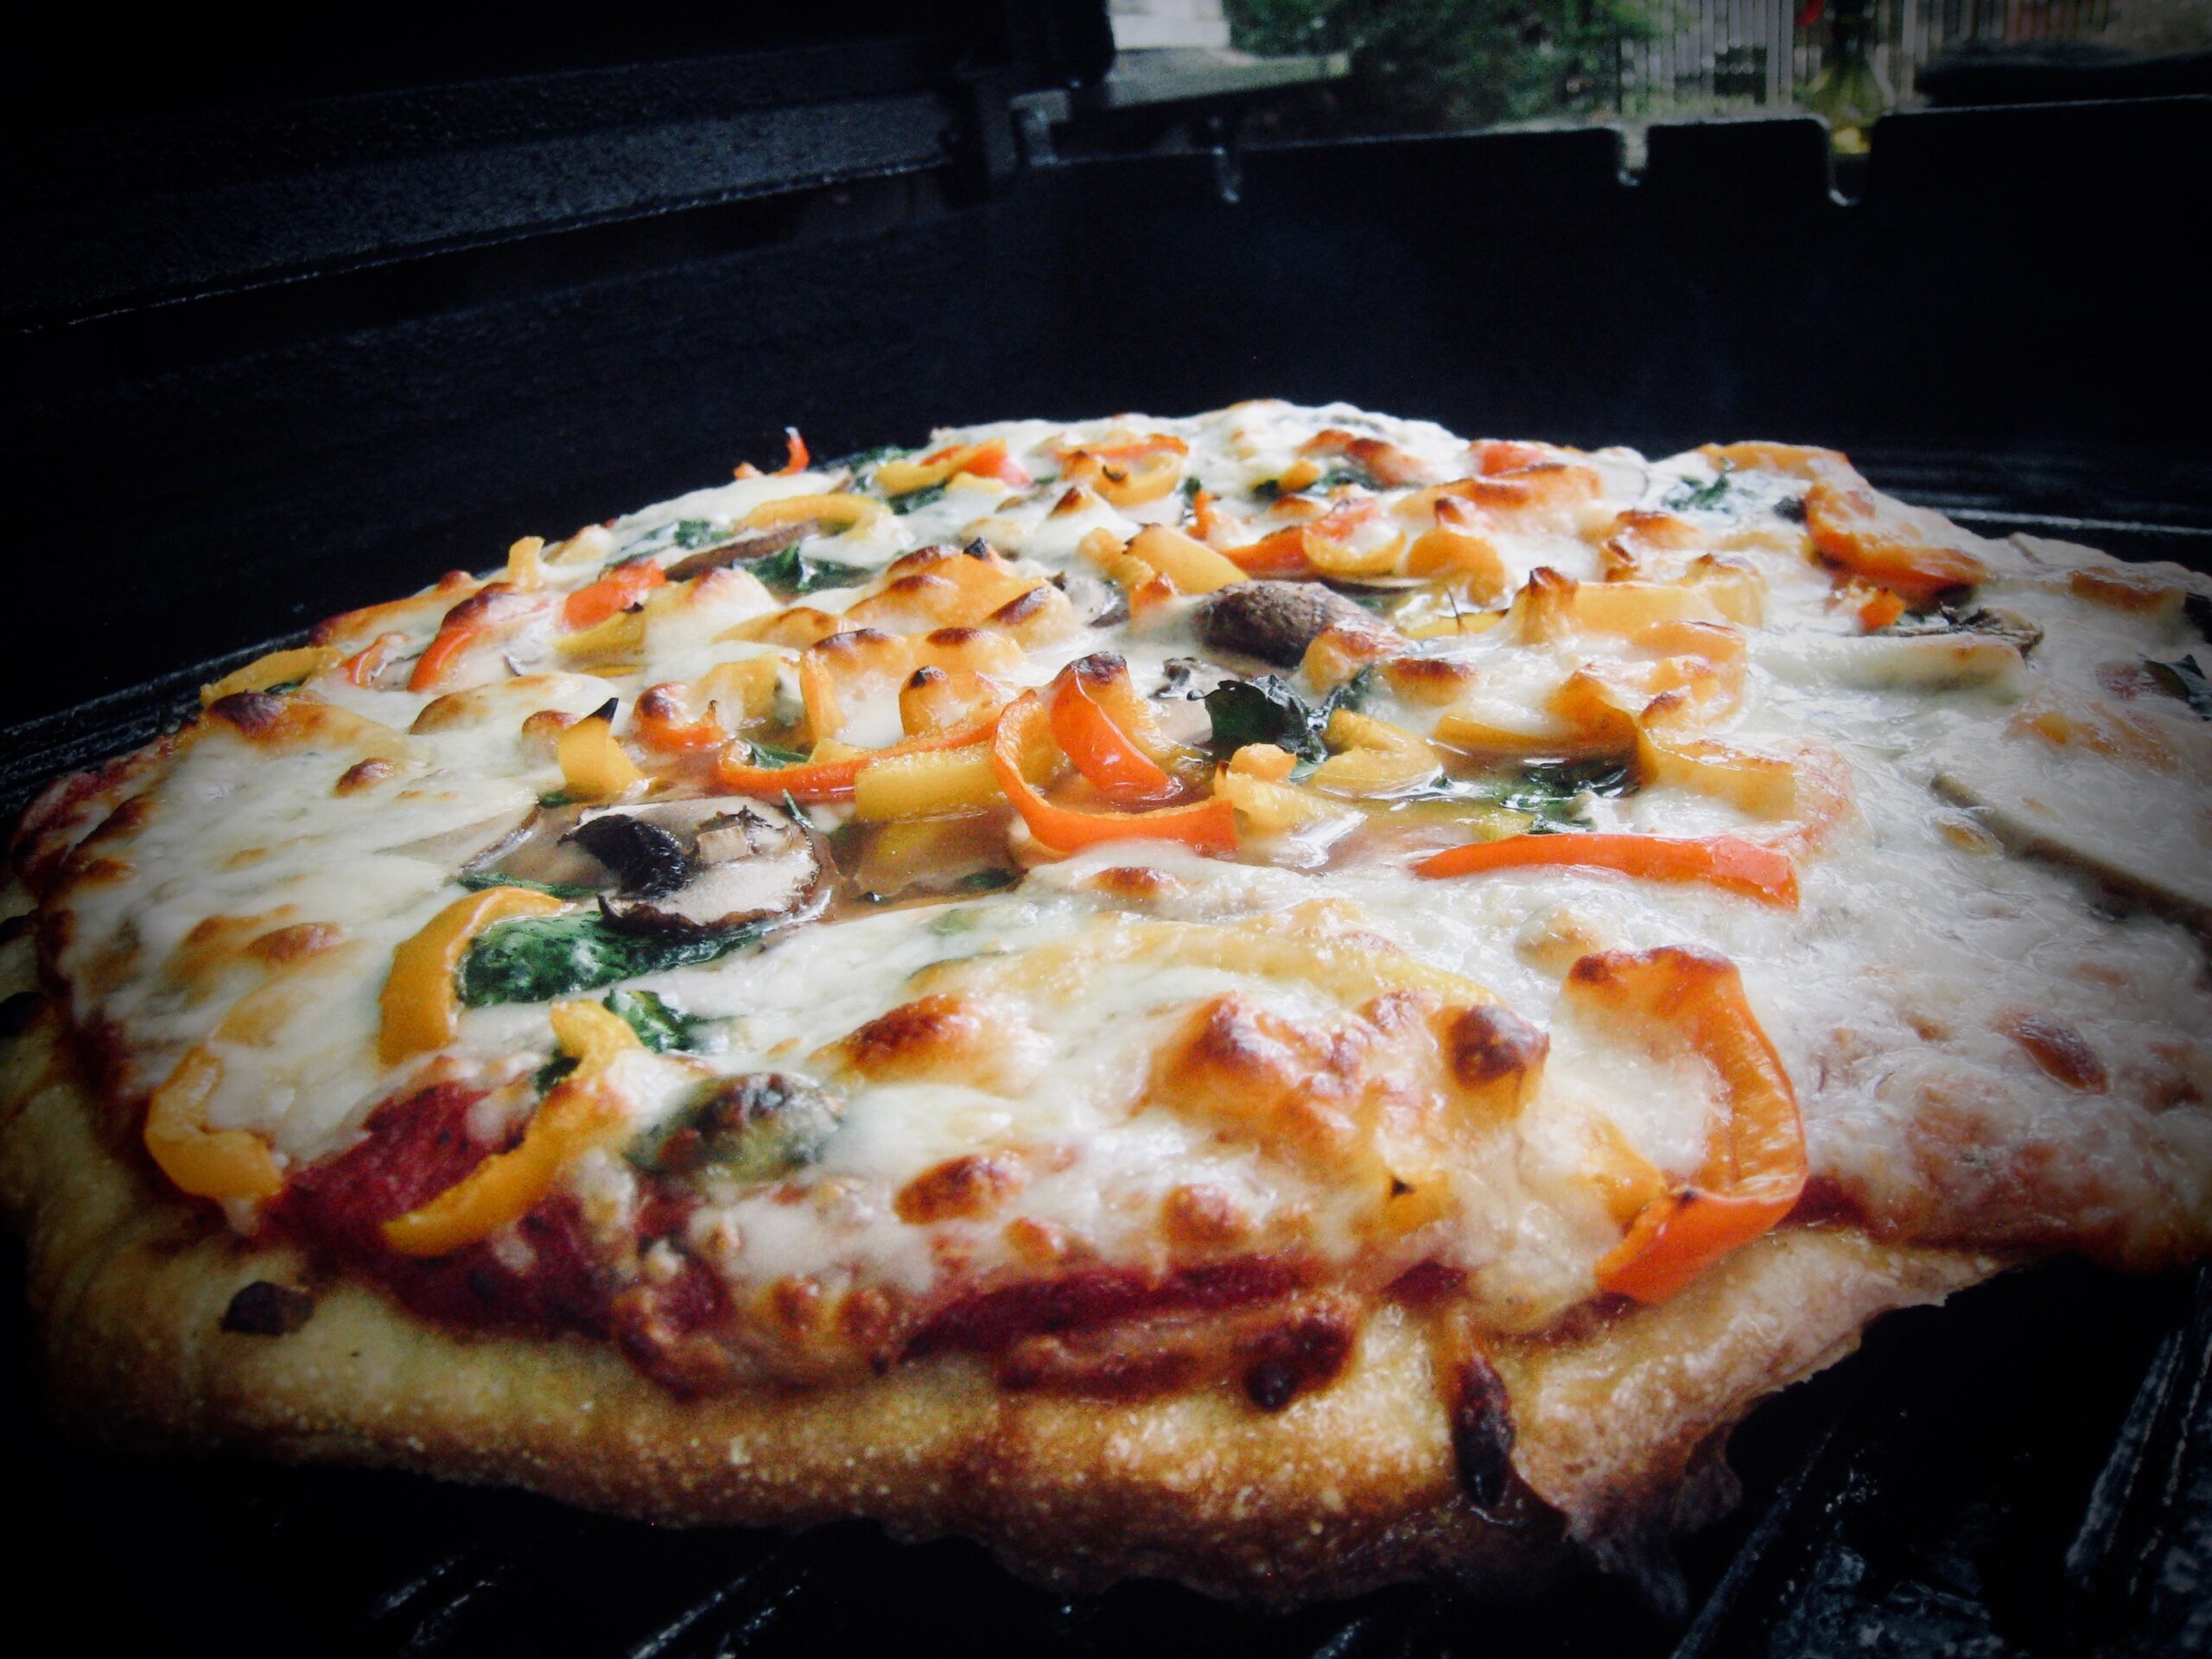
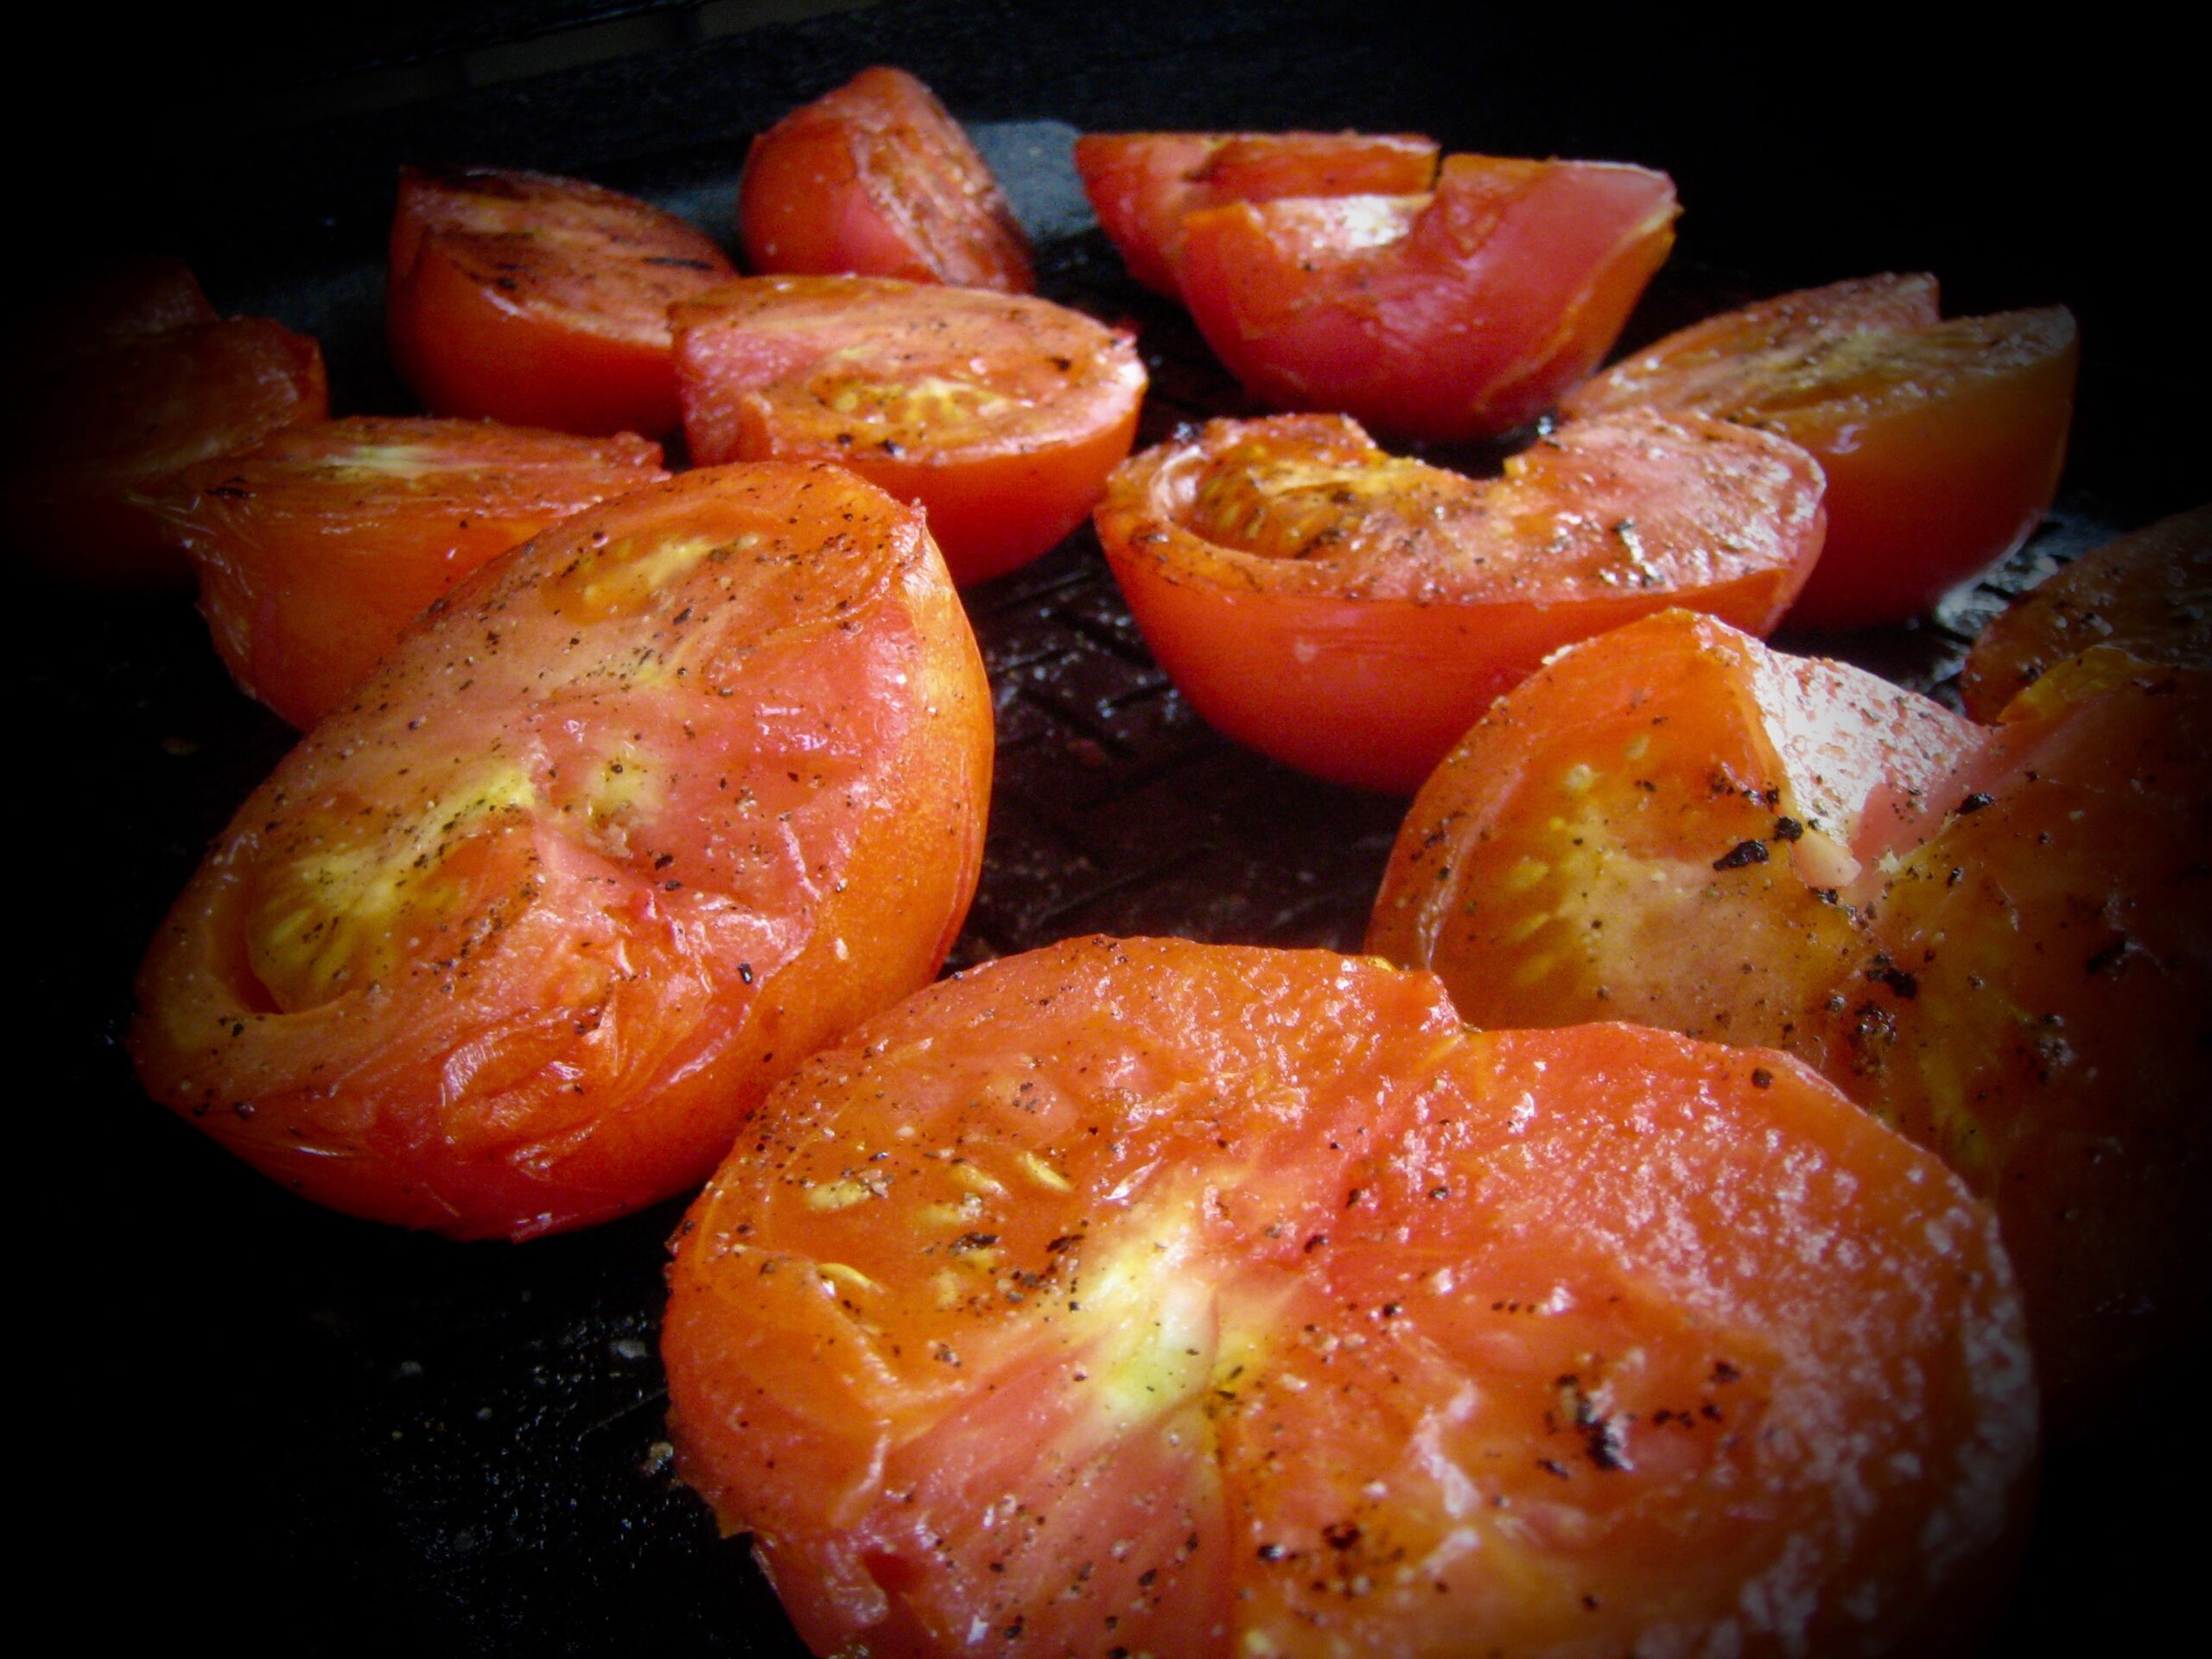
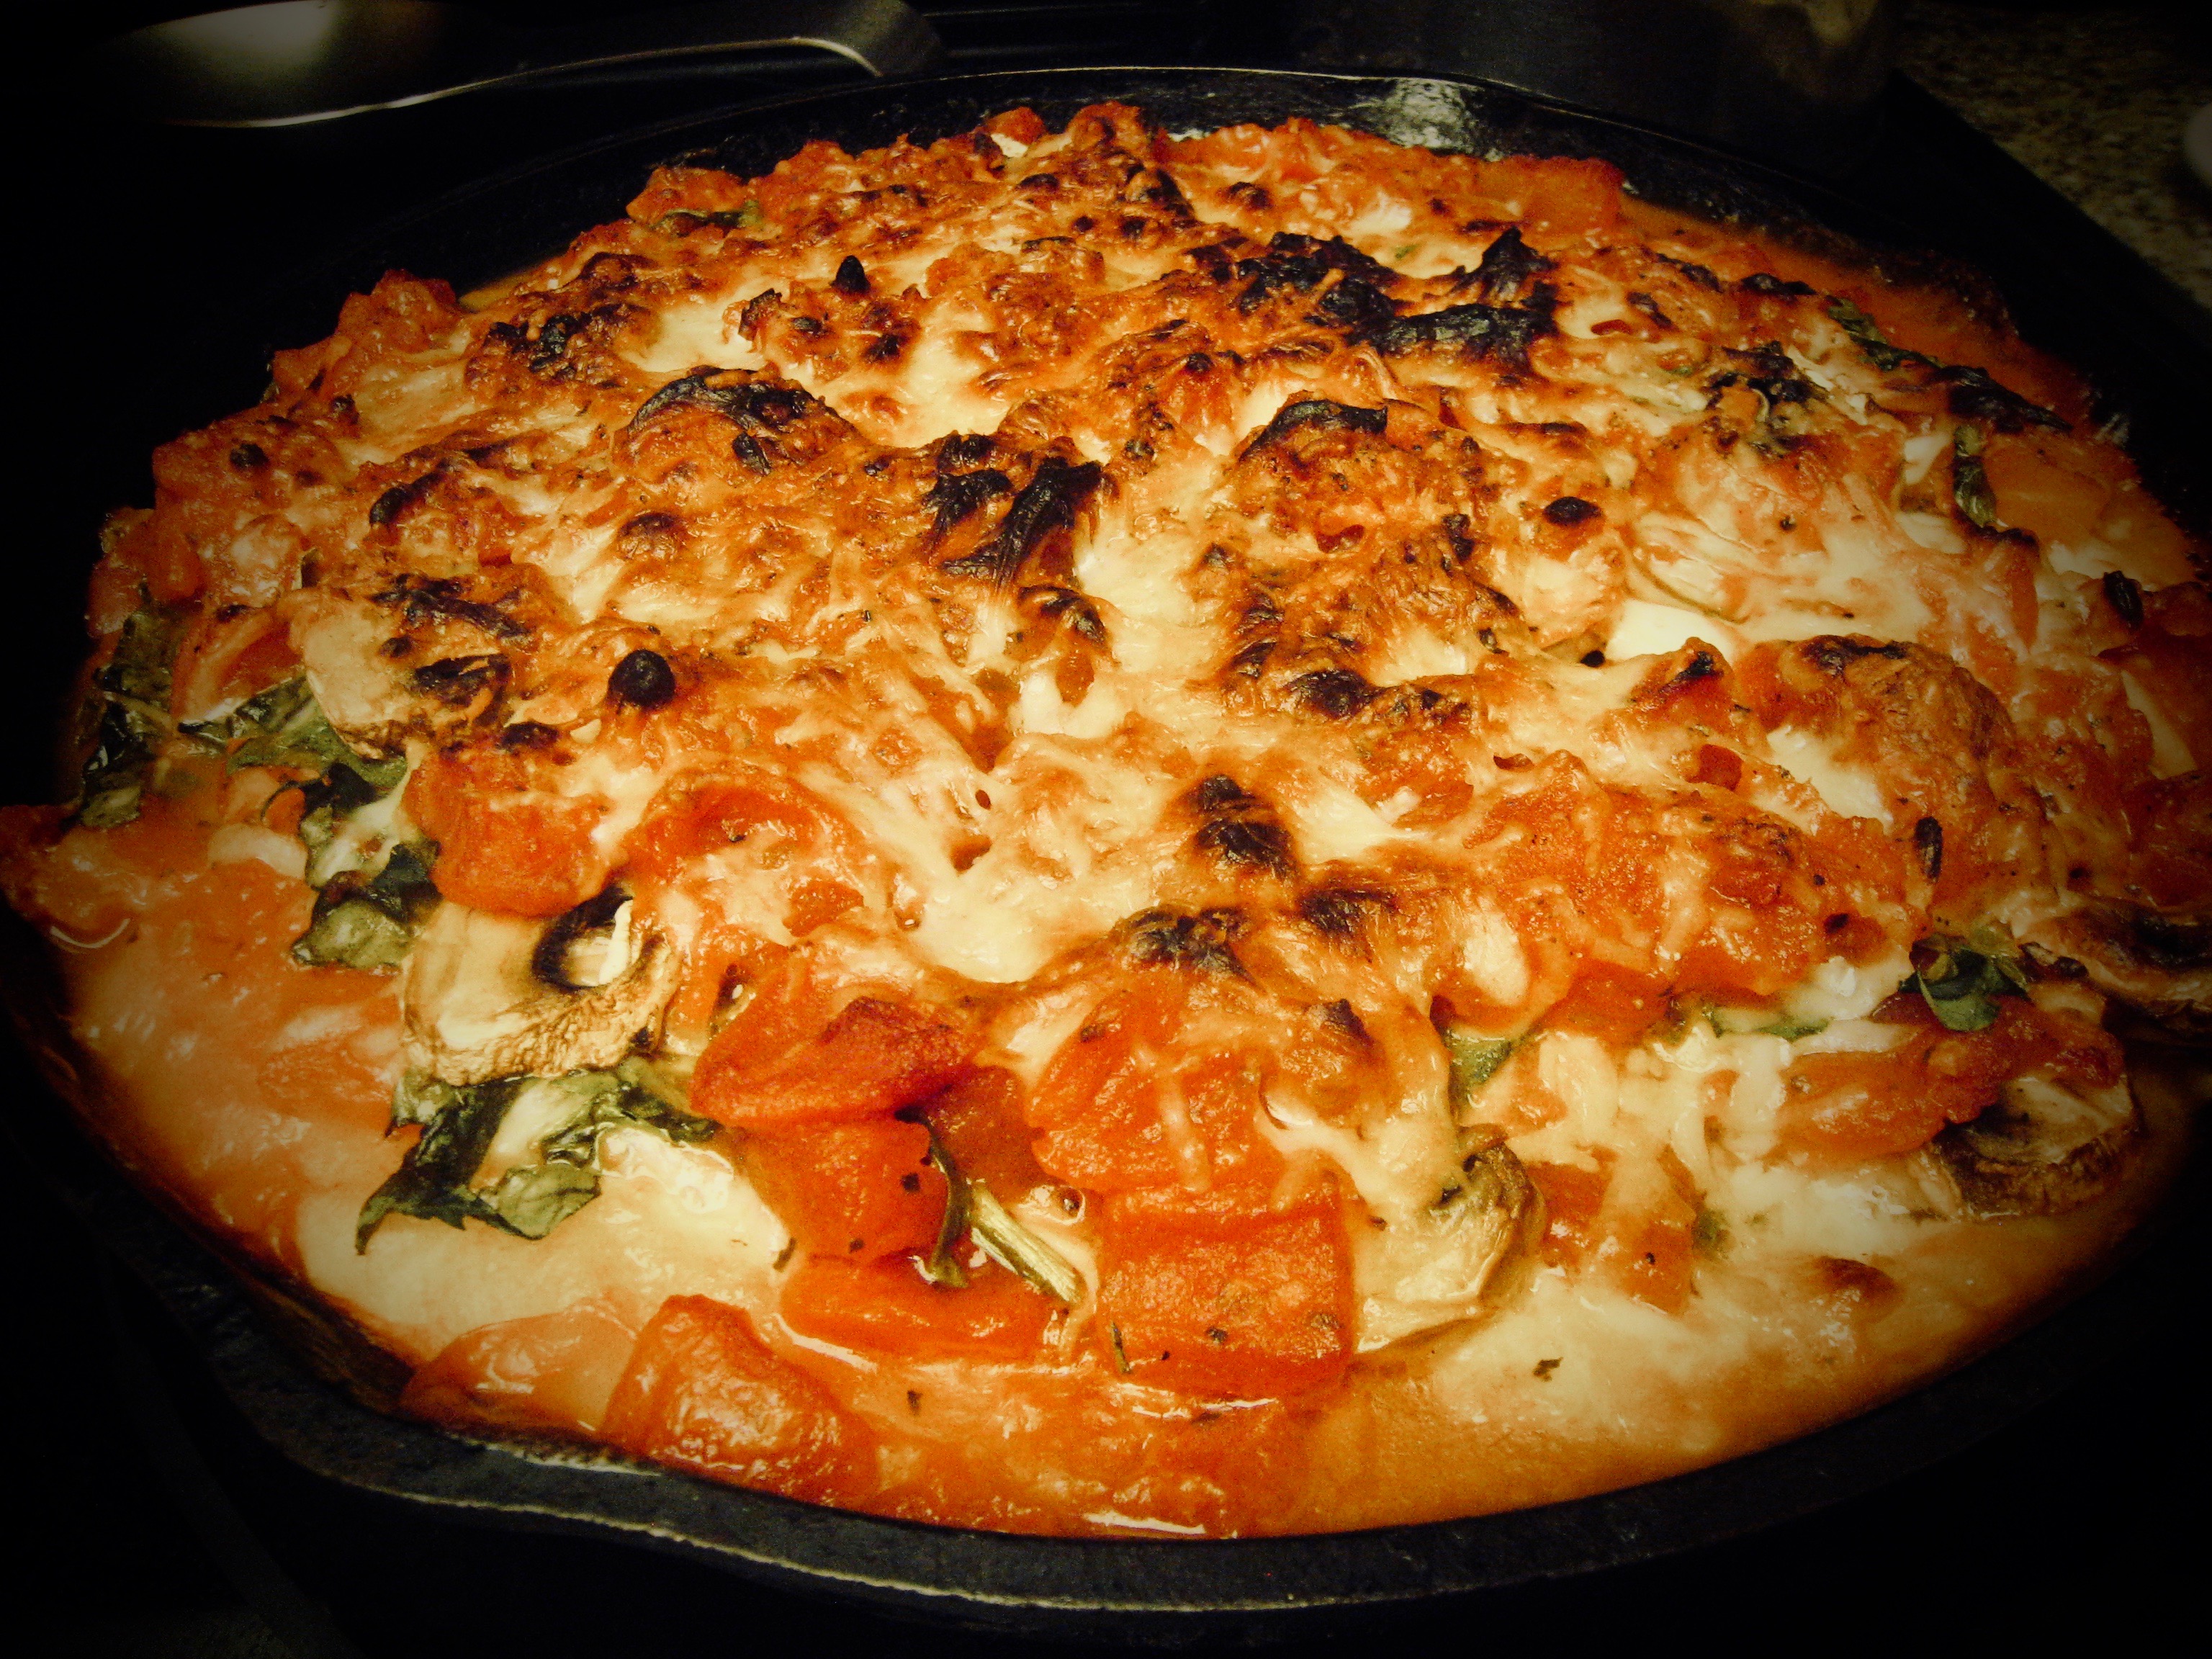
Then comes a layer of Provolone slices to cover the bottom. After that, the rest of the toppings go on in repeating layers – shredded spinach, sliced mushrooms, shredded Mozzarella, canned diced tomatoes with herbs and garlic. Then finally it gets topped with some grated Parm or Romano, and maybe a tiny grind of black pepper and some coarse salt. About 30 to 40 minutes in a 425 °F oven, and it’s ready.
We’ve added other ingredients in the past, black olives, sausage, pepperoni or what have you. But this simple combination of spinach, mushrooms, cheese and tomatoes is my favorite. The bright tartness of the tomatoes is a perfect counterpoint to the earthy, savory veggies and cheese. It’s hearty, satisfying and the first bite literally makes my mouth water.
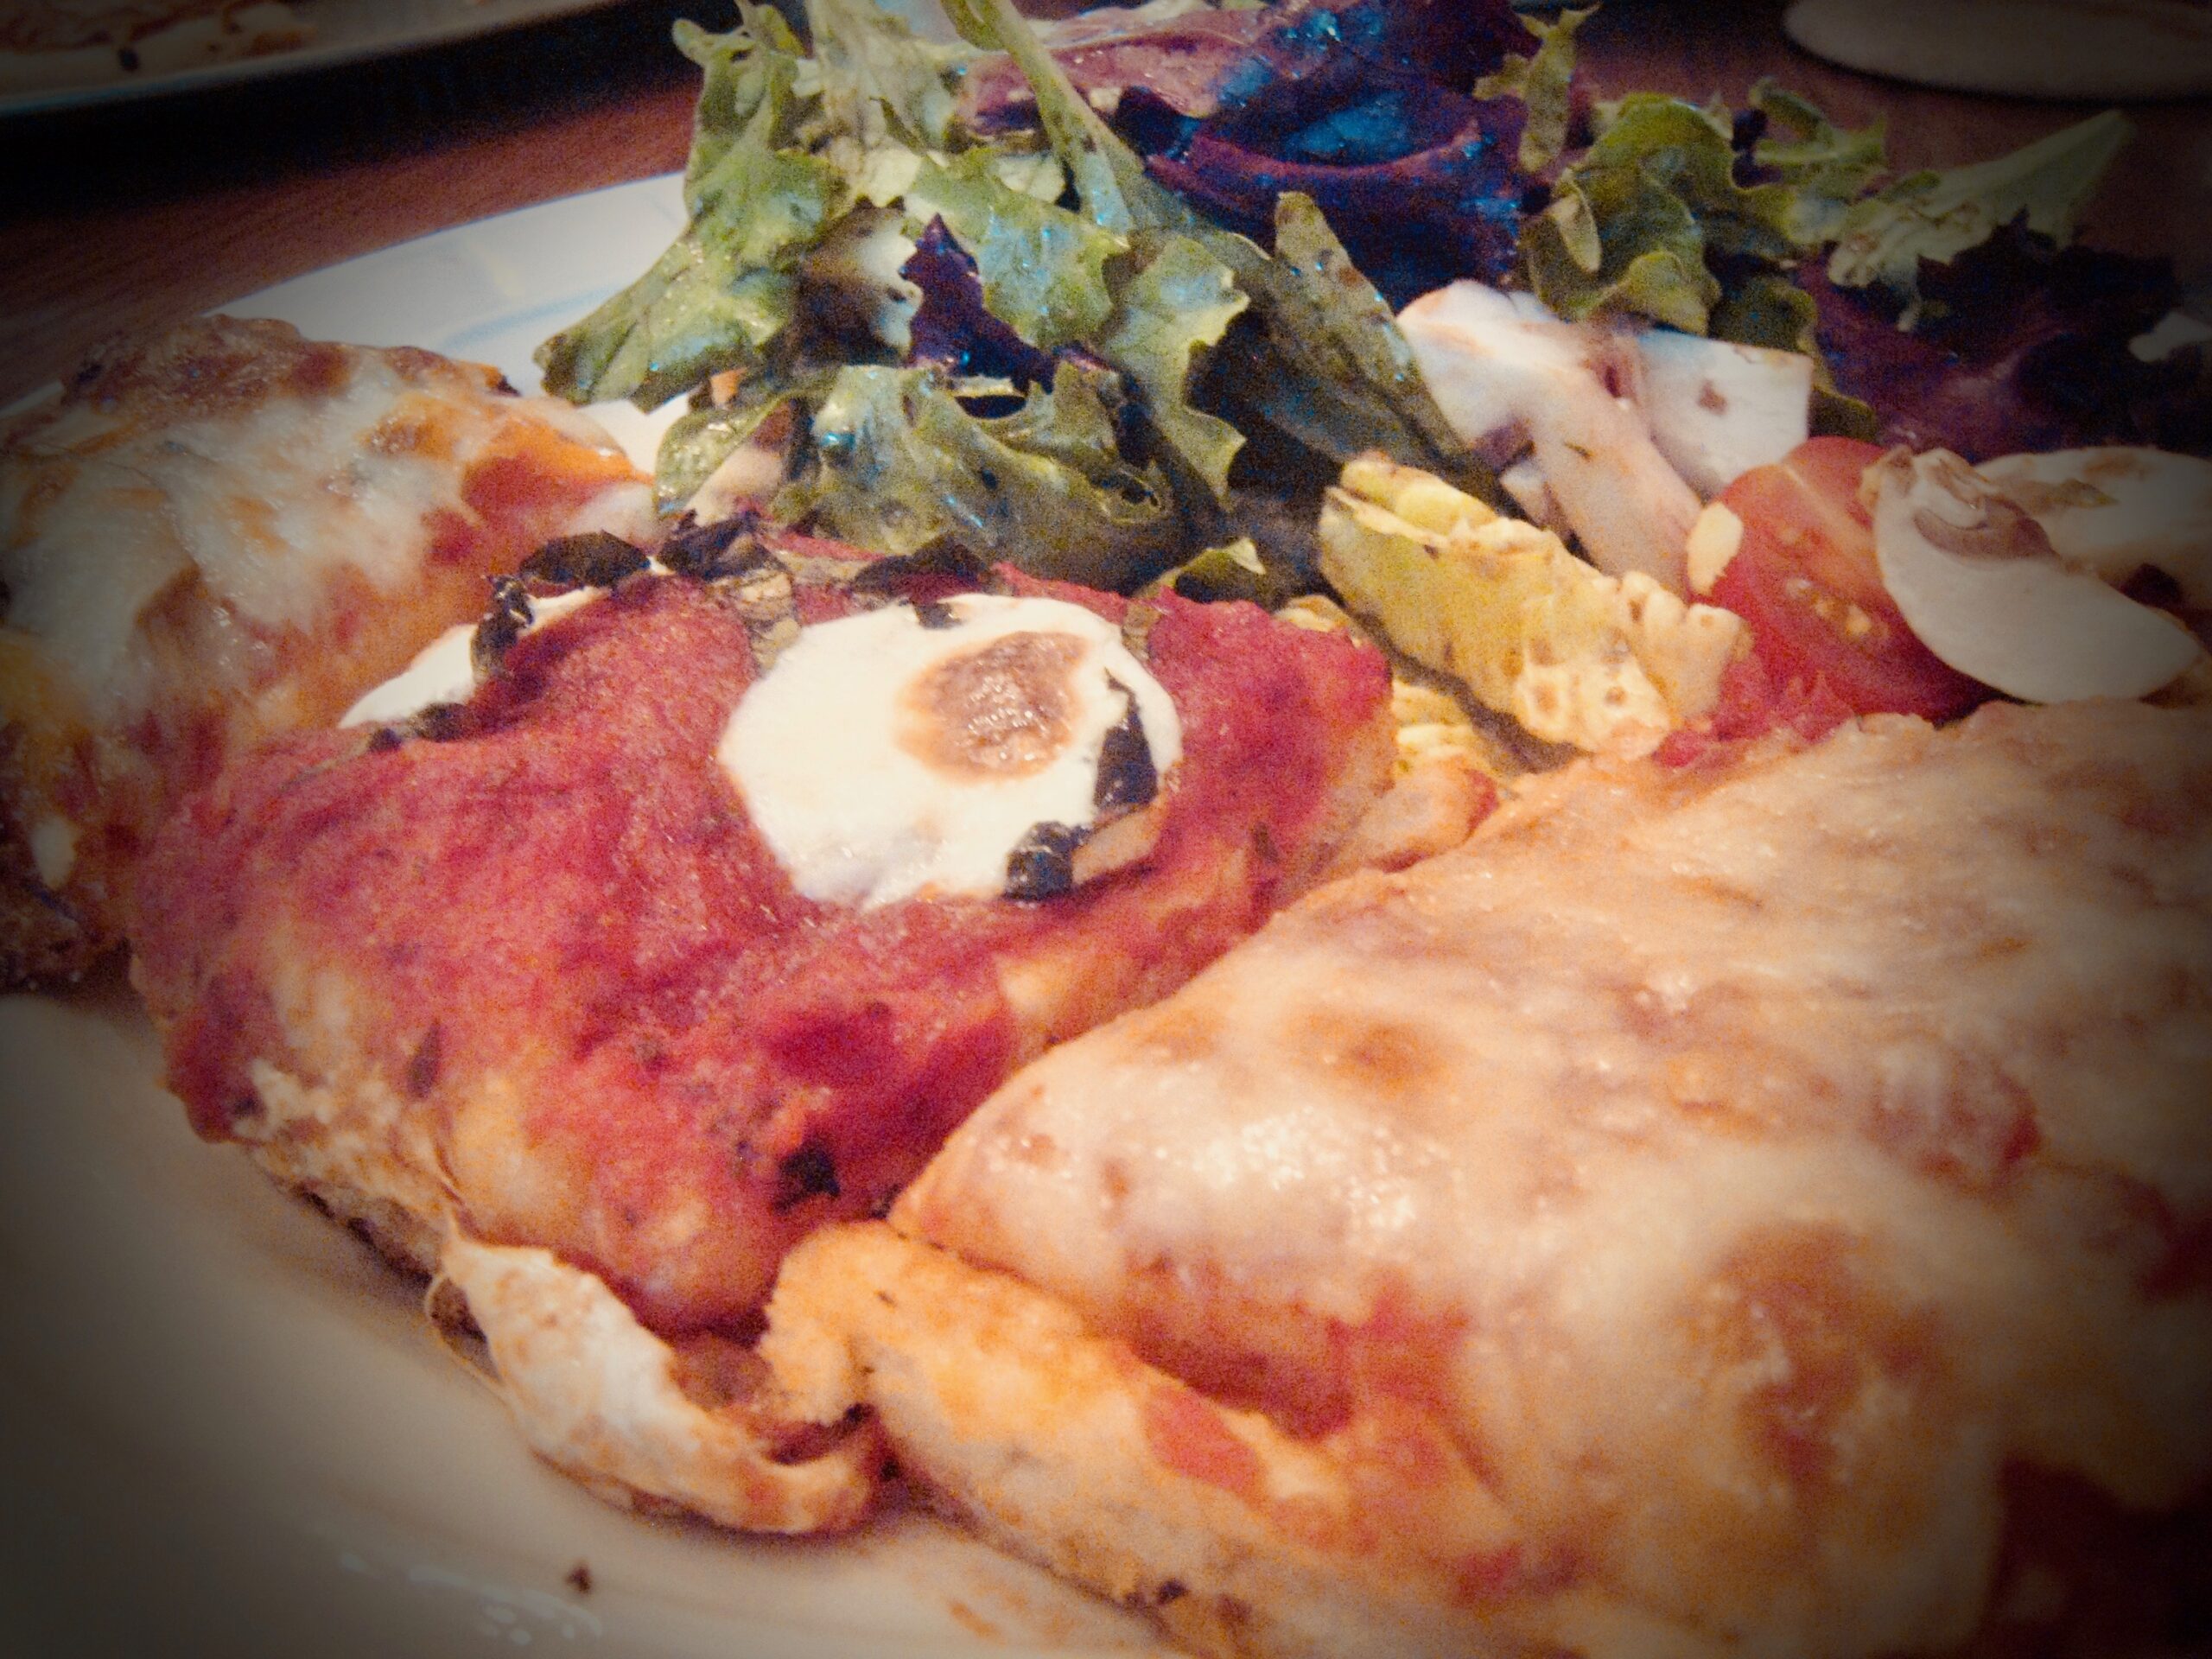
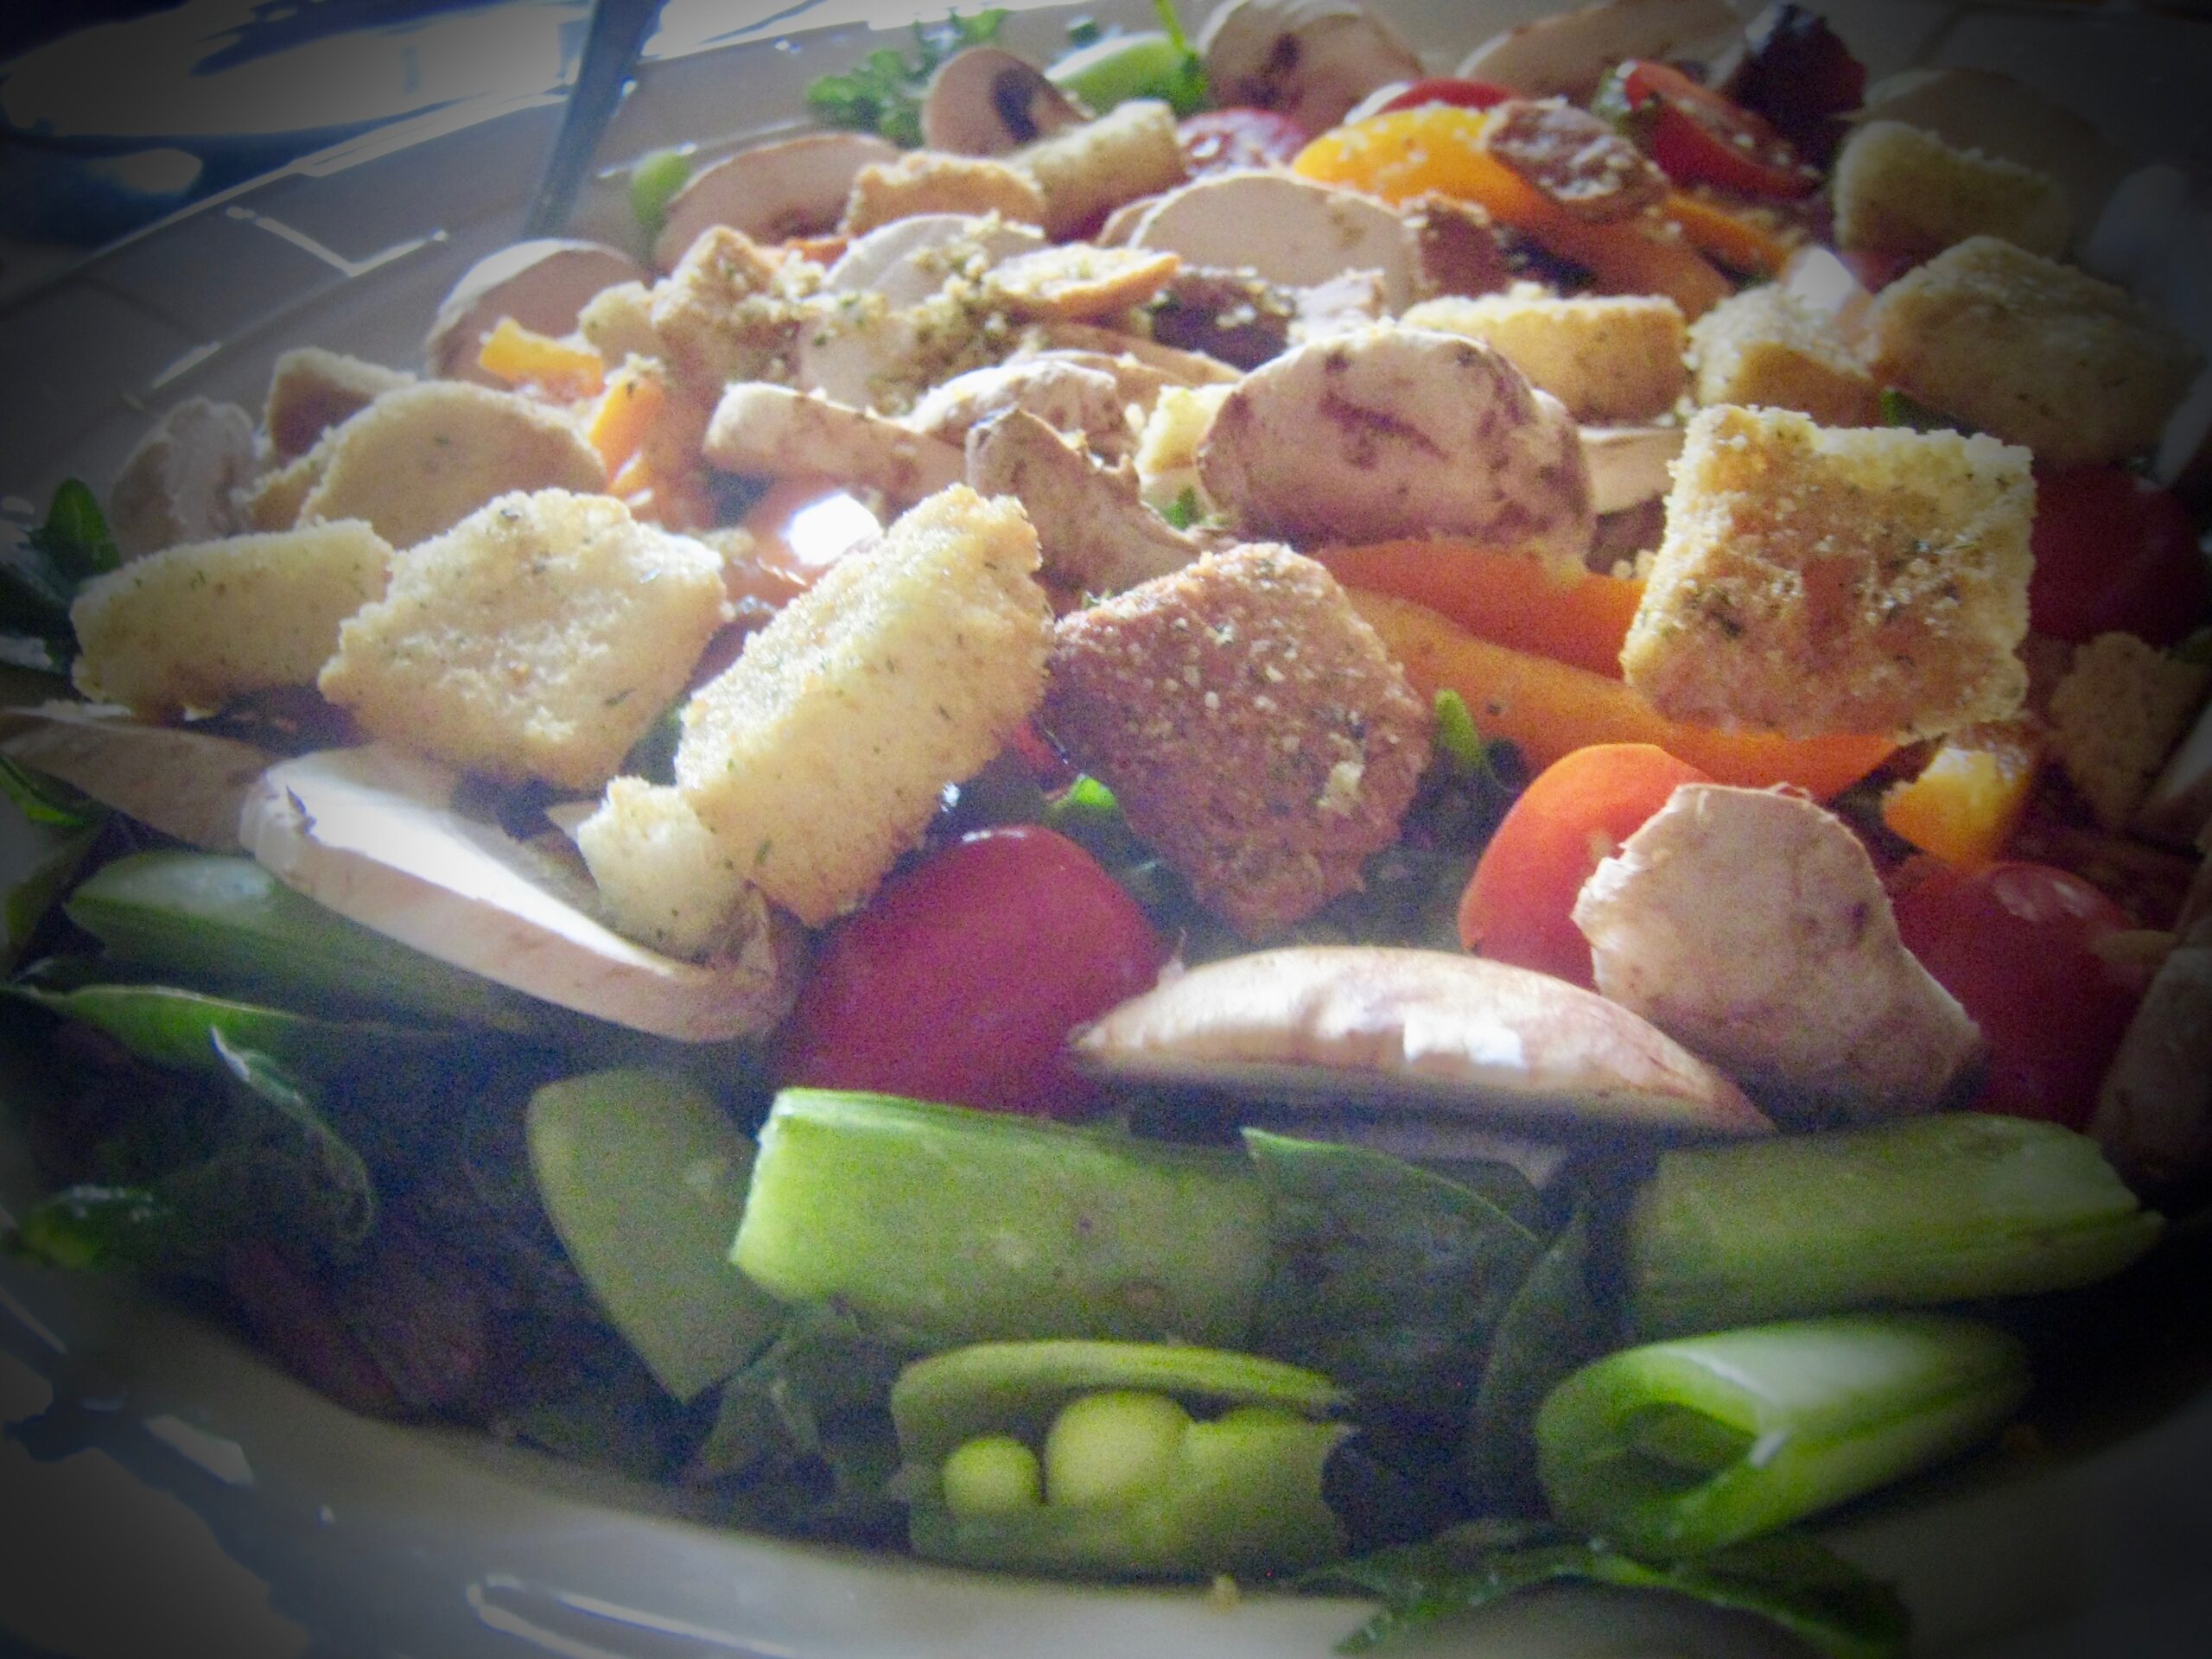
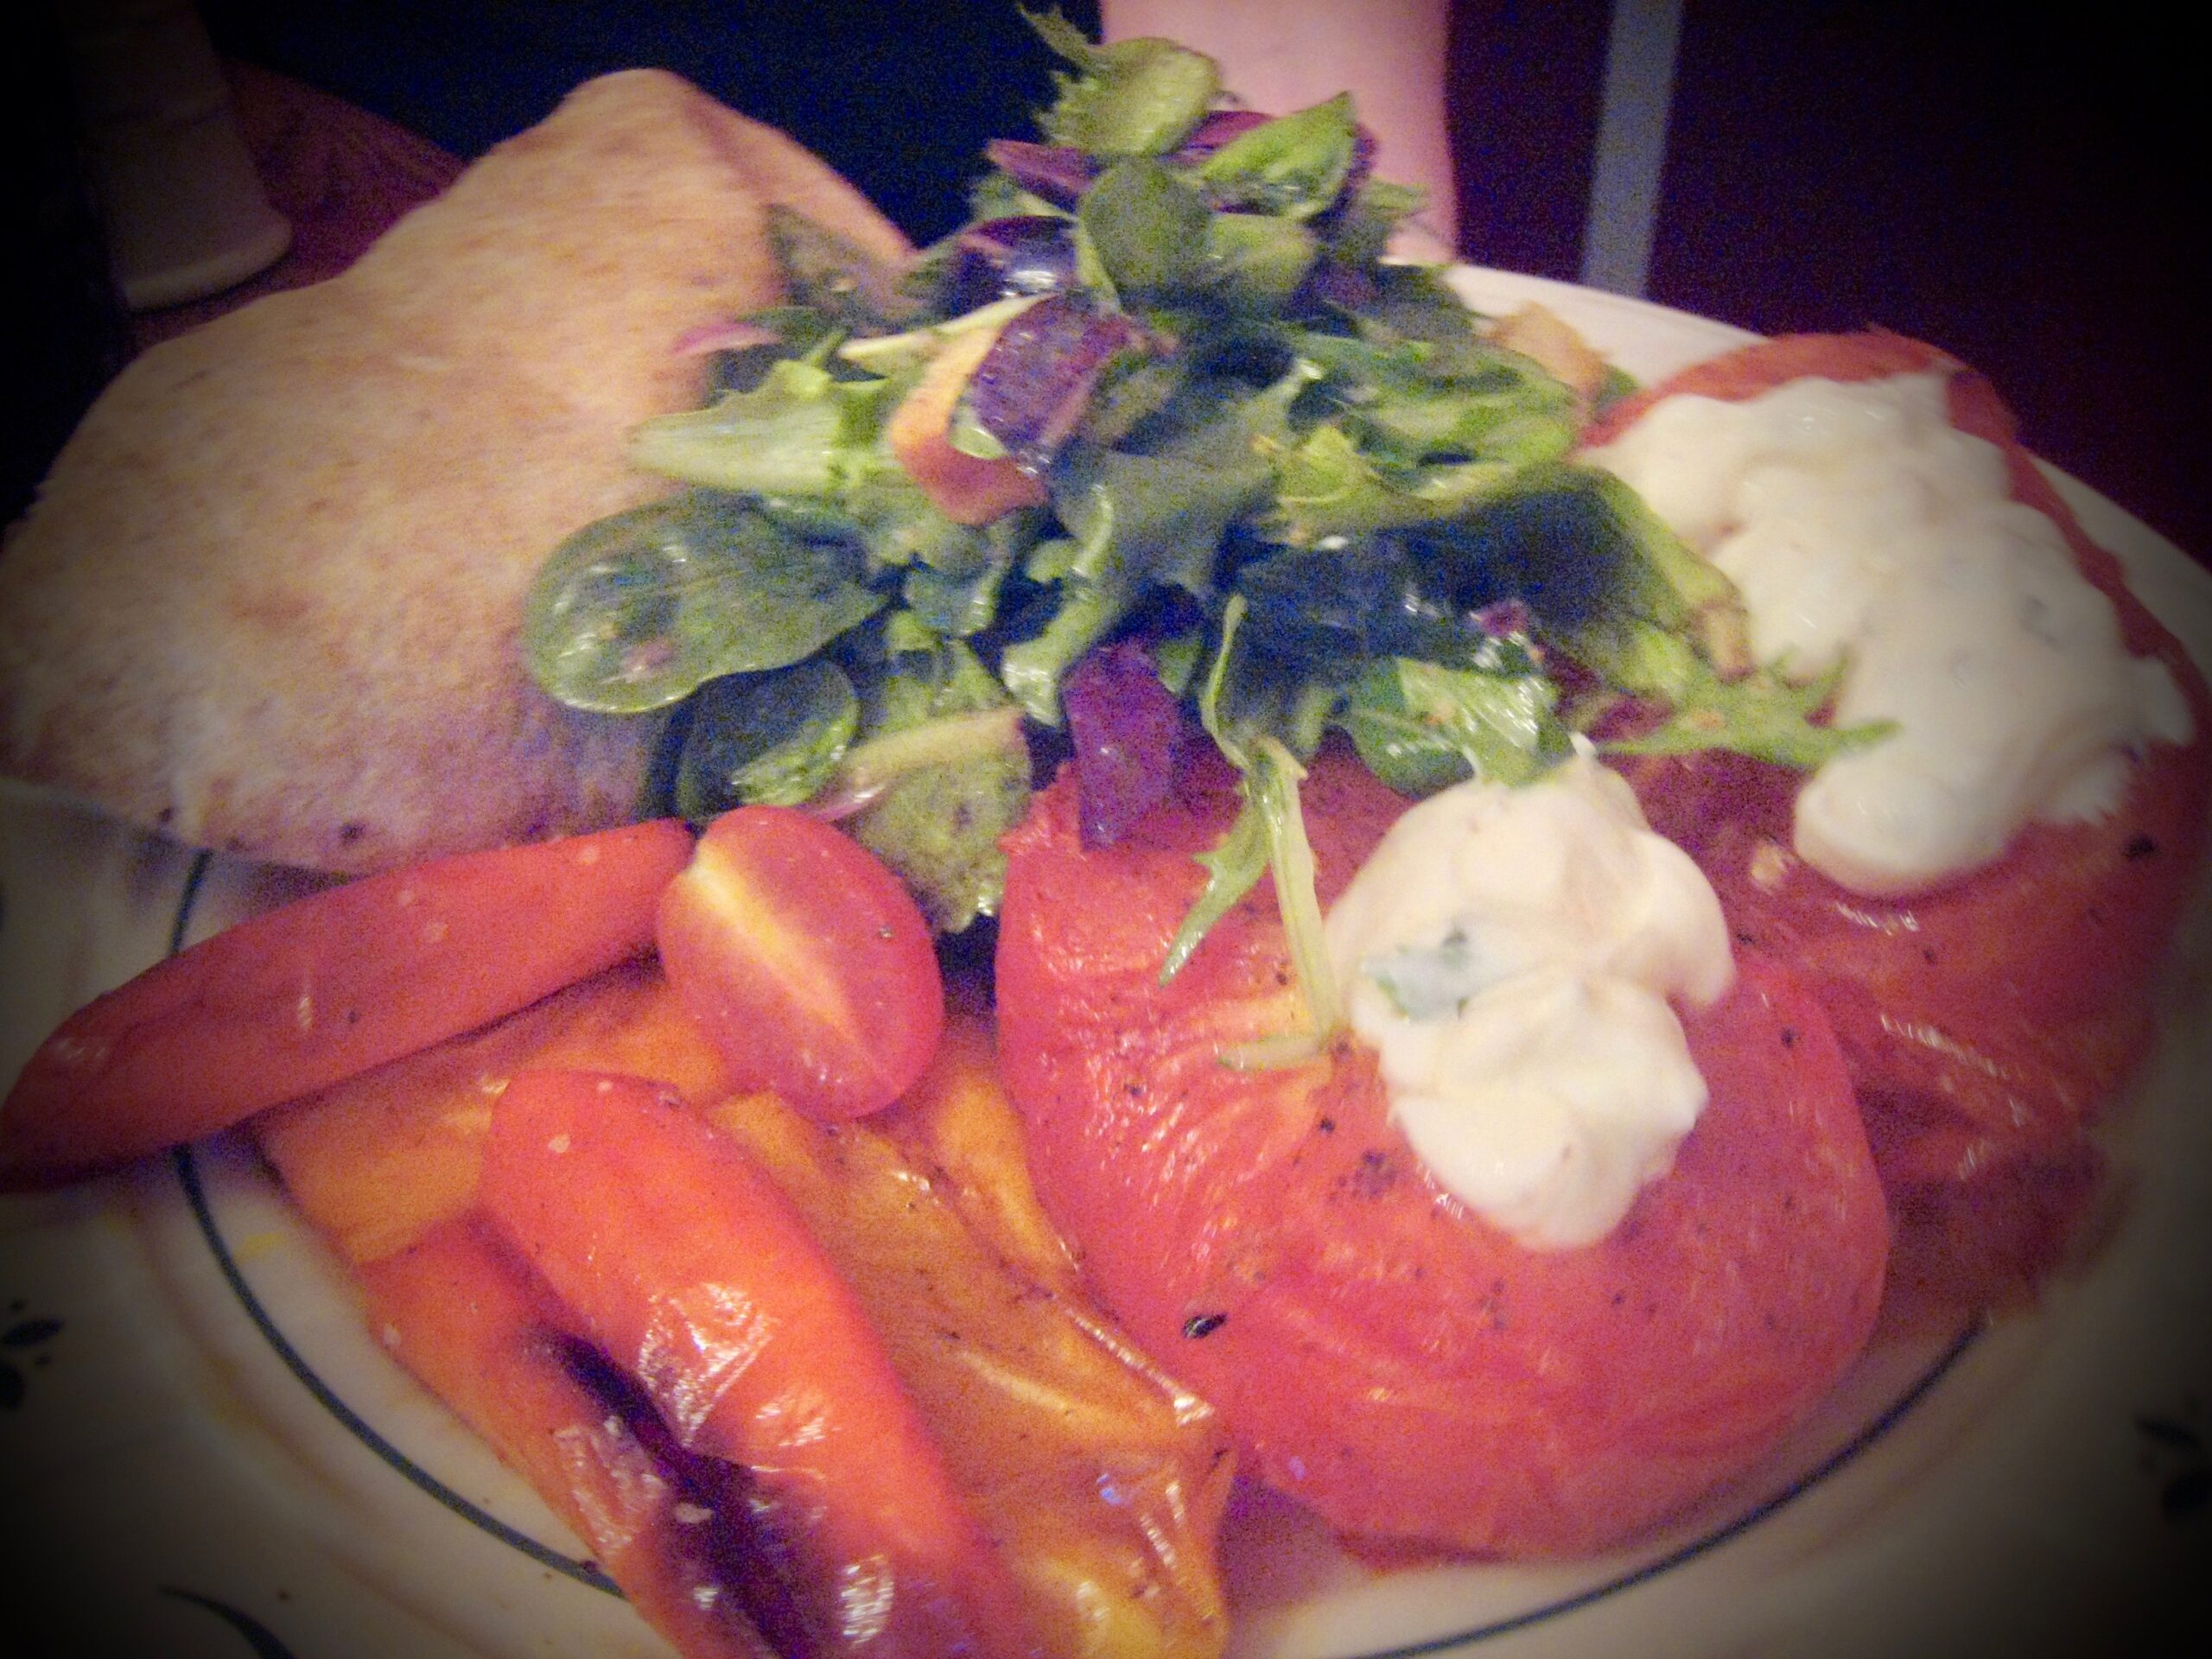
With the dough made ahead of time, this meal is not terribly labor intensive either. I think it took me about fifteen minutes to put together, and then maybe another five to assemble green salads on the side while the pie was cooling after it came out of the oven. Quick and delicious is always welcome on a Friday evening after a long work week.
This is another dish that I’d encourage you to try. It could hardly be simpler to prepare, and I guarantee that it’ll hit the spot. If you’re hesitant to make your own dough from scratch, you shouldn’t be, but you could probably use a boxed dough mix, or even buy a ball or two from your favorite local pizzeria if you’re on good terms with them.
Buon appetito!