Easy Foolproof Grilled Pizza

I’ve learned a lot since originally posting about how to make pizza on the grill. I think I finally have a foolproof process that can consistently turn out great pies.

One of the most labor intensive parts of the process, for me, has been rolling out and stretching the dough. This time around, I put each dough ball between two sheets of parchment paper and rolled it out with a french pin. For three crusts, this probably saved me half-an-hour’s work.

The second tricky part of my old process was getting the dough on to the grill. The double parchment made this easy too. I simply placed the dough, paper and all, on a preheated plancha (with the grill at about 500 F), thus avoiding the treacherous “commit and flip” ritual. After a minute or so, I used a spatula to flip the dough, and one sheet of the paper came right off. I sprayed the dough with olive oil at this point, and after another minute flipped again, removed the other paper and sprayed that side as well. Then it was a simple matter of turning the dough occasionally as it baked, until one side had been grilled for three to four minutes and the other side for two to three.

At that point, we topped the side that had been cooked longest, and put the pizza back on the plancha for another two or three minutes to finish. If we had been using toppings that required more thorough cooking (sausage or whatever) we would have par-cooked those in a pan ahead of time.

This process was a lot less hassle than what I was doing before, and it avoided the problem of the crusts getting a little too charred from being directly over the flames.

I used a cast iron plancha on the Weber Genesis, but if you’re cooking over charcoal, you could use any heavy pan or a pizza stone. Just be sure to get everything up to a high temperature before you start cooking.

Do you cook pizza outdoors? I’d love to hear about your recipes and process. Leave a note in the comments.

Meatloaf on the Grill

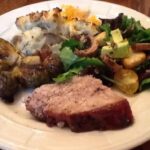
For Sunday Dinner last week, I decided to make an old fashioned meal like my mama would have made, except I cooked it on the Weber Genesis.

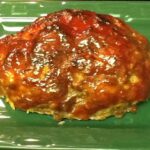
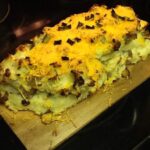
I used this BBQ Meatloaf recipe from Larry Donahue at Weber’s website, and Mike Lang’s recipe for twice baked potatoes on a plank from Another Pint Please.

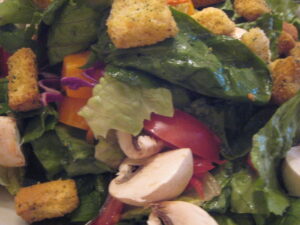
We also had my wife’s famous Wulff Salad, and I roasted some brussels sprouts.

Everything turned out delicious, though I think I’d season the potatoes a bit more next time. It wasn’t the fault of Mike’s recipe. I just went lighter than I should.

This is definitely a meal we’ll have again, though.

Boston Butt on the Rotisserie

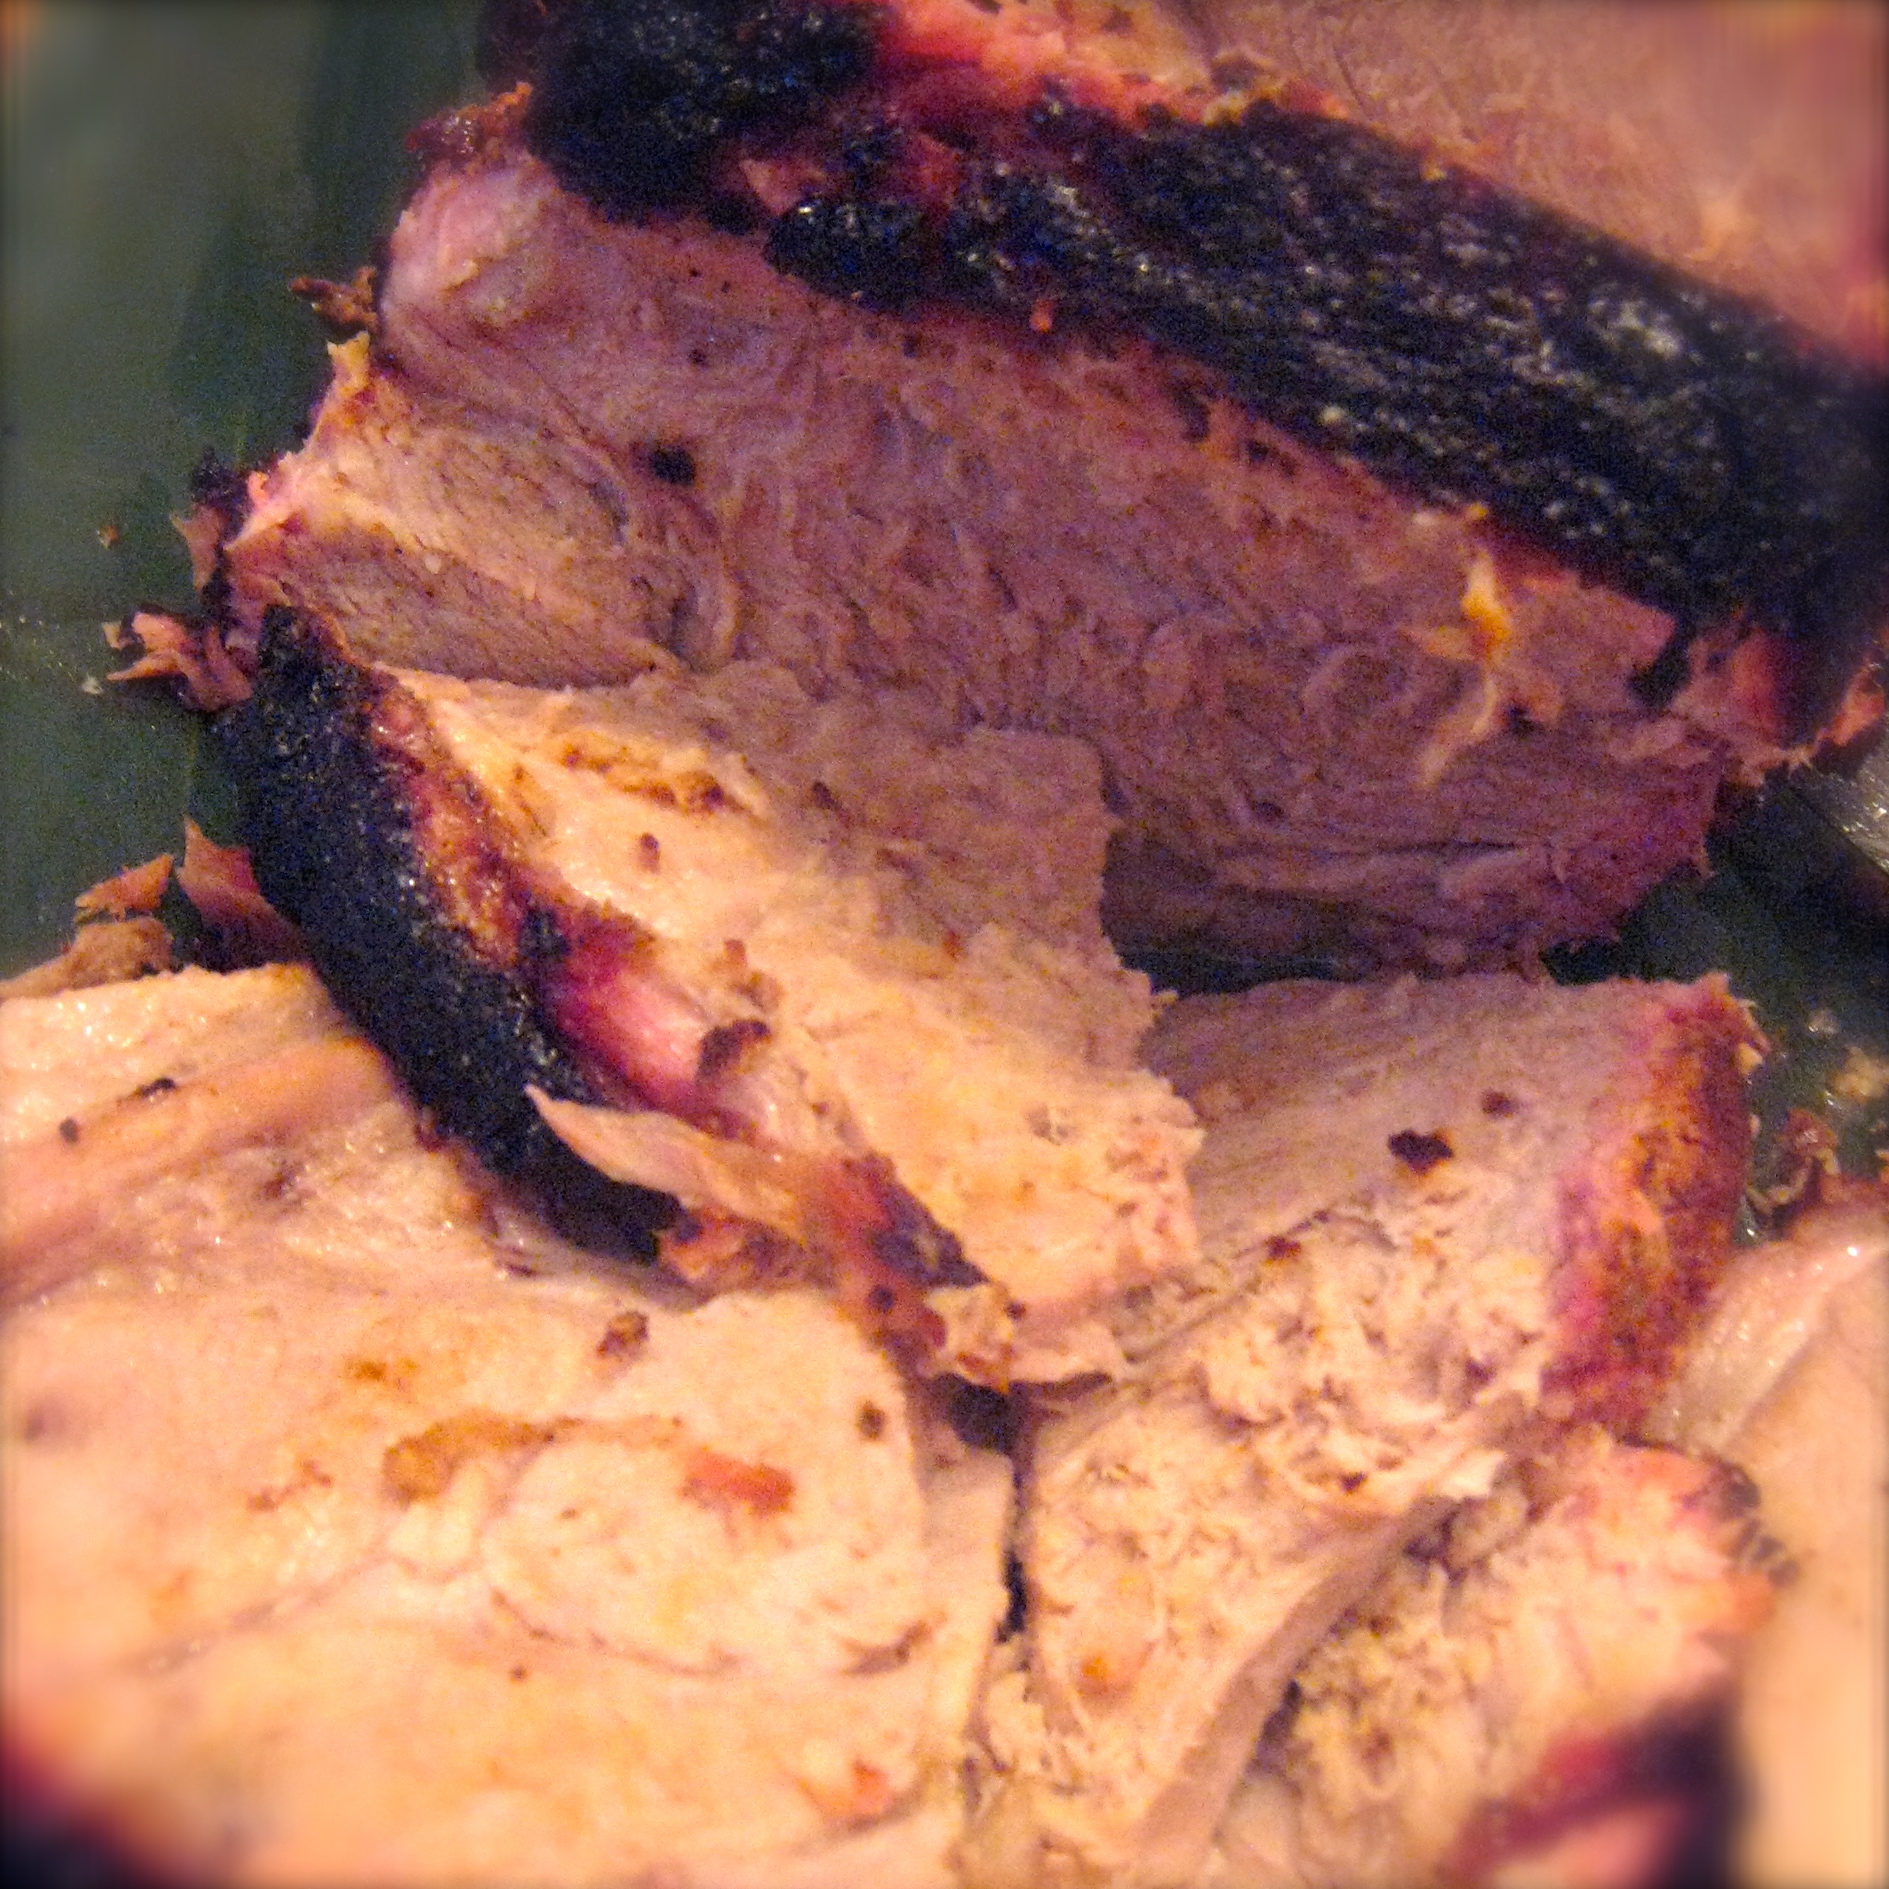
Pork RoastMy wife brought home a six pound pork roast on Saturday, and we hadn’t planned Sunday Dinner yet, so I decided to roast it on the rotisserie. I adapted the recipe from the Weber iPad App for Rotisserie Pork Roast with Bourbon Mop. As it turns out, I ended up using some leftover apple juice and vinegar for the mopping, but I did use something akin to the rub from the recipe, and it made a beautiful crust.
  • 2 t Black Pepper
  • 2 t Mustard
  • 2 T Turbinado Sugar
  • 1 t Onion Powder
  • 1 t Garlic Powder
  • 1 t Paprika
  • 1 T Kosher Salt

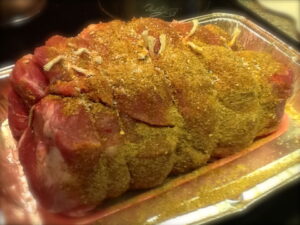
I trussed the roast and then spread the rub on generously, covered with plastic and put it in the fridge overnight. Here’s a shot of the roast, trussed and rubbed.

boston-butt-rubbed

Sunday around Noon, I lit an entire chimney of Kingsford and divided it into two piles on either side of the charcoal grate with an aluminum drip pan in between them. The water from soaking apple chips went in to the pan, along with some apple juice and a bottle of Schlitz. After the grill preheated, I added the chips to the coals, placed the rotisserie spit with the roast in place and started the motor.

After the first hour, I started basting the roast with my apple juice and vinegar solution, giving it a good dousing every twenty minutes or so.

After about two and a half hours, the internal temperature of the meat was around 140 F, and my charcoal was nearly gone, so I moved the roast over to a pan in the middle of the gas grill, with side burners on medium and the center burner off. I kept the temperature of the grill around 370, and once the meat was up to 180 (measured by a dual probe thermometer) I took it off to rest under a foil tent until it was time to serve.

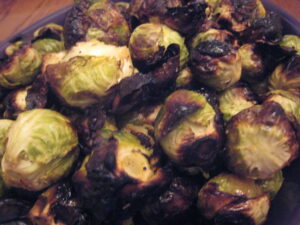
My wife had prepared some red potatoes and some Brussels sprouts for roasting, so once the meat was off I turned up the grill a bit and roasted them with a little olive oil, salt and cracked pepper. A nice fresh salad with Wulff family vinaigrette was the finishing touch to a wonderful meal.

roasted-brussels-sprouts garden-salad-wulff-dressing

It was nice to have my sons joining us for the weekend, and for the meal. I’m hoping that one day if they decide to try their hand at outdoor cooking, I’ll be able to pass along some recipes and techniques. If nothing else, the memories of their dad standing out by a Weber Kettle ought to be fairly vivid.

Chorizo and Pork Burgers

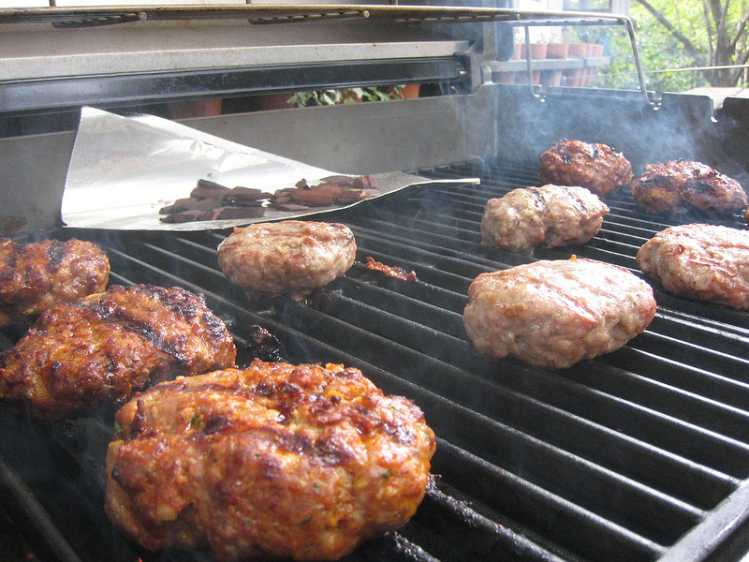
Chorizo Pork Burgers

Here’s another recipe from Chef Purviance that I’ve grilled twice in the past few months, most recently for Sunday Dinner. I don’t make the Jalepeno slaw, but the Chorizo/Pork burgers are a delightful departure from typical burger fare. I also make some of the patties without Chorizo for my daughter and others who don’t like as much spice.

Smoked Beef Brisket

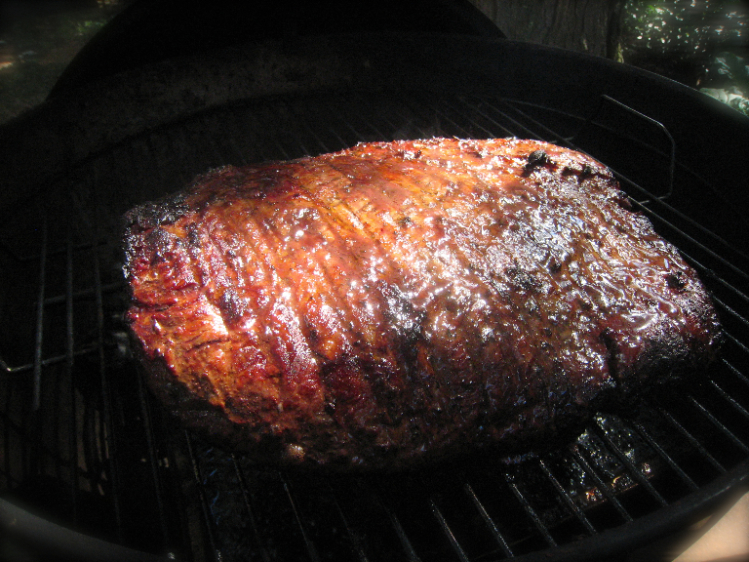
Smoked Beef Brisket

There are several cuts of meat that are almost synonymous with “barbecue” depending on region. In Texas, they’re known for brisket. Considered by some to be “The Mount Everest of Barbecue,” this was the last of the large cuts that I was determined to cook this Summer. As it turned out, we sat down to Sunday Dinner just as Autumn rolled in for 2013.

I prepared the 7.5 pound flat-cut brisket on Saturday evening, salting it, slathering yellow mustard and Worcestershire Sauce on it and then applying a homemade rub of 2 t paprika, 1 t black pepper, 1 T turbinado sugar, 1 t cumin, 1 t garlic powder, 1 t onion powder, 1 t nutmeg and 1t Herbs de Provence. Come Sunday morning I removed it from the refrigerator and set up the Weber Kettle, putting a foil drip pan full of water on one side of the charcoal rack and spreading a chimney full of unlit charcoal on the other side. I then lit about a third of a chimney of additional coals, and poured them on top of the unlit ones, adding some Hickory and Cherry chunks for smoke.

Once the grill was up to temperature, I put the brisket on over the drip pan, fat side up. Using a dual probe thermometer I received for my birthday, I did my best to keep the temperature in the grill to around 250 F, adjusting the vents as needed during four hours of cooking. Every hour or so, I sprayed the brisket with equal parts brewed coffee, dark beer, apple juice and cider vinegar. I also rotated and turned the meat to ensure even cooking. After four hours the meat was measuring 160 degrees, so I pulled it off, wrapped it in foil and put it in the gas grill on indirect heat (again, at 250) to finish. After another hour-and-a-half, the meat had risen to 195 degrees and was ready to come off. We let it rest inside the foil for another hour prior to serving.

It turned out moist and flavorful, though at this point I made a rookie mistake, cutting it with the grain to serve it. My wife noticed this later as she removed the fat cap to store the rest of the brisket. The part that she carved against the grain was much more tender to chew. She poured the juices that we had reserved from the foil packet over the leftovers. The beef was still delicious today for lunch.

We served the beef with grilled asparagus, and a wonderful green bean & red potato salad with Dijon dressing that she made.

Other than proper carving, next time I would use more smoke, more pepper and more salt. Also, I think I might be tempted to cook it just a bit longer in the foil to get it “melt in your mouth” tender. This was good for a first attempt though, and I wouldn’t be intimidated to cook this cut again.