-
- Ready to Bake
-
- Just Off The Grill
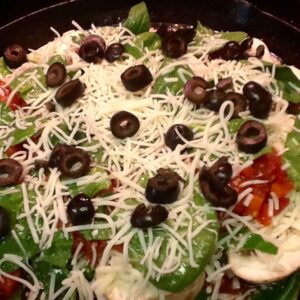
We used up the last of this batch of dough to do another Lou Malnati style deep dish pizza for Friday night.
I’ve adapted the recipe from this one, which was on an episode of Throwdown.
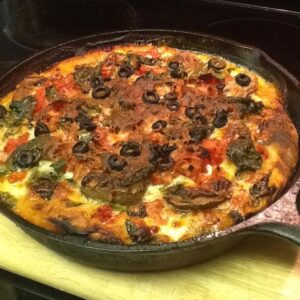
We used up the last of this batch of dough to do another Lou Malnati style deep dish pizza for Friday night.
I’ve adapted the recipe from this one, which was on an episode of Throwdown.
For several months now, my father-in-law has been casually asking “If I brought some Walleye over, would you fix it on the grill?” I’d always say that I would, but was more or less dreading it. I like walleye breaded and fried, but have never been nuts about the texture or flavor of it prepared otherwise. I’ve also had no experience cooking that sort of fish on the grill.
I do love my in-laws, though, and finding ways to delight them with a meal is always a pleasure. So I began looking for recipes and techniques that would turn out something satisfying.
The walleye arrived as bags of frozen fillets. I thawed several bags and put the fish into a bowl of salt water for awhile. After reviewing a bunch of recipes online, I decided that the best approach would be to season the walleye with my barbecue rub, hit it with some canola oil and bake it indirect on the Genesis in foil pans. I also sprinkled it with Herbs de Provence and lime juice toward the end of the cook (which was about 15 to 20 minutes).
It wasn’t bad. I think I got the cook time right. I’d be tempted next time to marinate the fillets in either citrus or some sort of strong brine overnight. I might also roll them in cornmeal or breadcrumbs.
Dad seem to enjoy them, and that’s the main thing. He was a fairly serious fisherman in his younger days, and I think he misses it. He also doesn’t grill anymore, and I think he misses that too. Claudia has told me of the times when he would have a smoker going for fish or game, just outside her bedroom window when she was a kid.
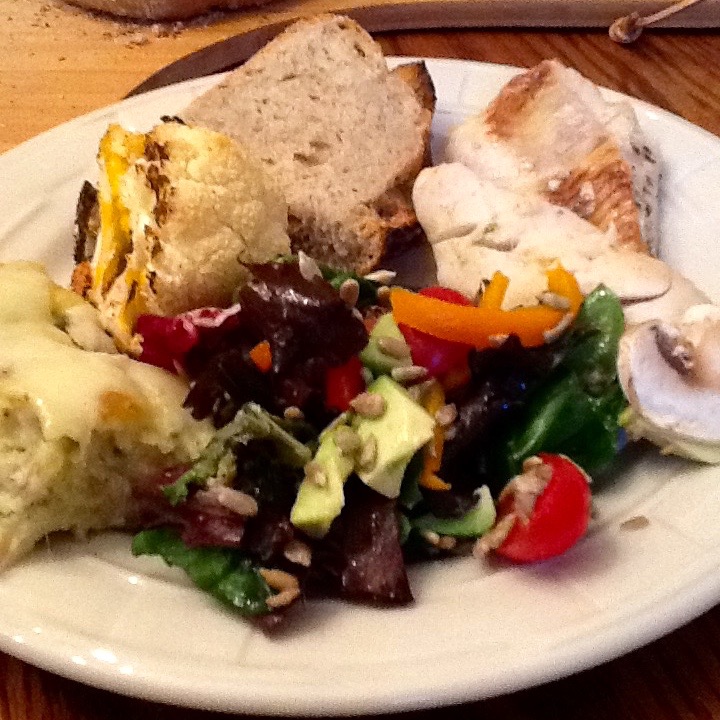
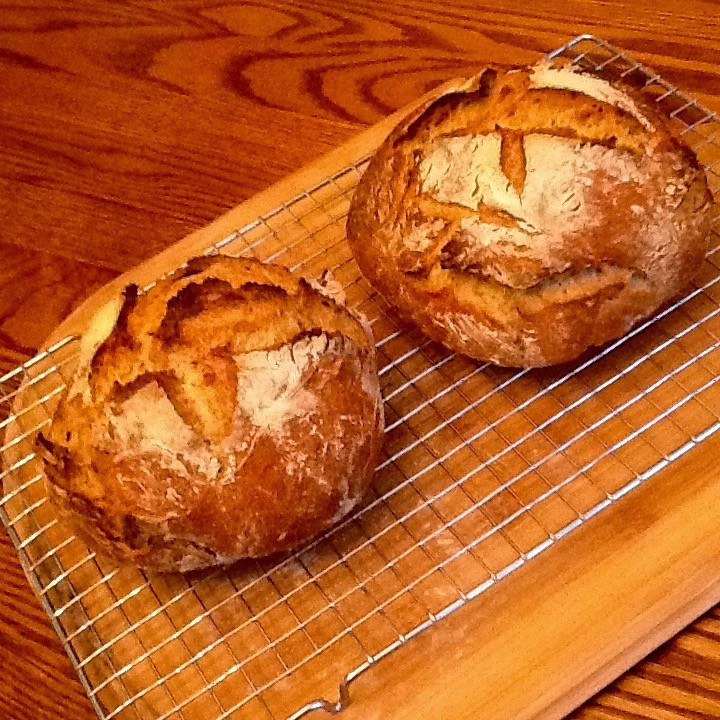
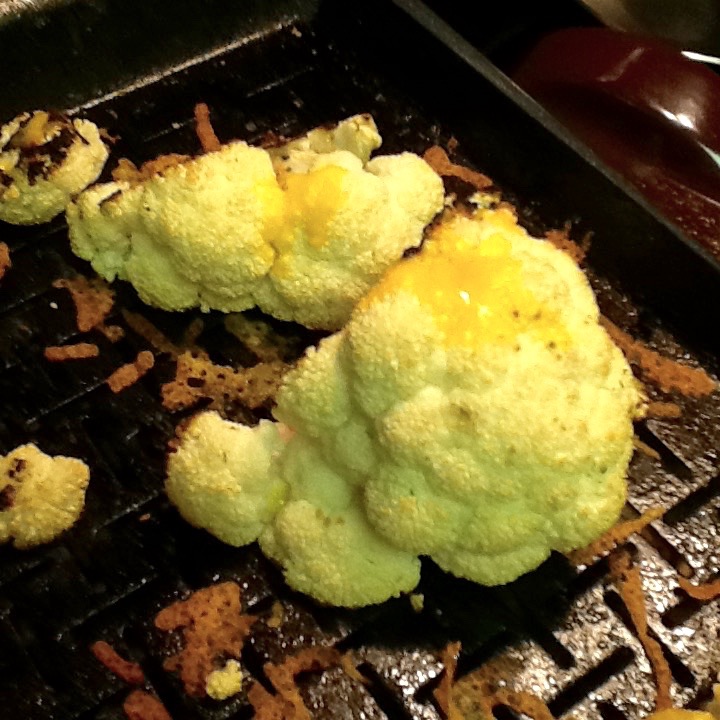
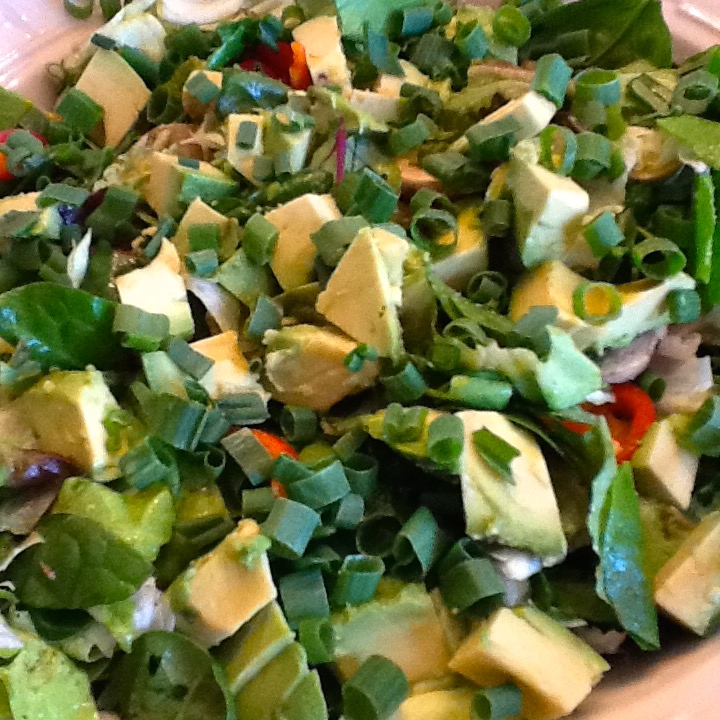
We served the fish with a delicious zucchini and yellow squash casserole that Claudia made, Wulff Salad, roasted cauliflower wedges that I did on the Genesis (with herbs, mustard powder and cheese), and some nice bread that I baked earlier in the day. The wine was an A to Z Pinto Gris, which was tasty, though a little sweet for my palate.

For Sunday Dinner this week, I tried a recipe from Weber’s Big Book of Grilling, which is one of their older publications. I picked up a copy used for $3 after a friend of mine had posted shots of dry rubbed ribs he’d made using a recipe from the book.
The recipe noted that if you grew up on Sloppy Joes as ground beef and something from a packet, you deserve better.
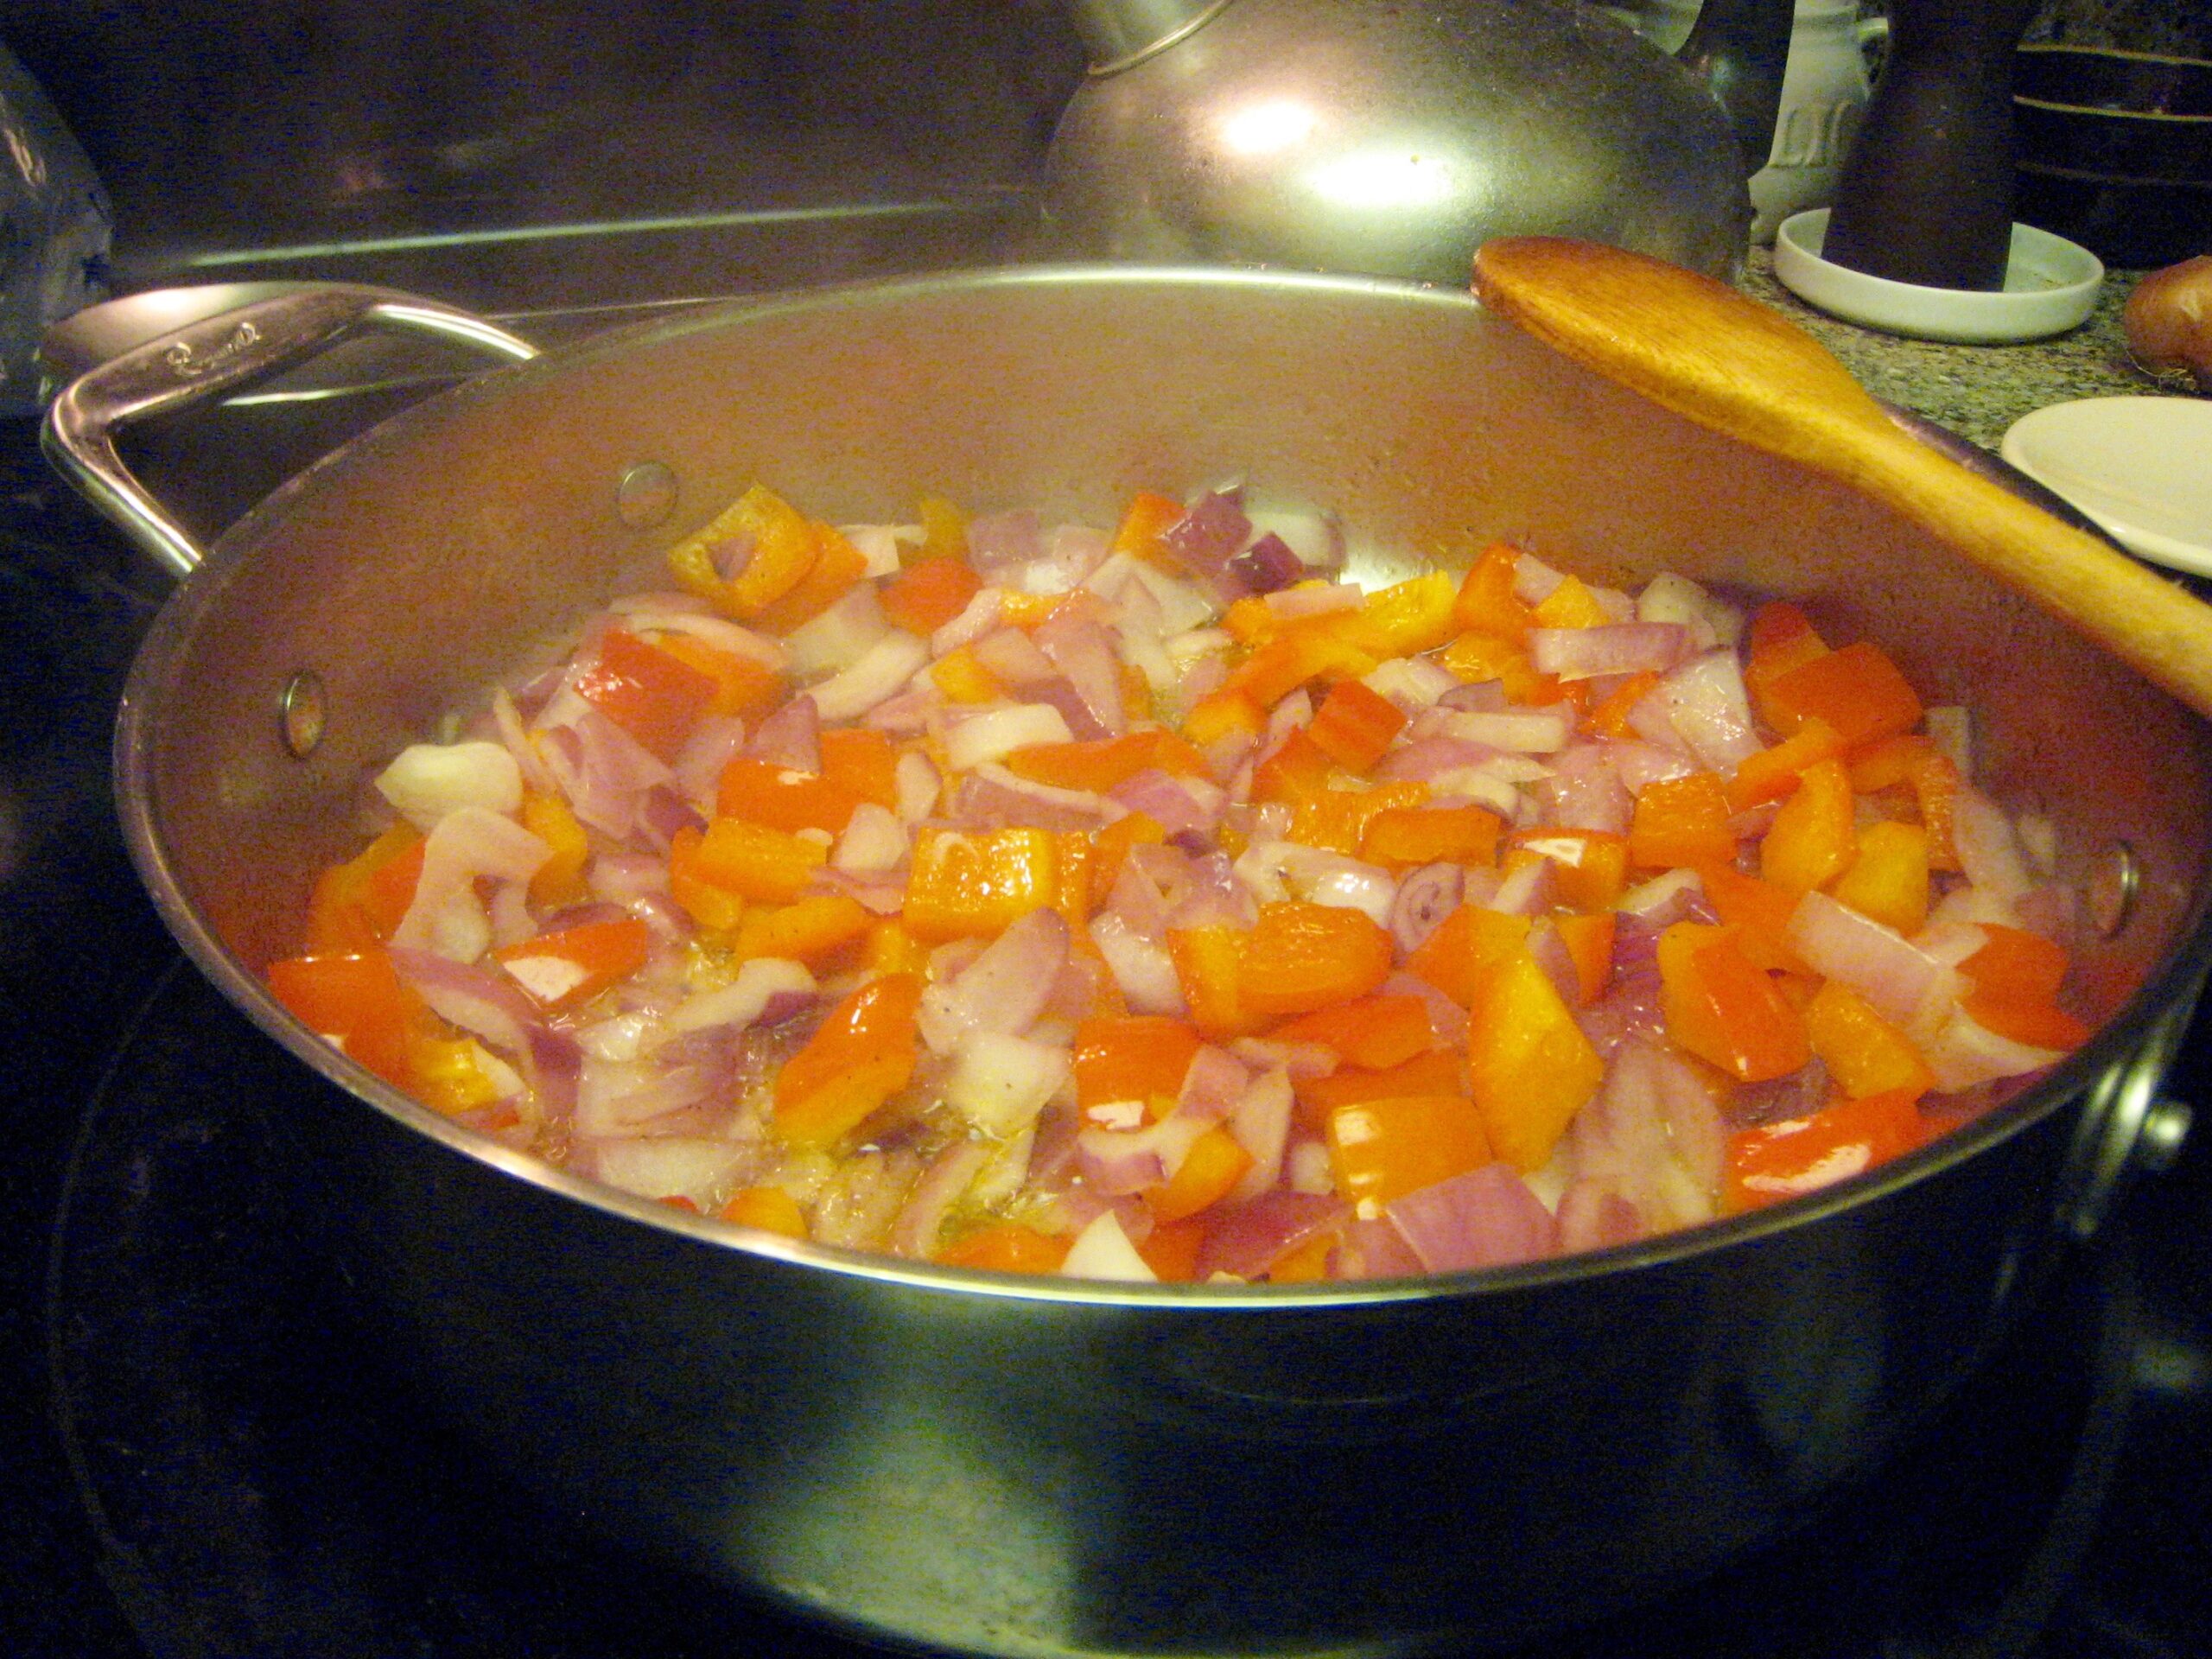
This was pretty amazing. It called for a (fairly typical) dry rub on a three pound chuck roast, which you then sear for fifteen minutes and cook indirect for an hour or so. The sauce starts with a red bell pepper, a red onion and some garlic. Then you add a little chili powder and flour to make a sort of roux, then add beef stock, canned tomatoes and barbecue sauce. When the roast is done, you carve it into small bits and let it simmer in the sauce for half-an-hour or so.
The result is something with a similar flavor profile to what you may remember from childhood, but much richer and with much more texture. Though it was a fairly labor intensive, it was well worth the effort.
We served this with potato wedges (coated with olive oil and a packet of ranch dressing seasoning, then baked on the grill while the beef was simmering) and a nice green salad.
Lucky for you, if you’d like to try the recipe, it’s online here.

We had lovely weather on Easter Sunday this year, perfect for cooking on the Weber Genesis.
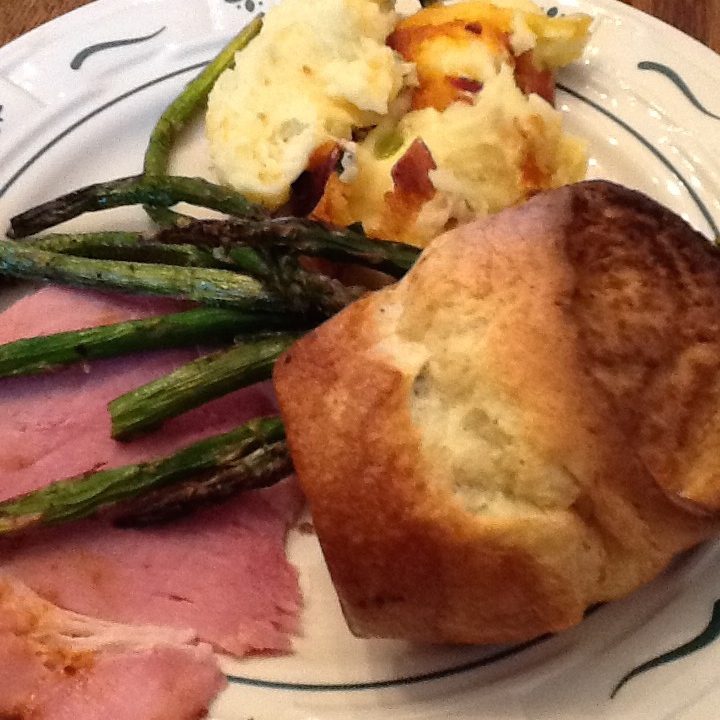
Mrs. Noe made a incredible twice baked potato casserole and her delicious Yorkshire Pudding popovers. She and her mom put together another beautiful salad with Wulff family vinaigrette, and I cooked a glazed ham and some asparagus on the patio.
Here’s the recipe for the glaze.
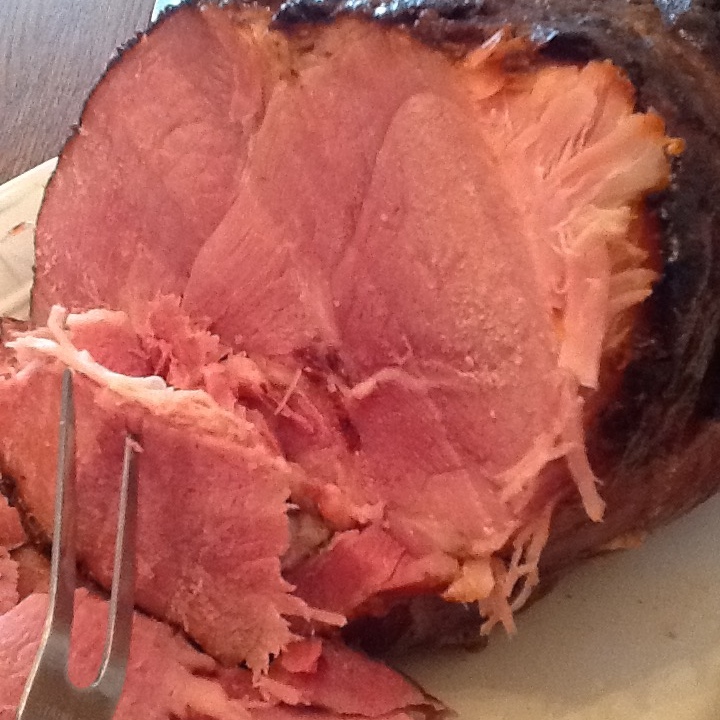
Since the ham was 14 pounds (instead of the ten in the recipe) I decided to double the ingredients for the glaze. We also didn’t have molasses, so I used honey. As it turns out, I mistakenly grabbed the 1/2 tablespoon measure instead of teaspoon, so got way too much cloves. To compensate, I added more mustard, some mustard powder, and then thinned the glaze with a little Schlitz. I also added some of the liquid from the pan drippings after the ham had been on the grill for an hour. As luck would have it, it made a delicious crust.
I scored the ham and put it in a foil drip pan over indirect heat in the middle of the Genesis. For the first 45 minutes or so, I had the temperature pretty hot (near 400 F). Finally got it under control at a steady 300 for the rest of the cook. I started basting with the glaze (and removing excess liquid from the drip pan) after the first hour, and then every hour thereafter. The entire cook took a little more than 3 1/2 hours, which was just a little quicker than I’d anticipated.
I cooked the asparagus on a Weber “Style” grill pan (the one with the slits cut into it), seasoning with olive oil spray, salt, cracked black pepper, lemon zest, and lemon juice at the end.
We served a nice Santa Rita Hills La Tapatia Pinot Noir with the meal.
The glaze was a Jamie Purviance recipe from “Weber’s Real Grilling” and the Weber iPad App. I think I might stick to the proper amount of cloves next time, but I liked how my happy accident turned out. I might be tempted to try it with the molasses just to see the difference.
It was a wonderful day, and a beautiful start to another spring season with the gas grill.

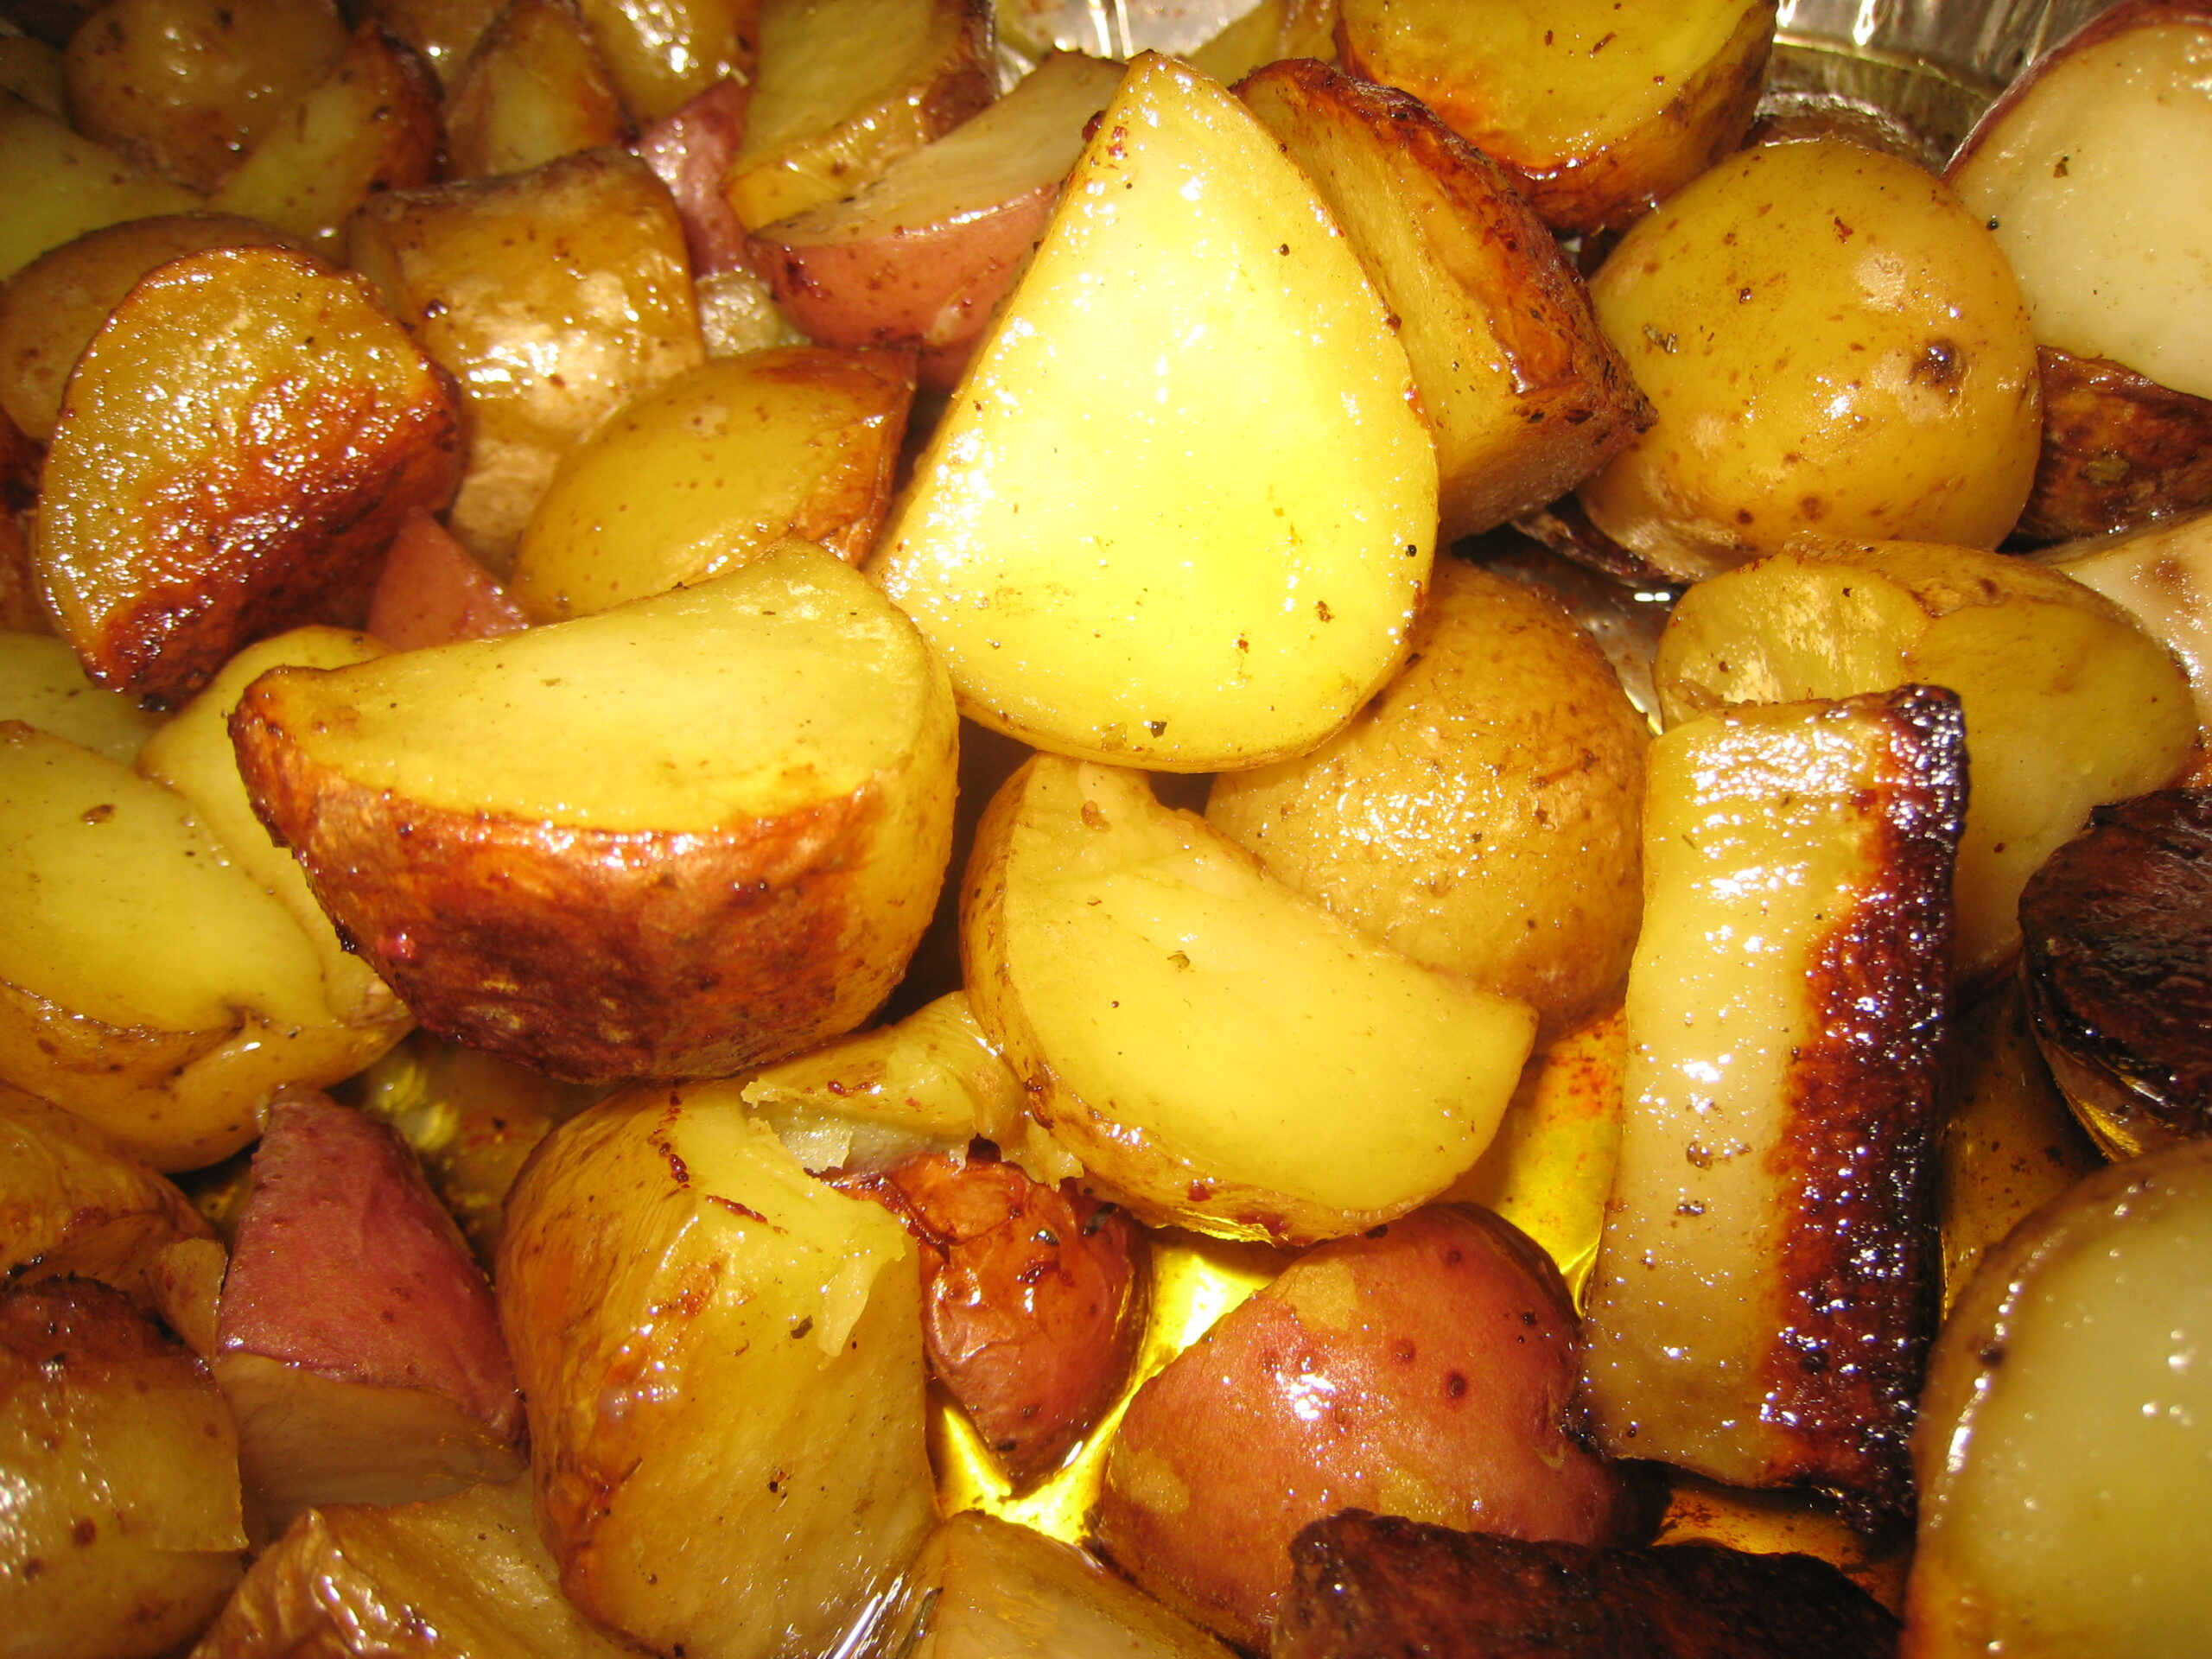

Yesterday for Sunday Dinner I cooked on the Weber Kettle rotisserie for the first time this year. I didn’t allow for the cooler ambient temperature, so I had to move the chicken and drip pan potatoes over to the Genesis gas grill for about ten minutes at the end to finish them, but everything turned out great.
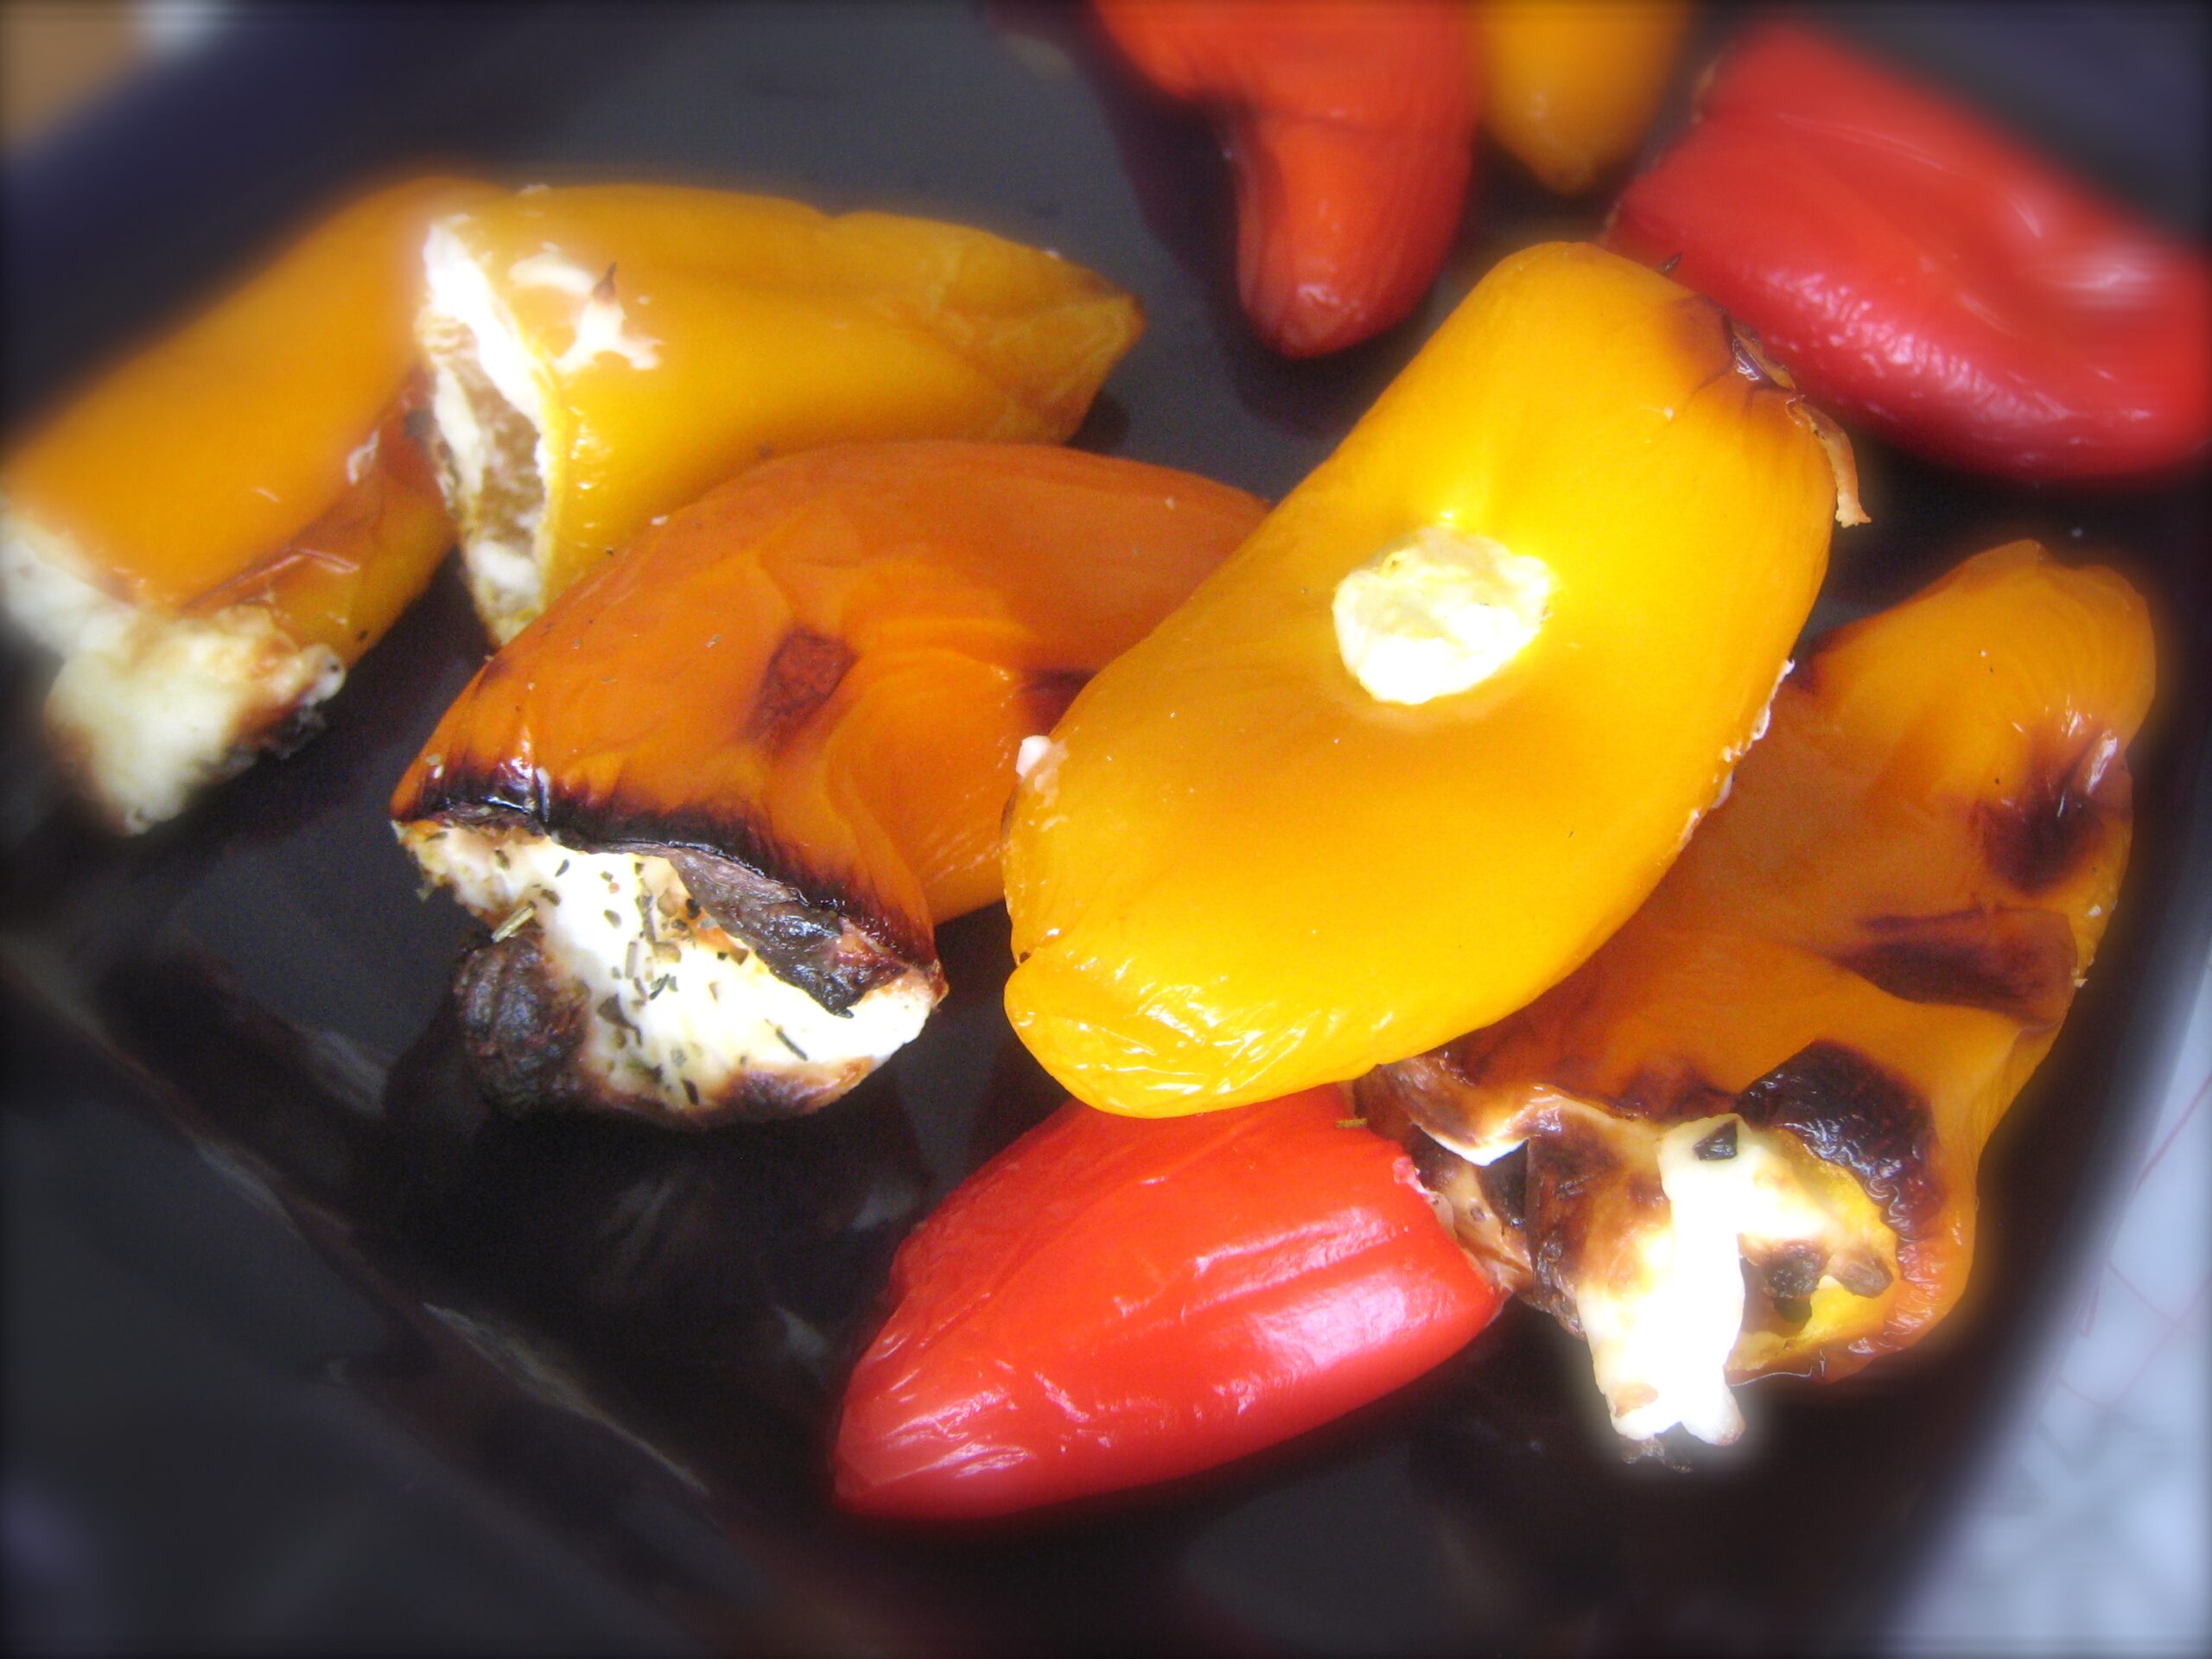
We especially enjoyed the appetizer: some mini peppers stuffed with cream cheese, herbs de provence and shredded parm that I grilled for a few minutes on the Genesis, using a pepper rack.
We had a bottle of Charles Smith Columbia Valley Chardonnay with the peppers, and a Chilean Chardonnay with the meal. Claudia made crescent rolls and her famous Wulff Salad, and also served corn with the chicken and potatoes. It was cherry pie for dessert.
This rotisserie chicken with drip pan potatoes is one of our favorite meals. I was happy that even though I ran into difficulty because of the weather, I knew how to recover and turn out a decent plate.