-
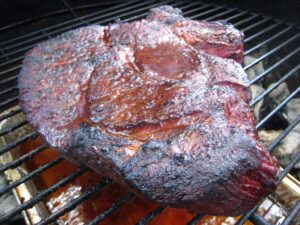
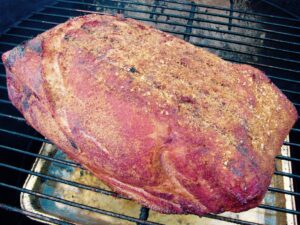
- Roast for Sloppy Joes

-

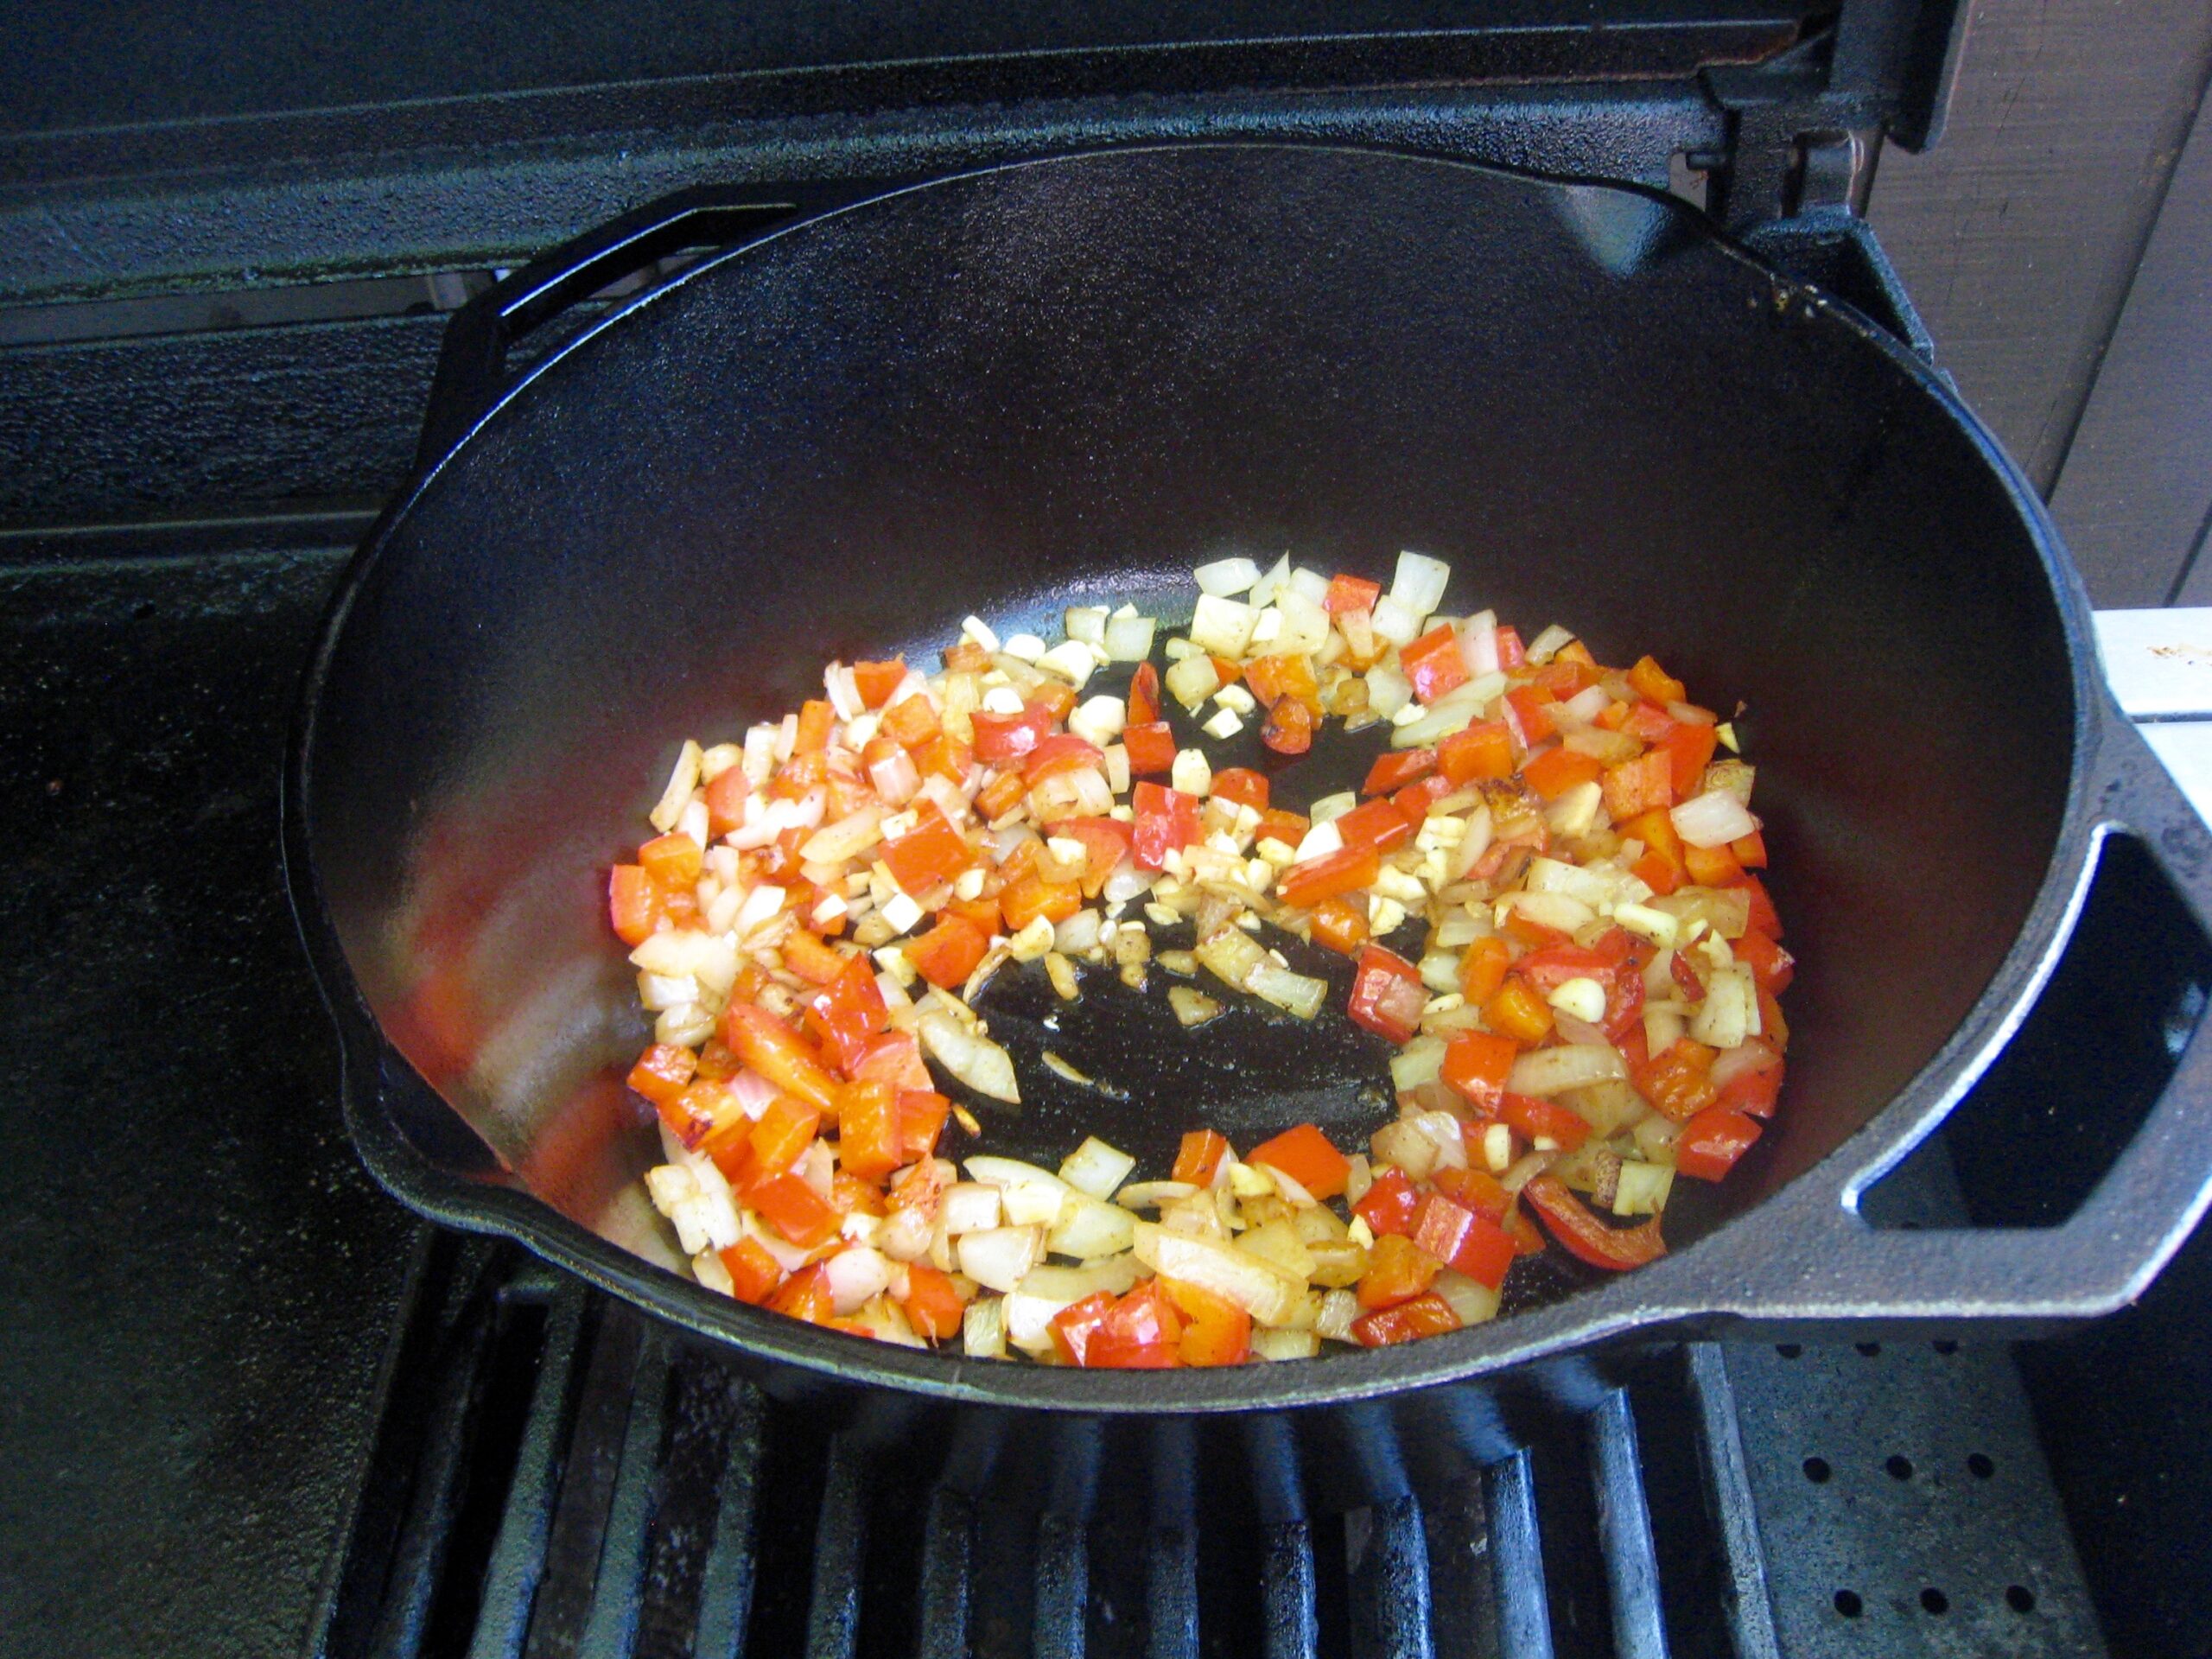
- Red Pepper, Onion and Garlic Sauté
-

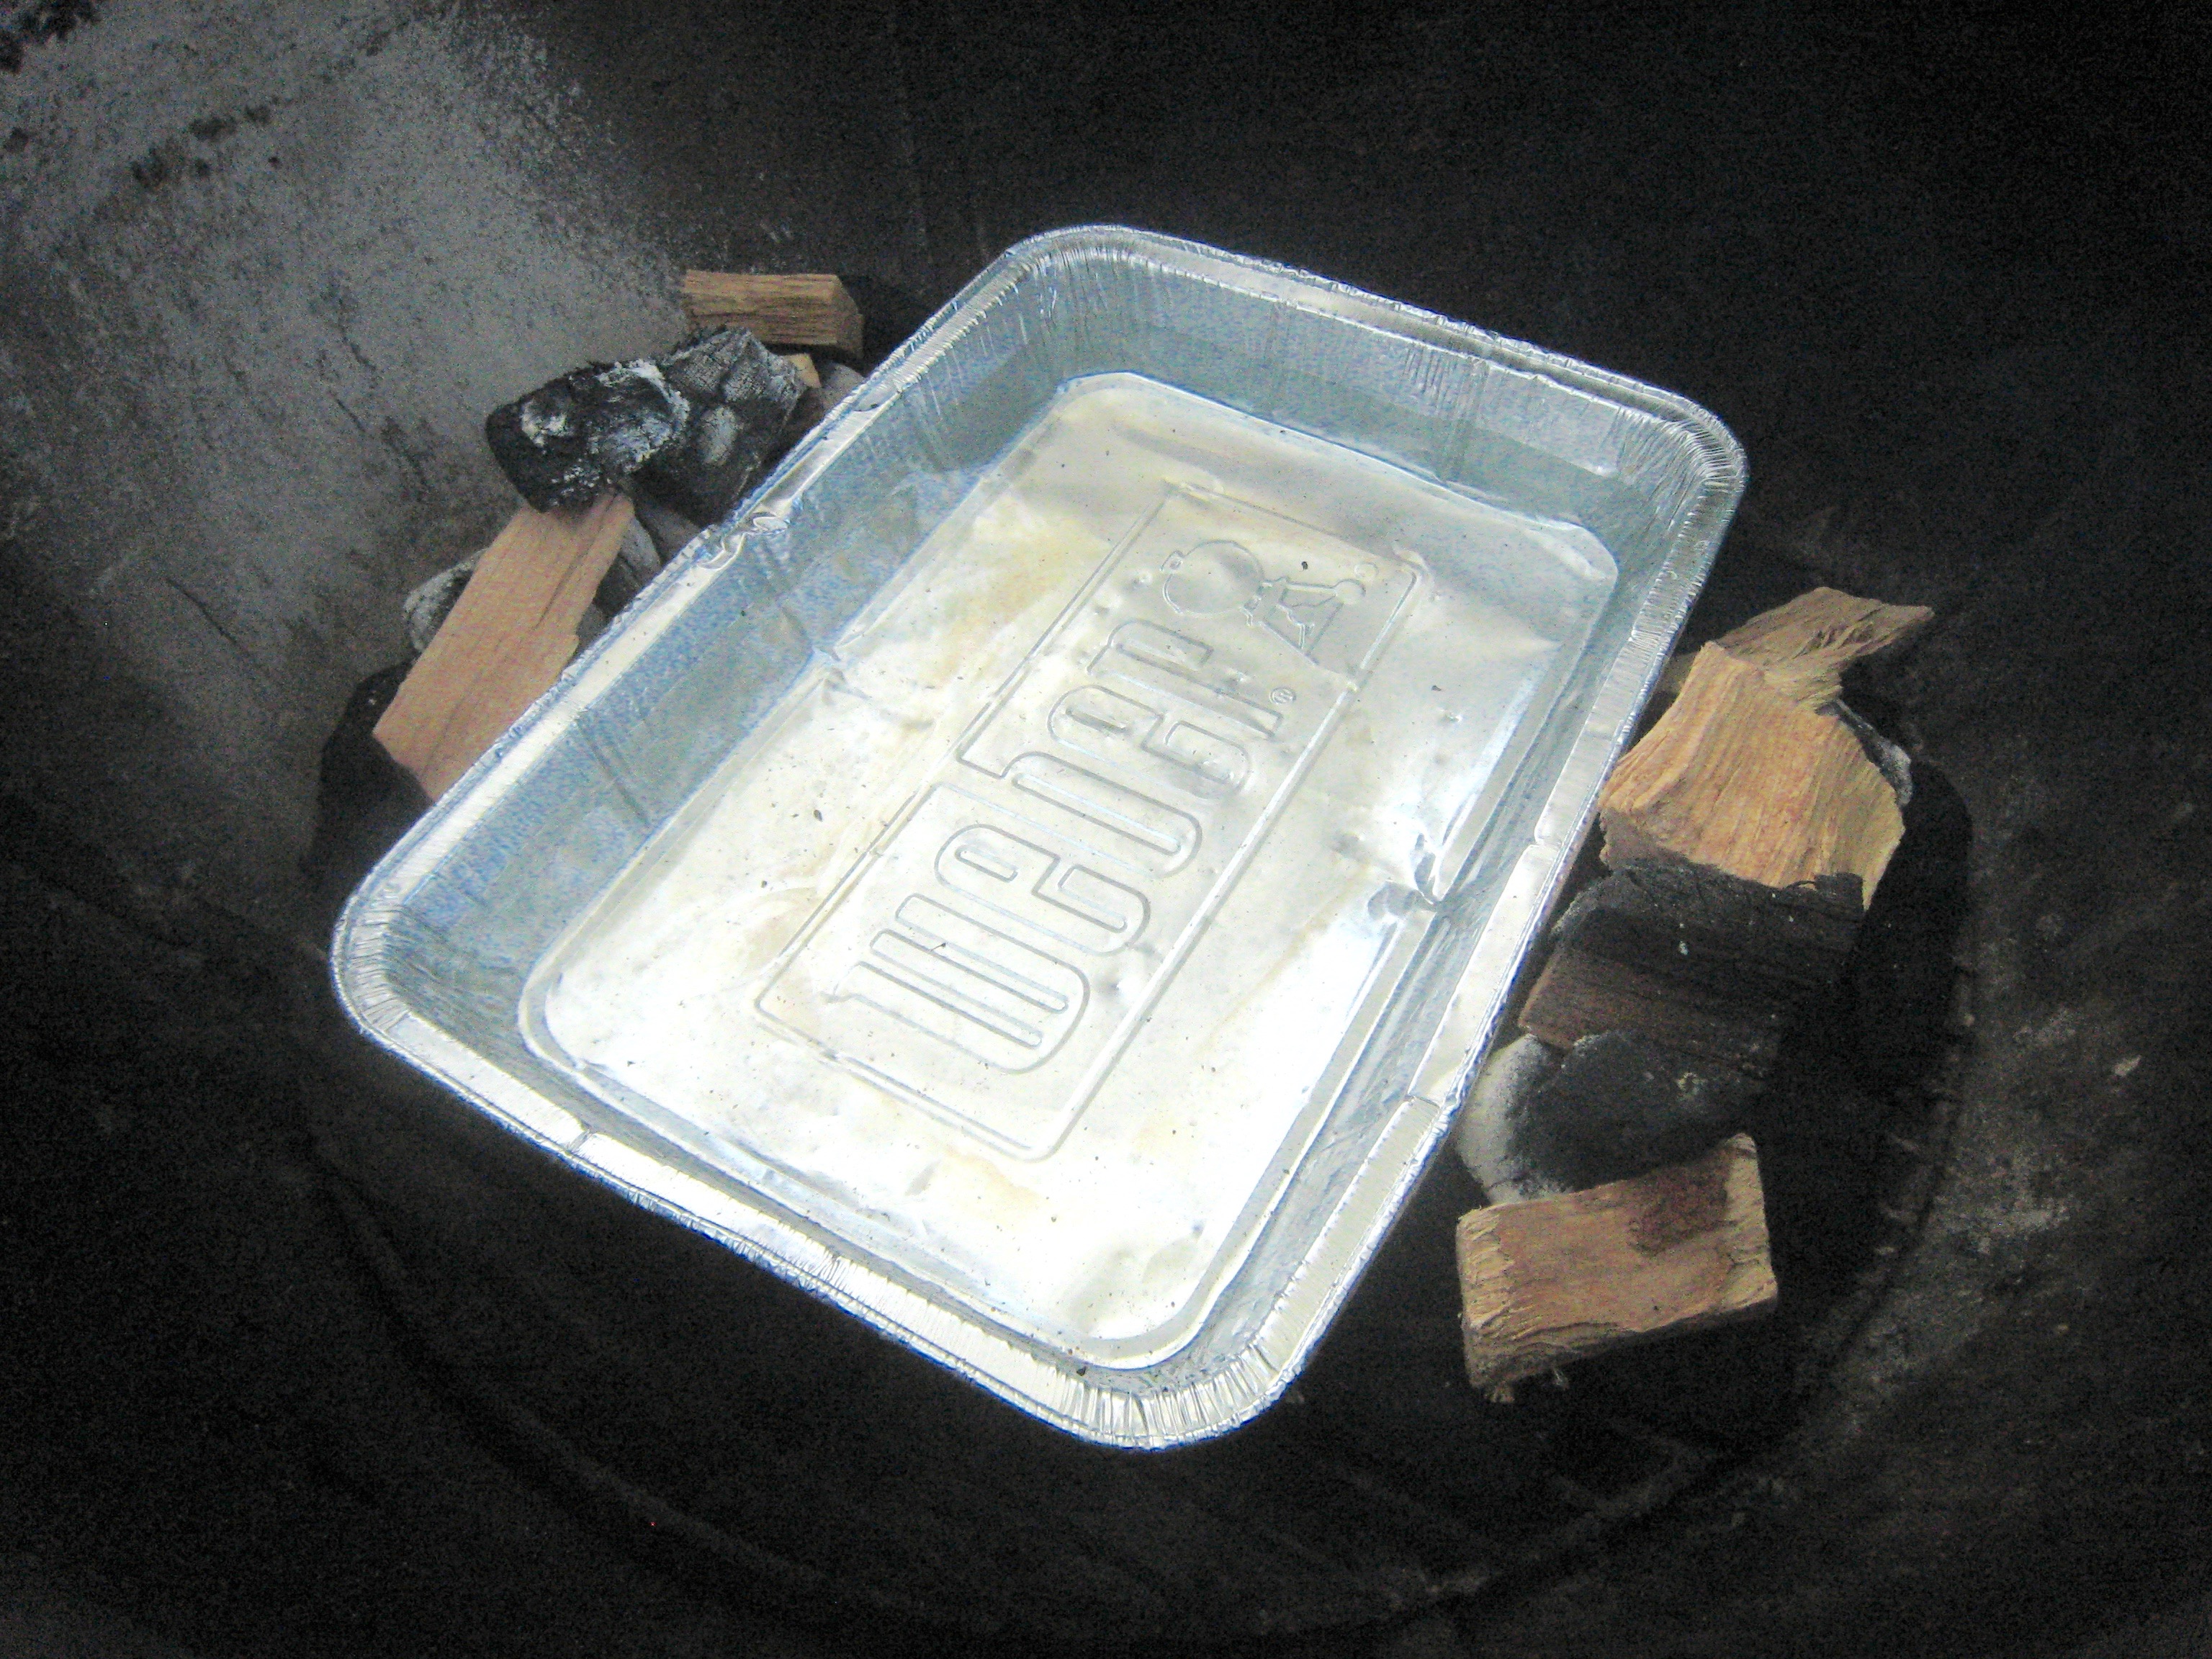
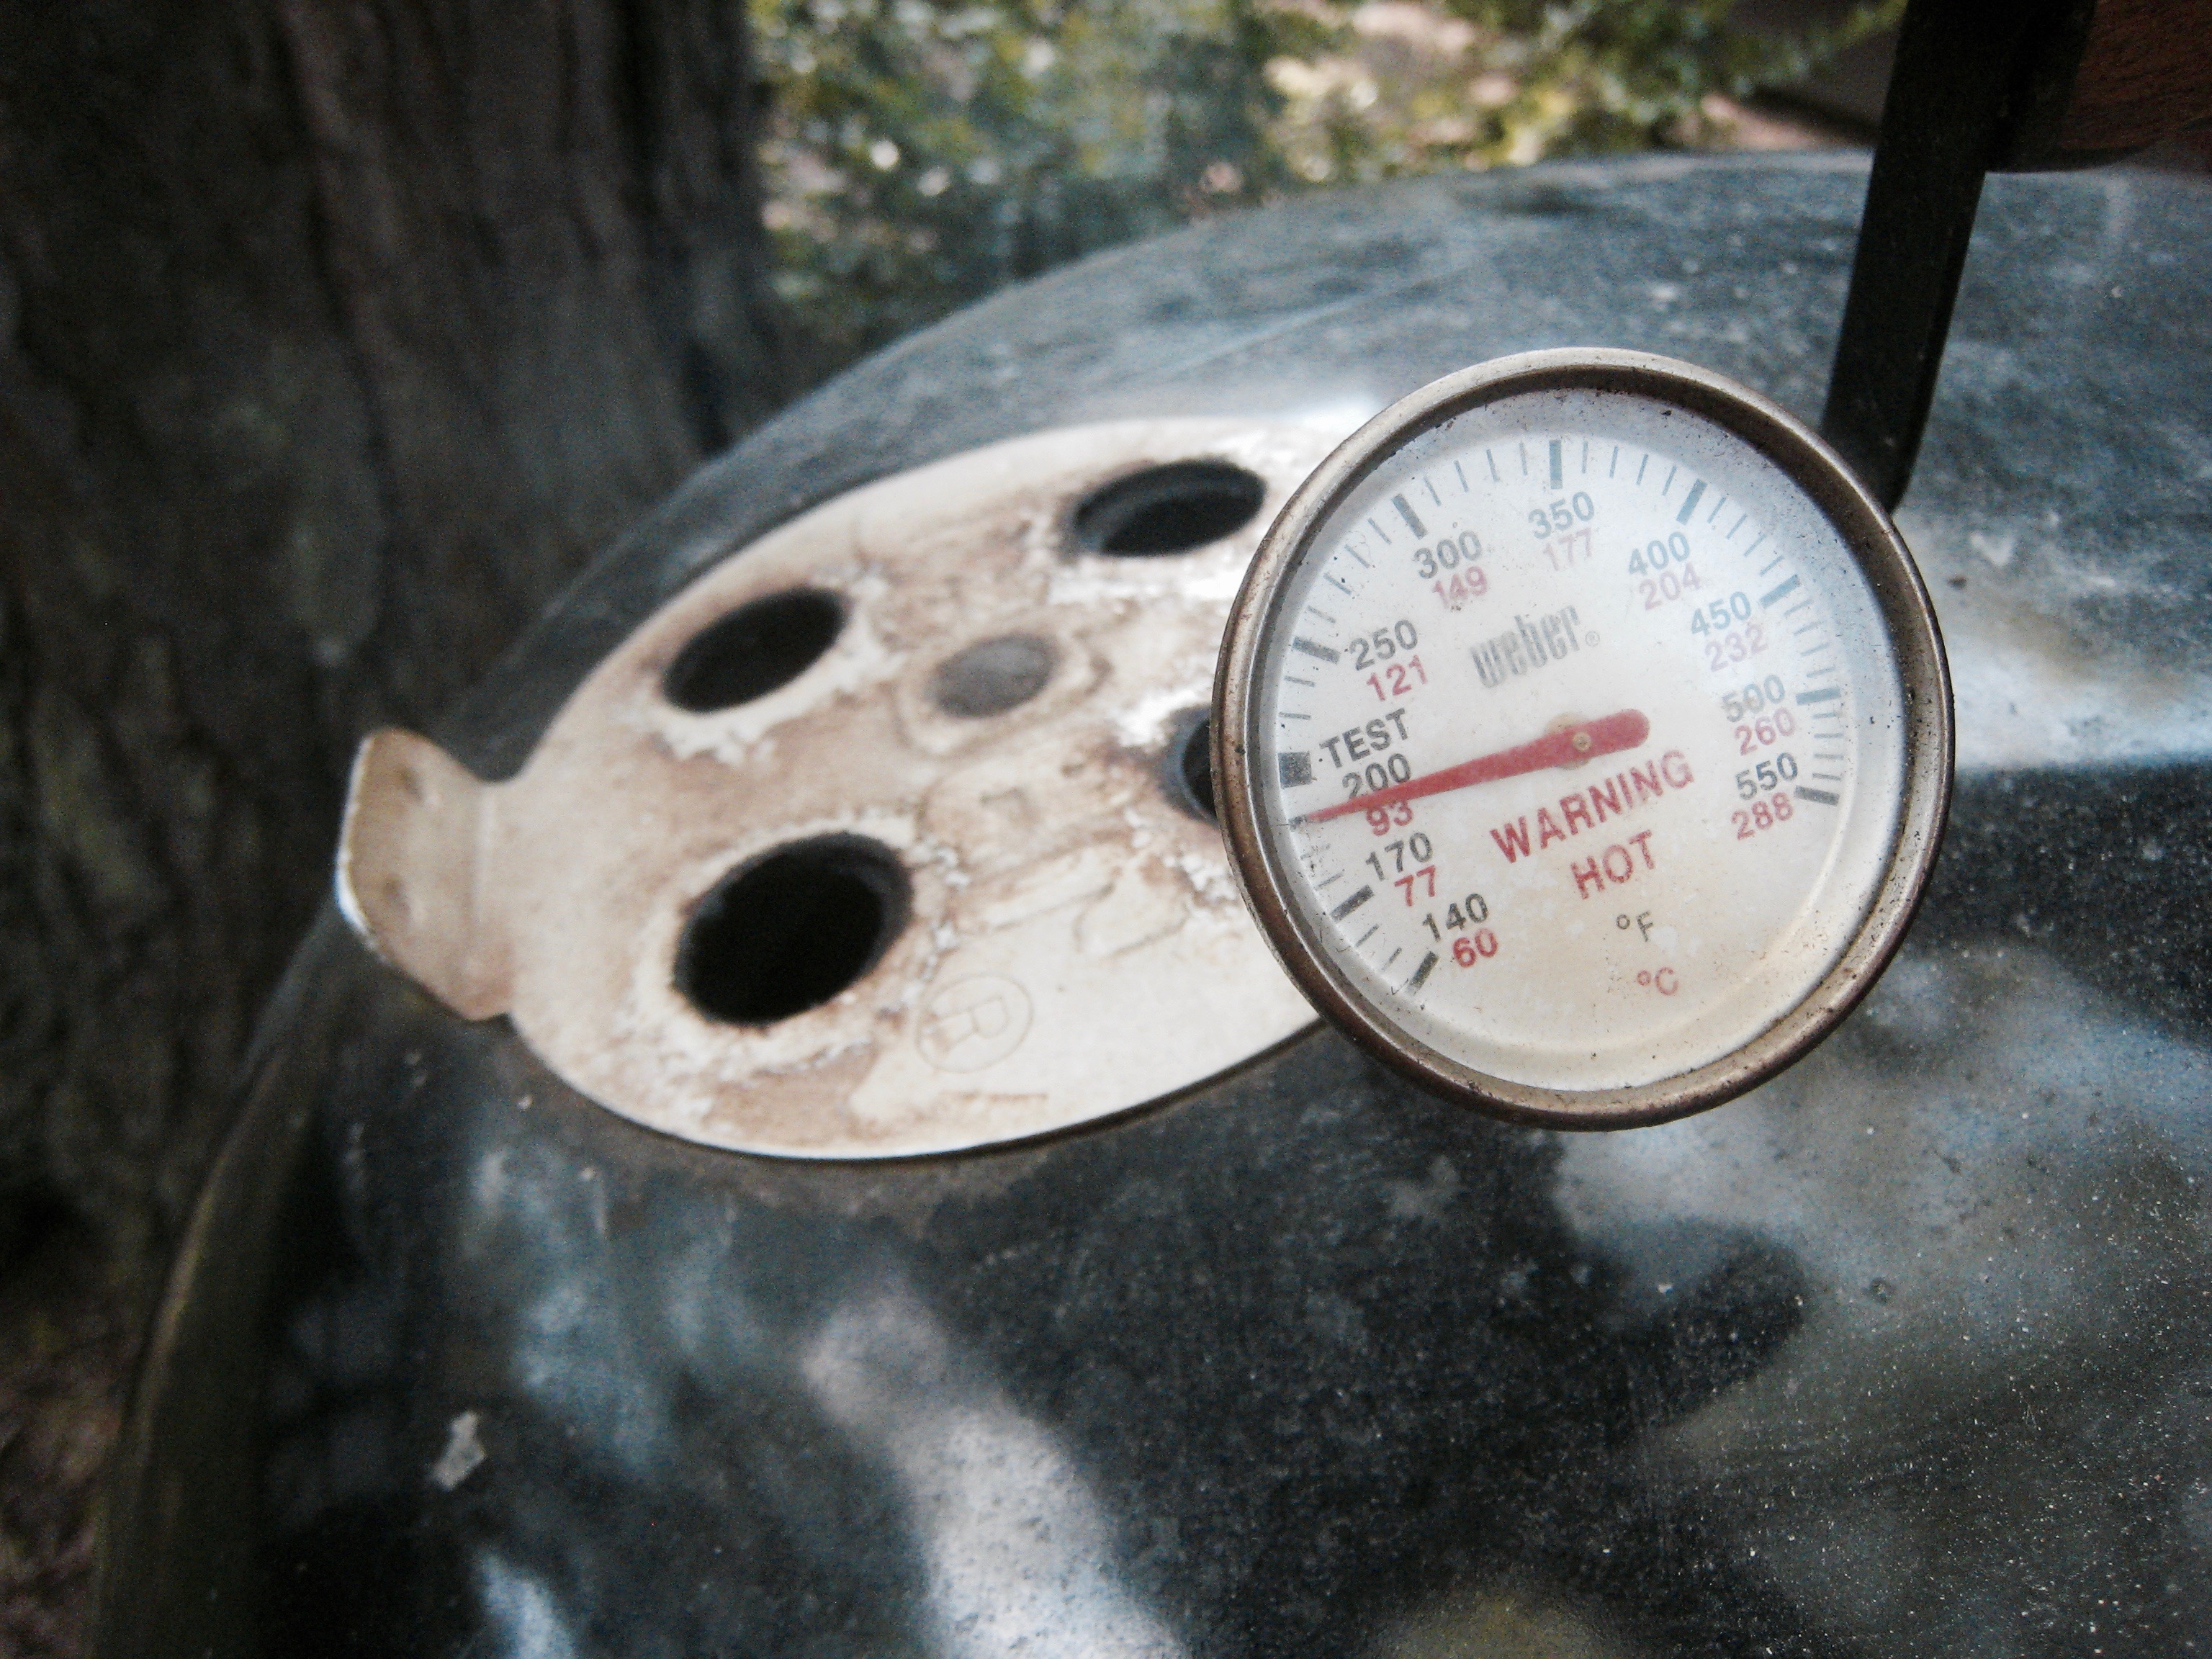
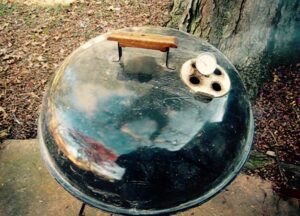
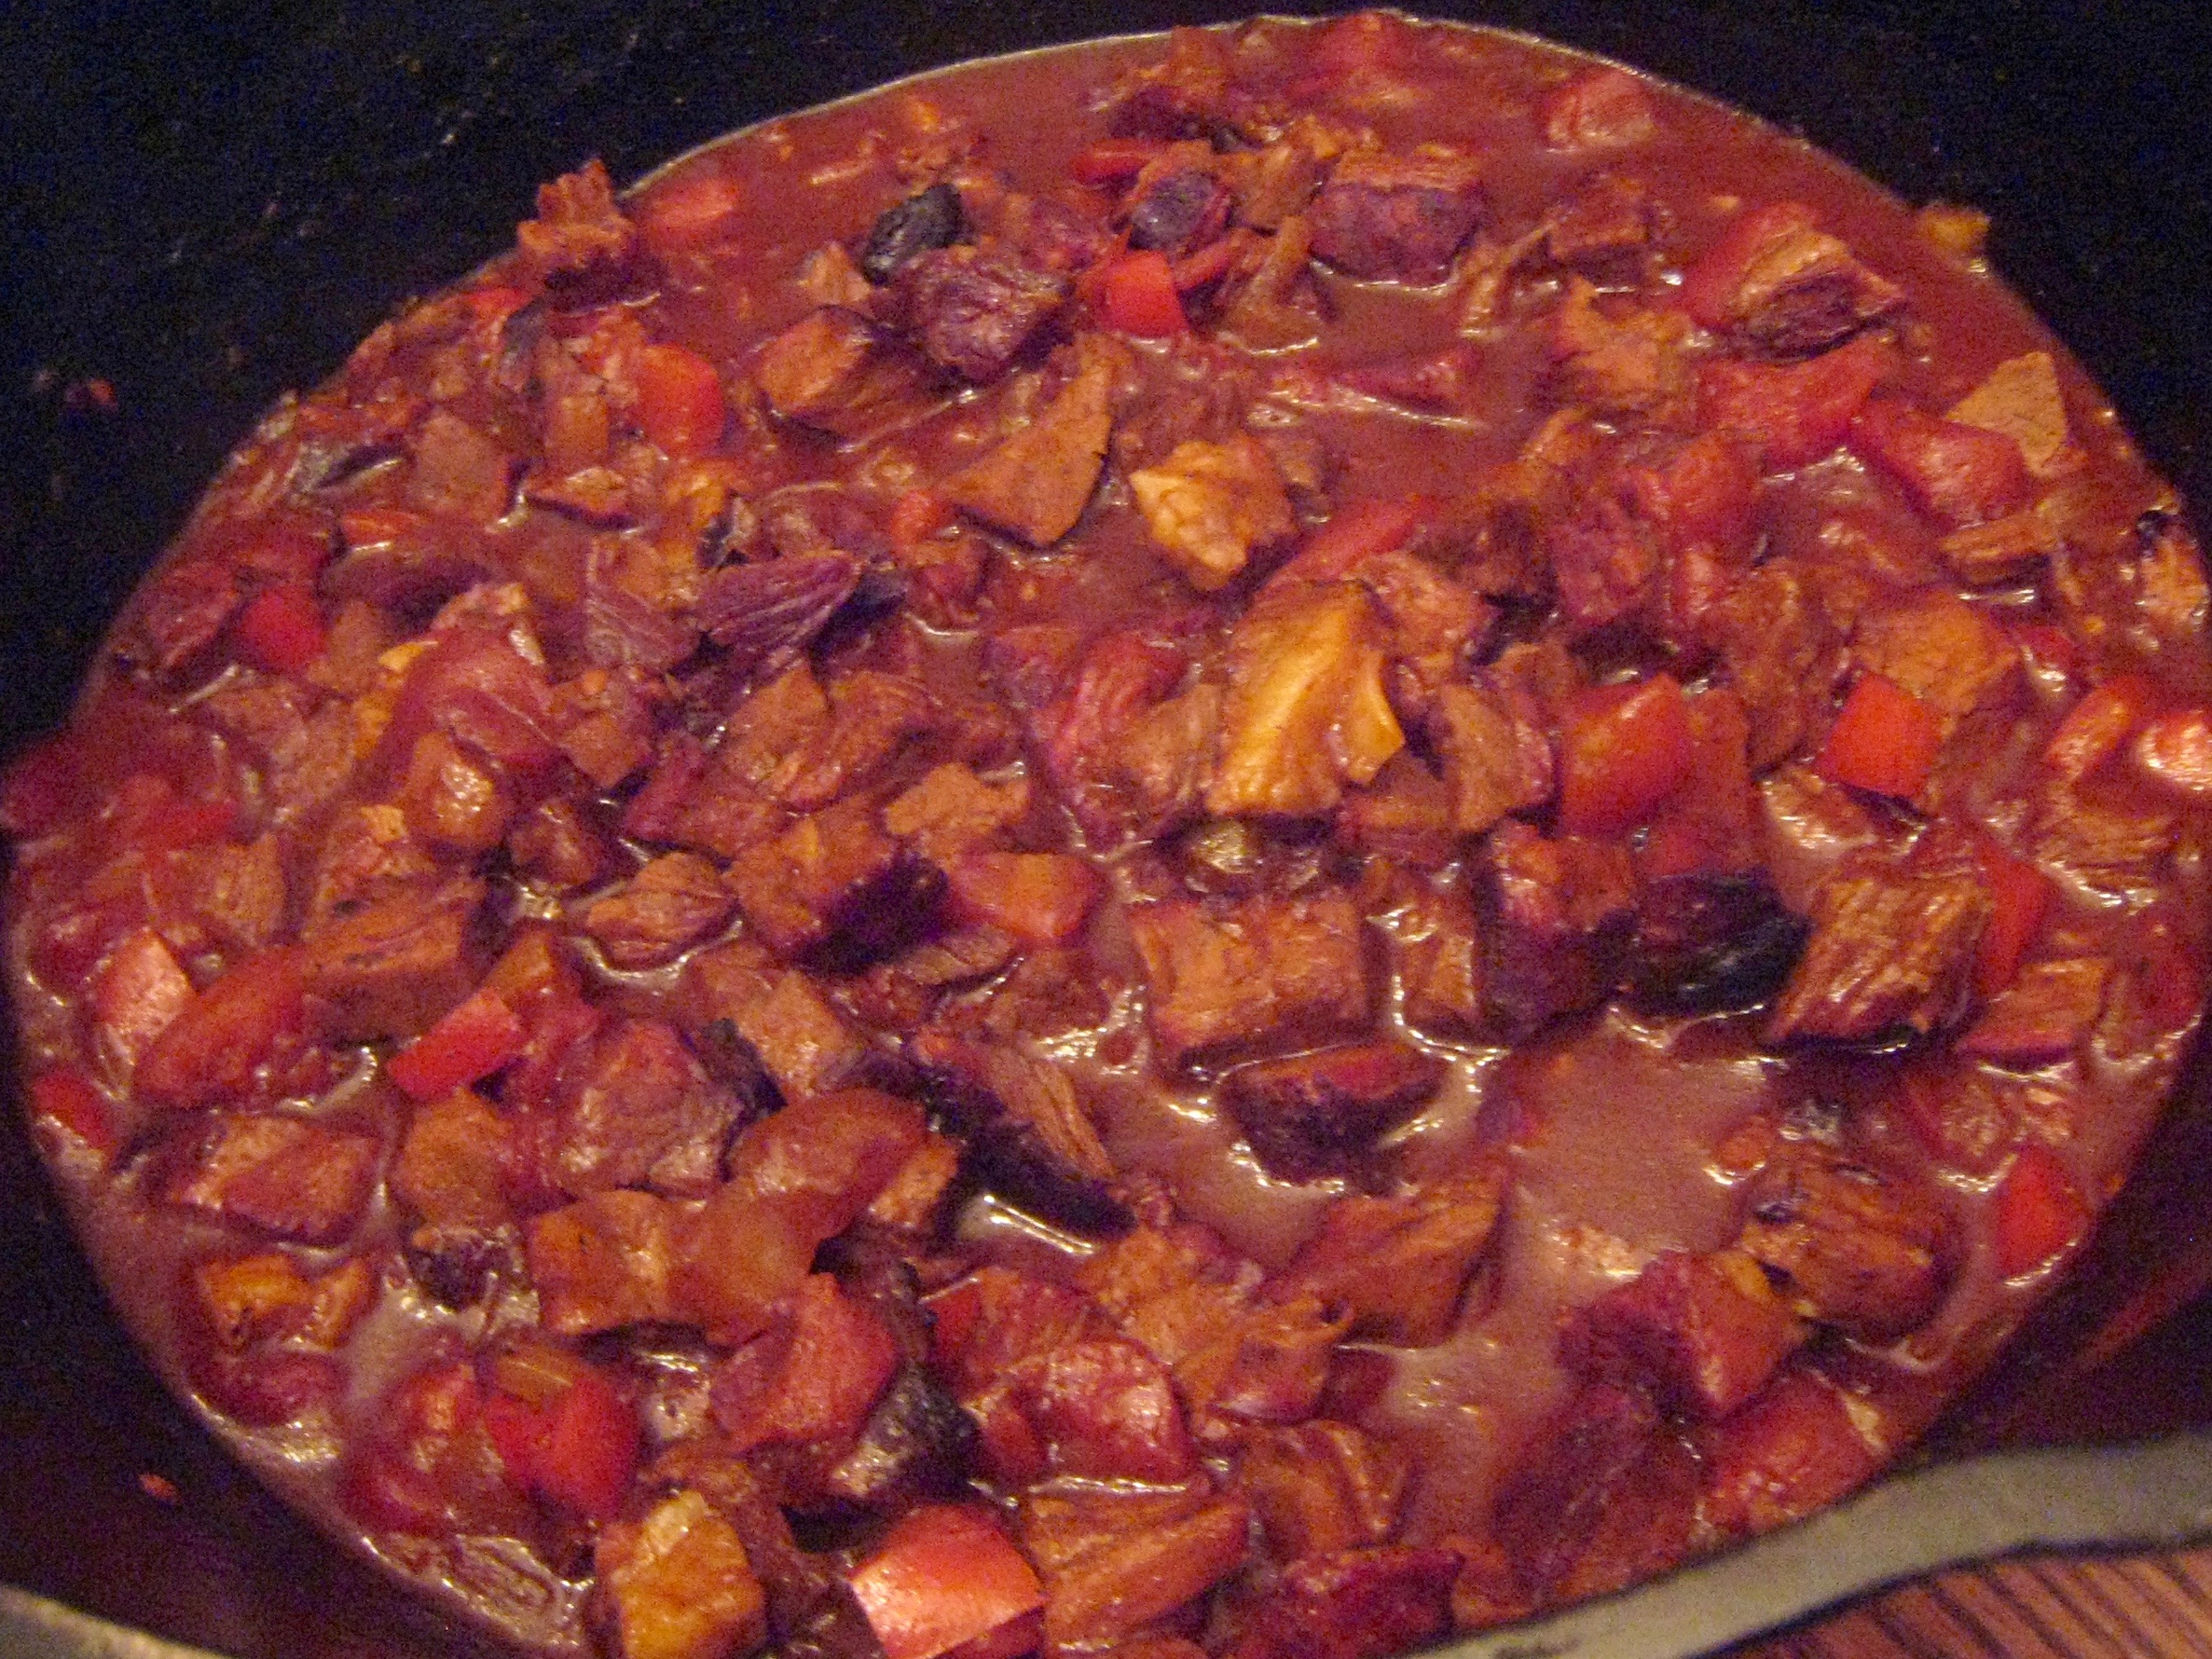
- Braising on the Genesis

-

- Sloppy Joes
-
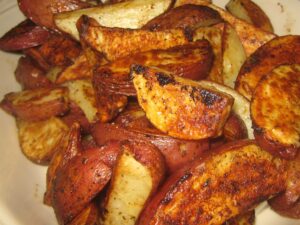
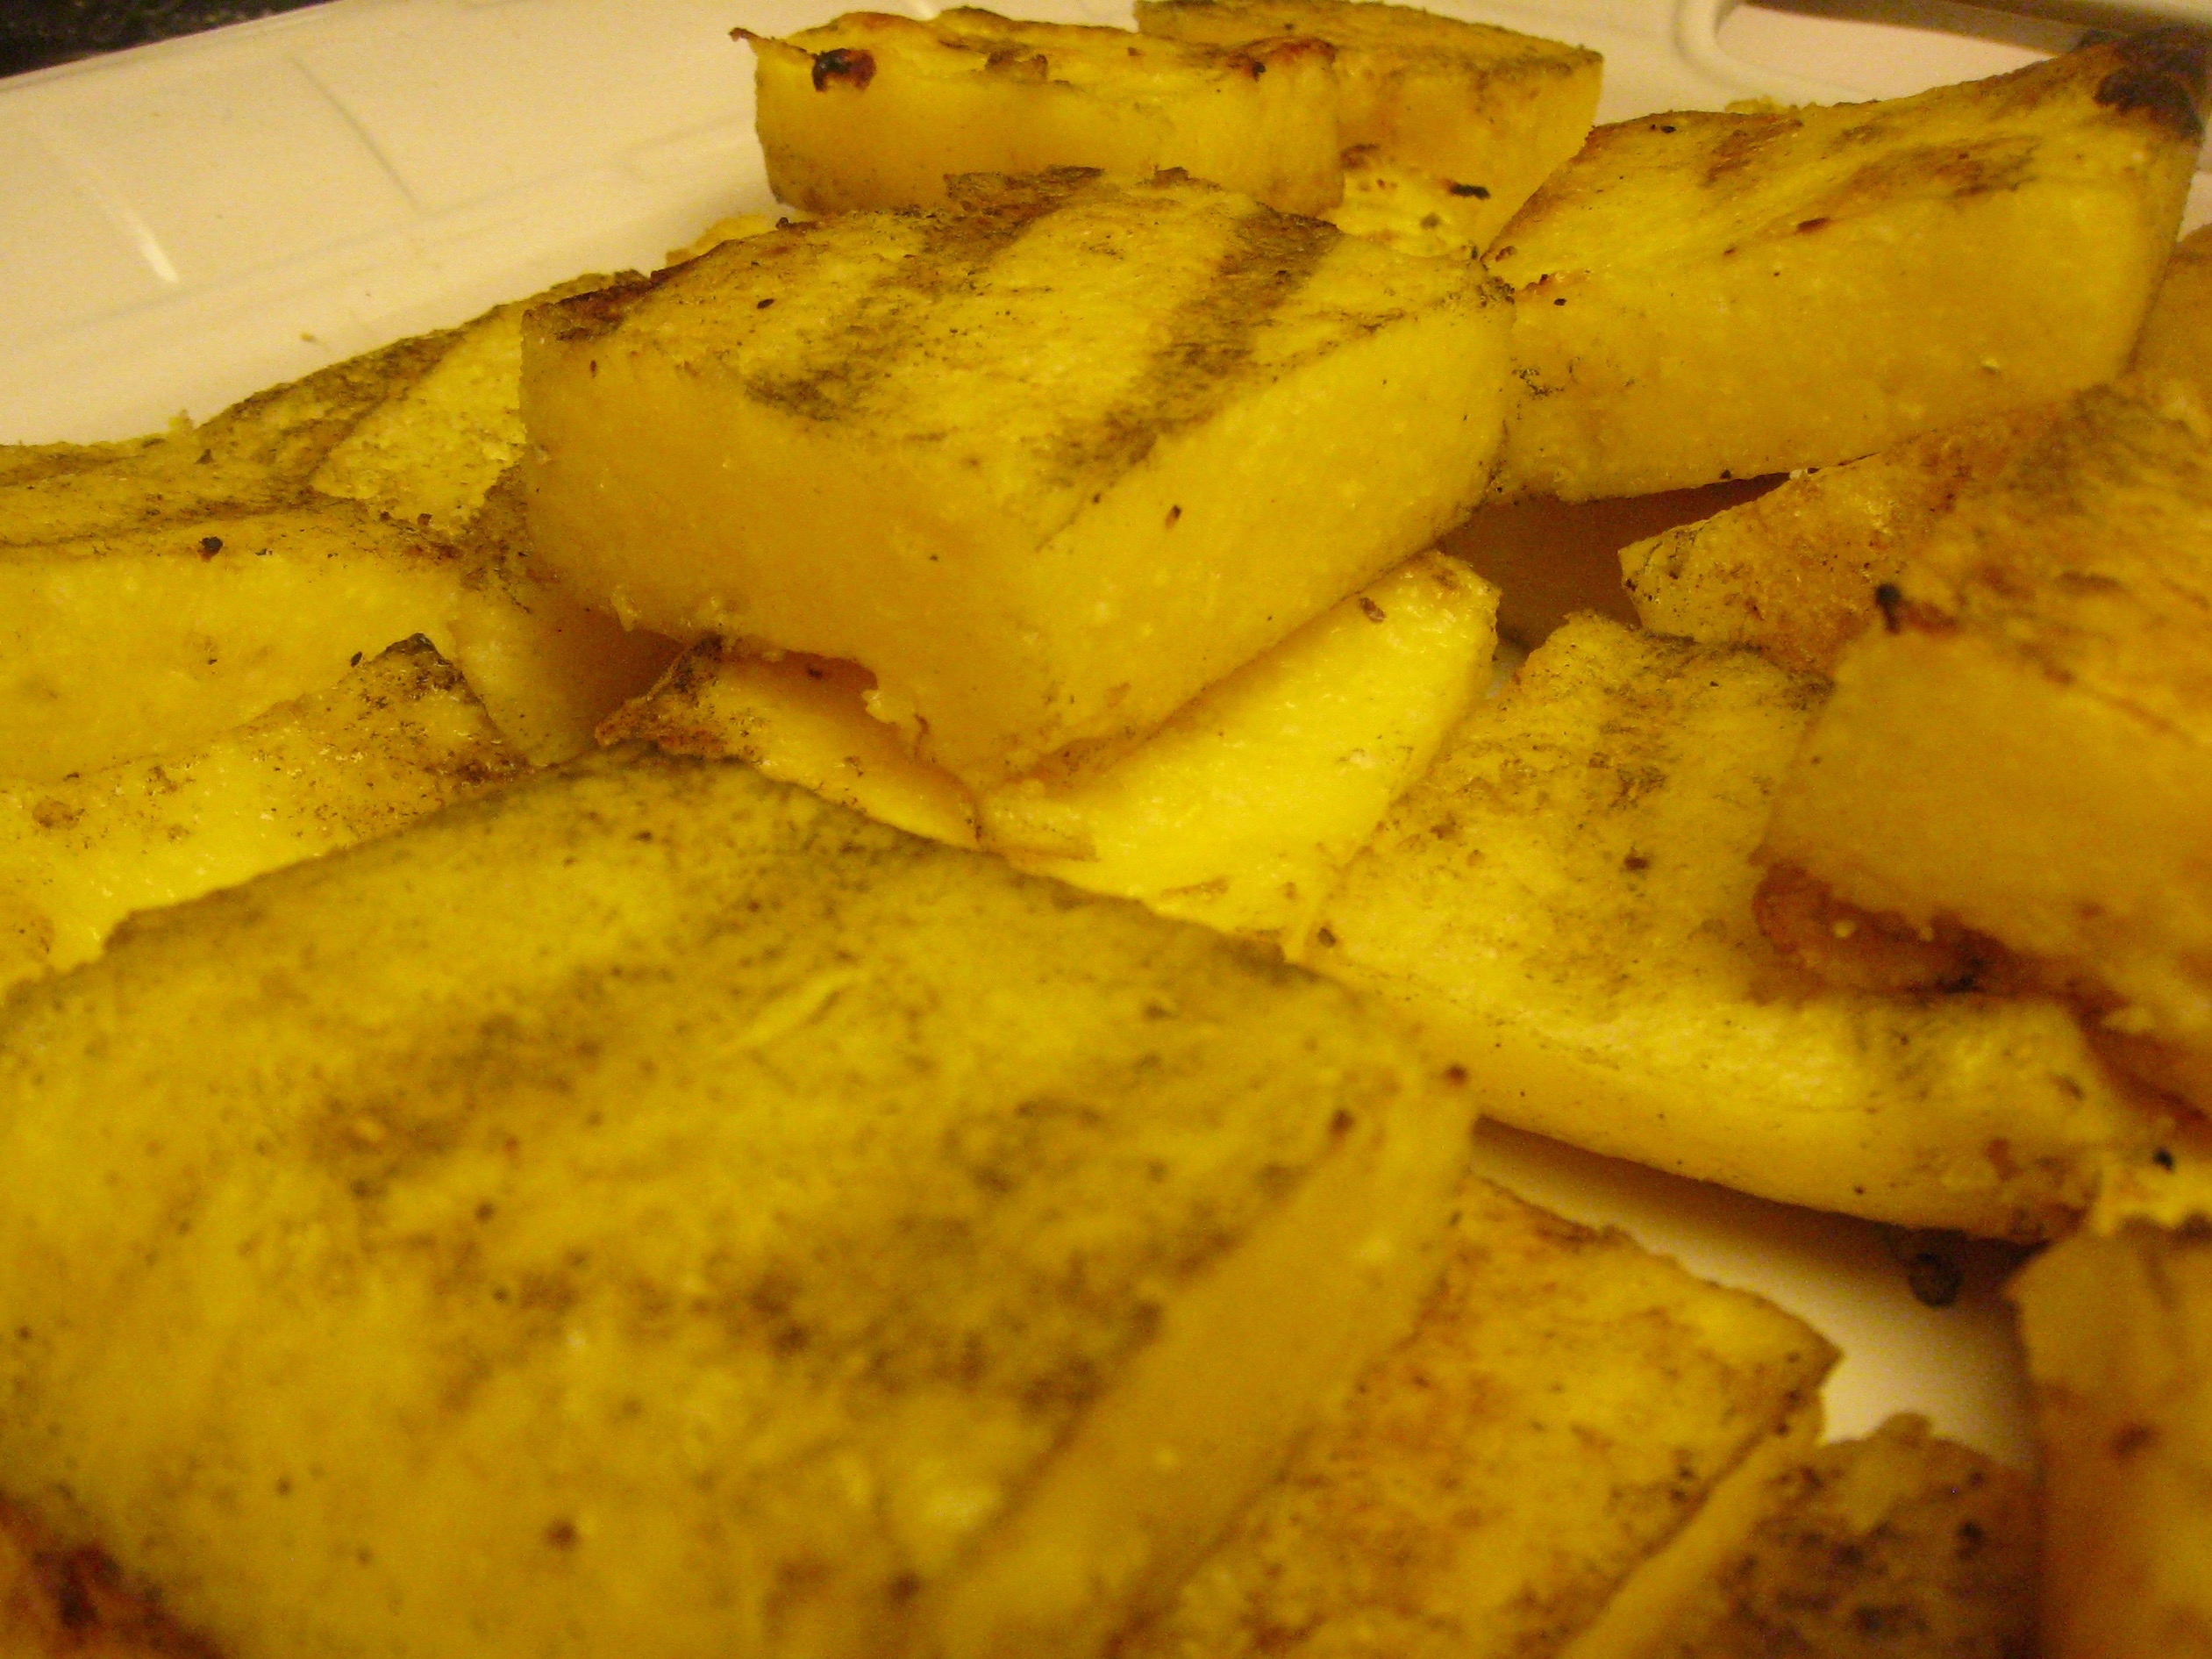
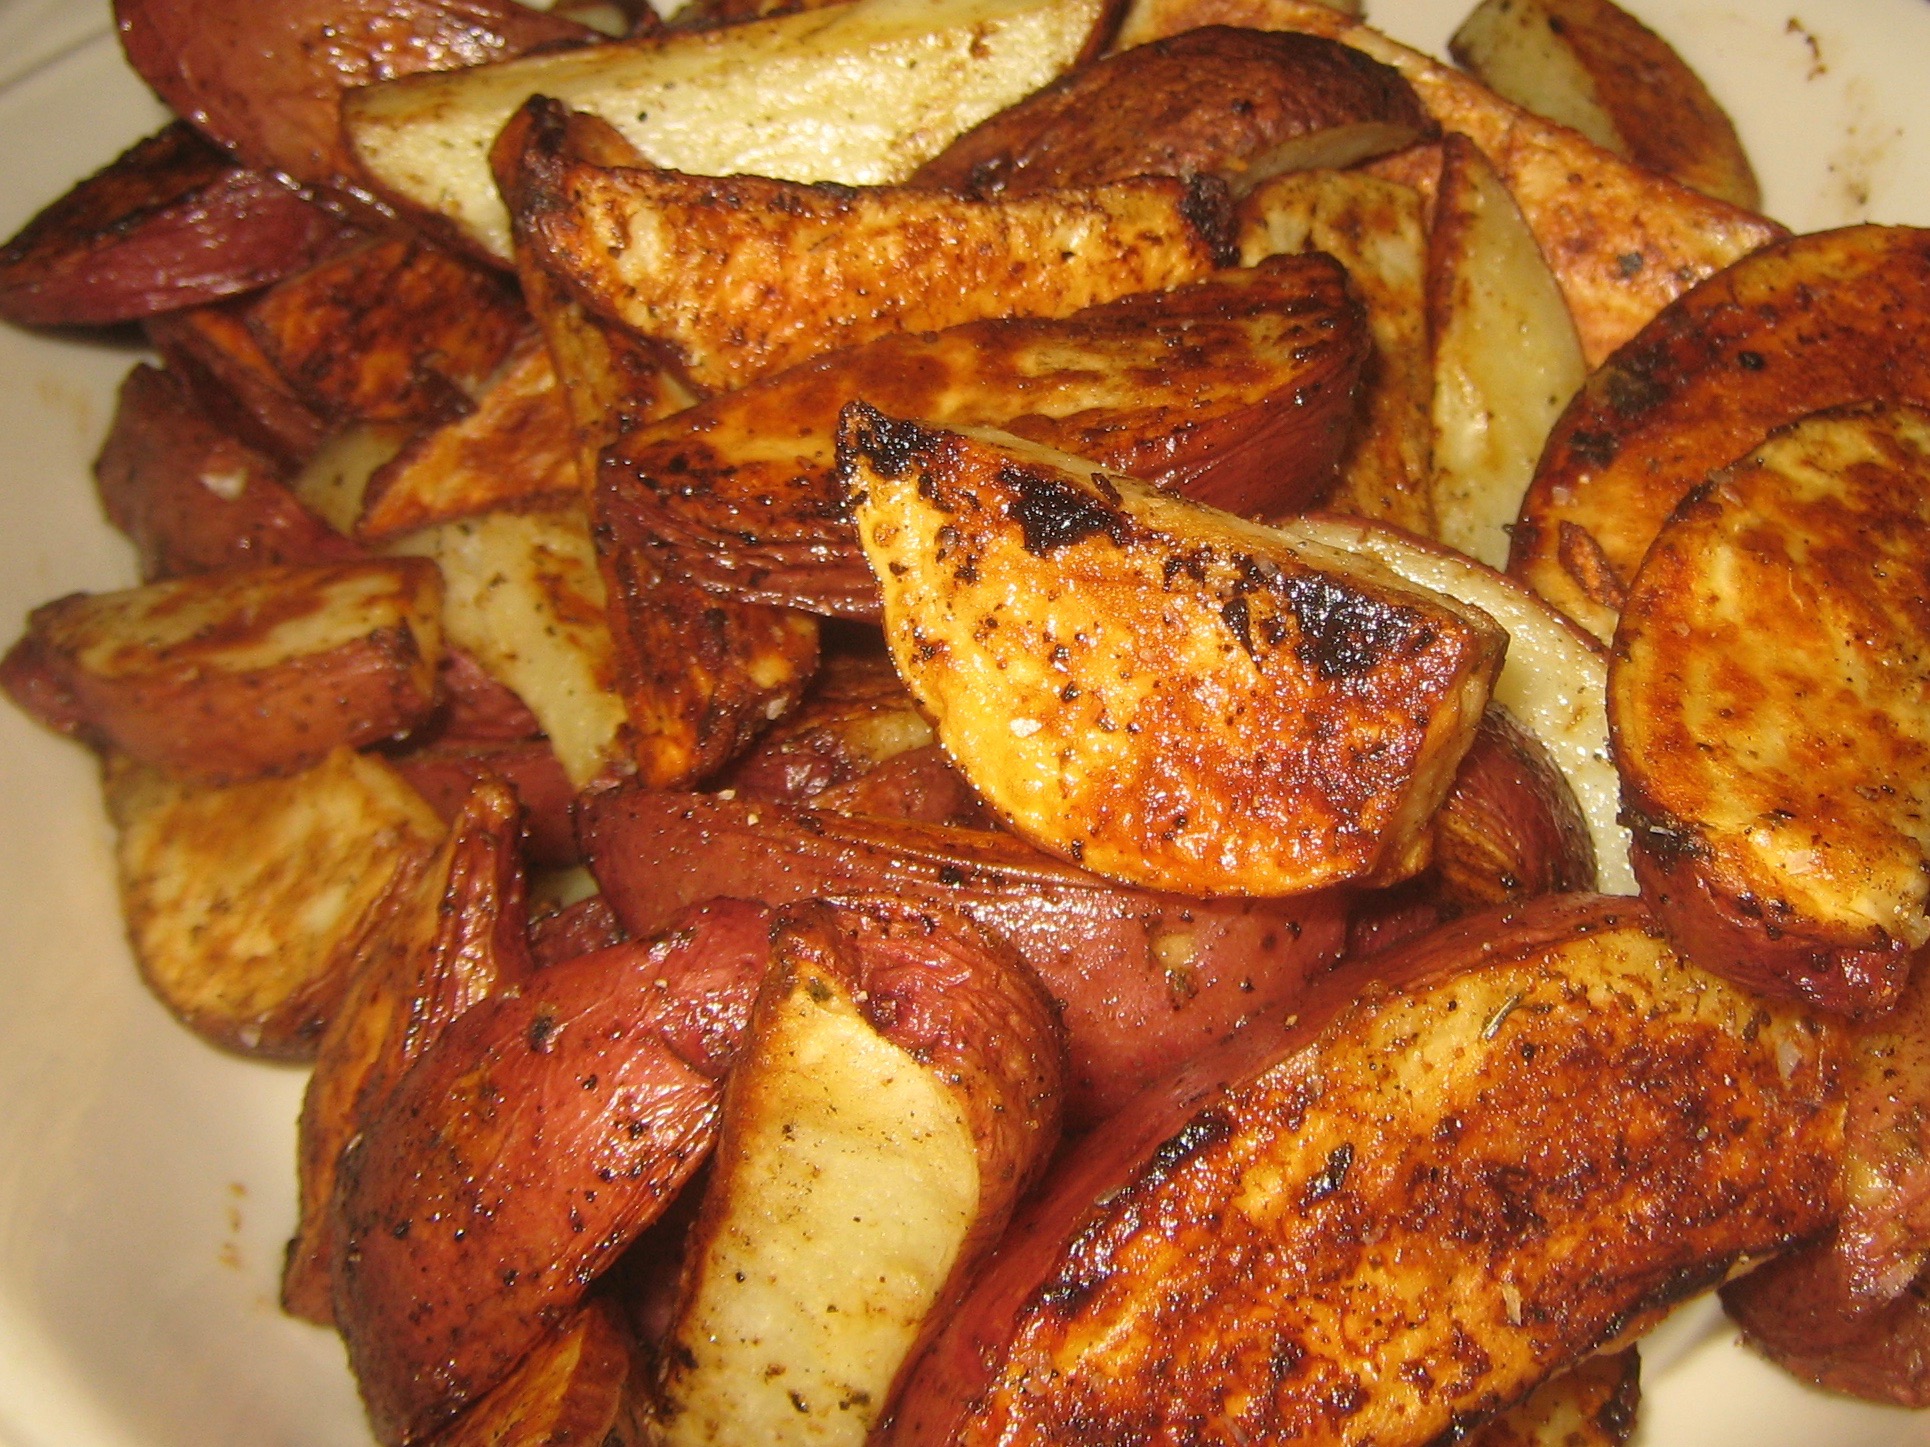
- Hidden Valley Potato Wedges
-
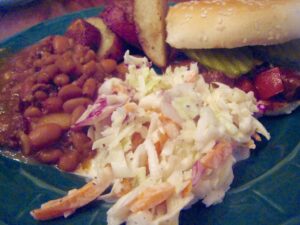
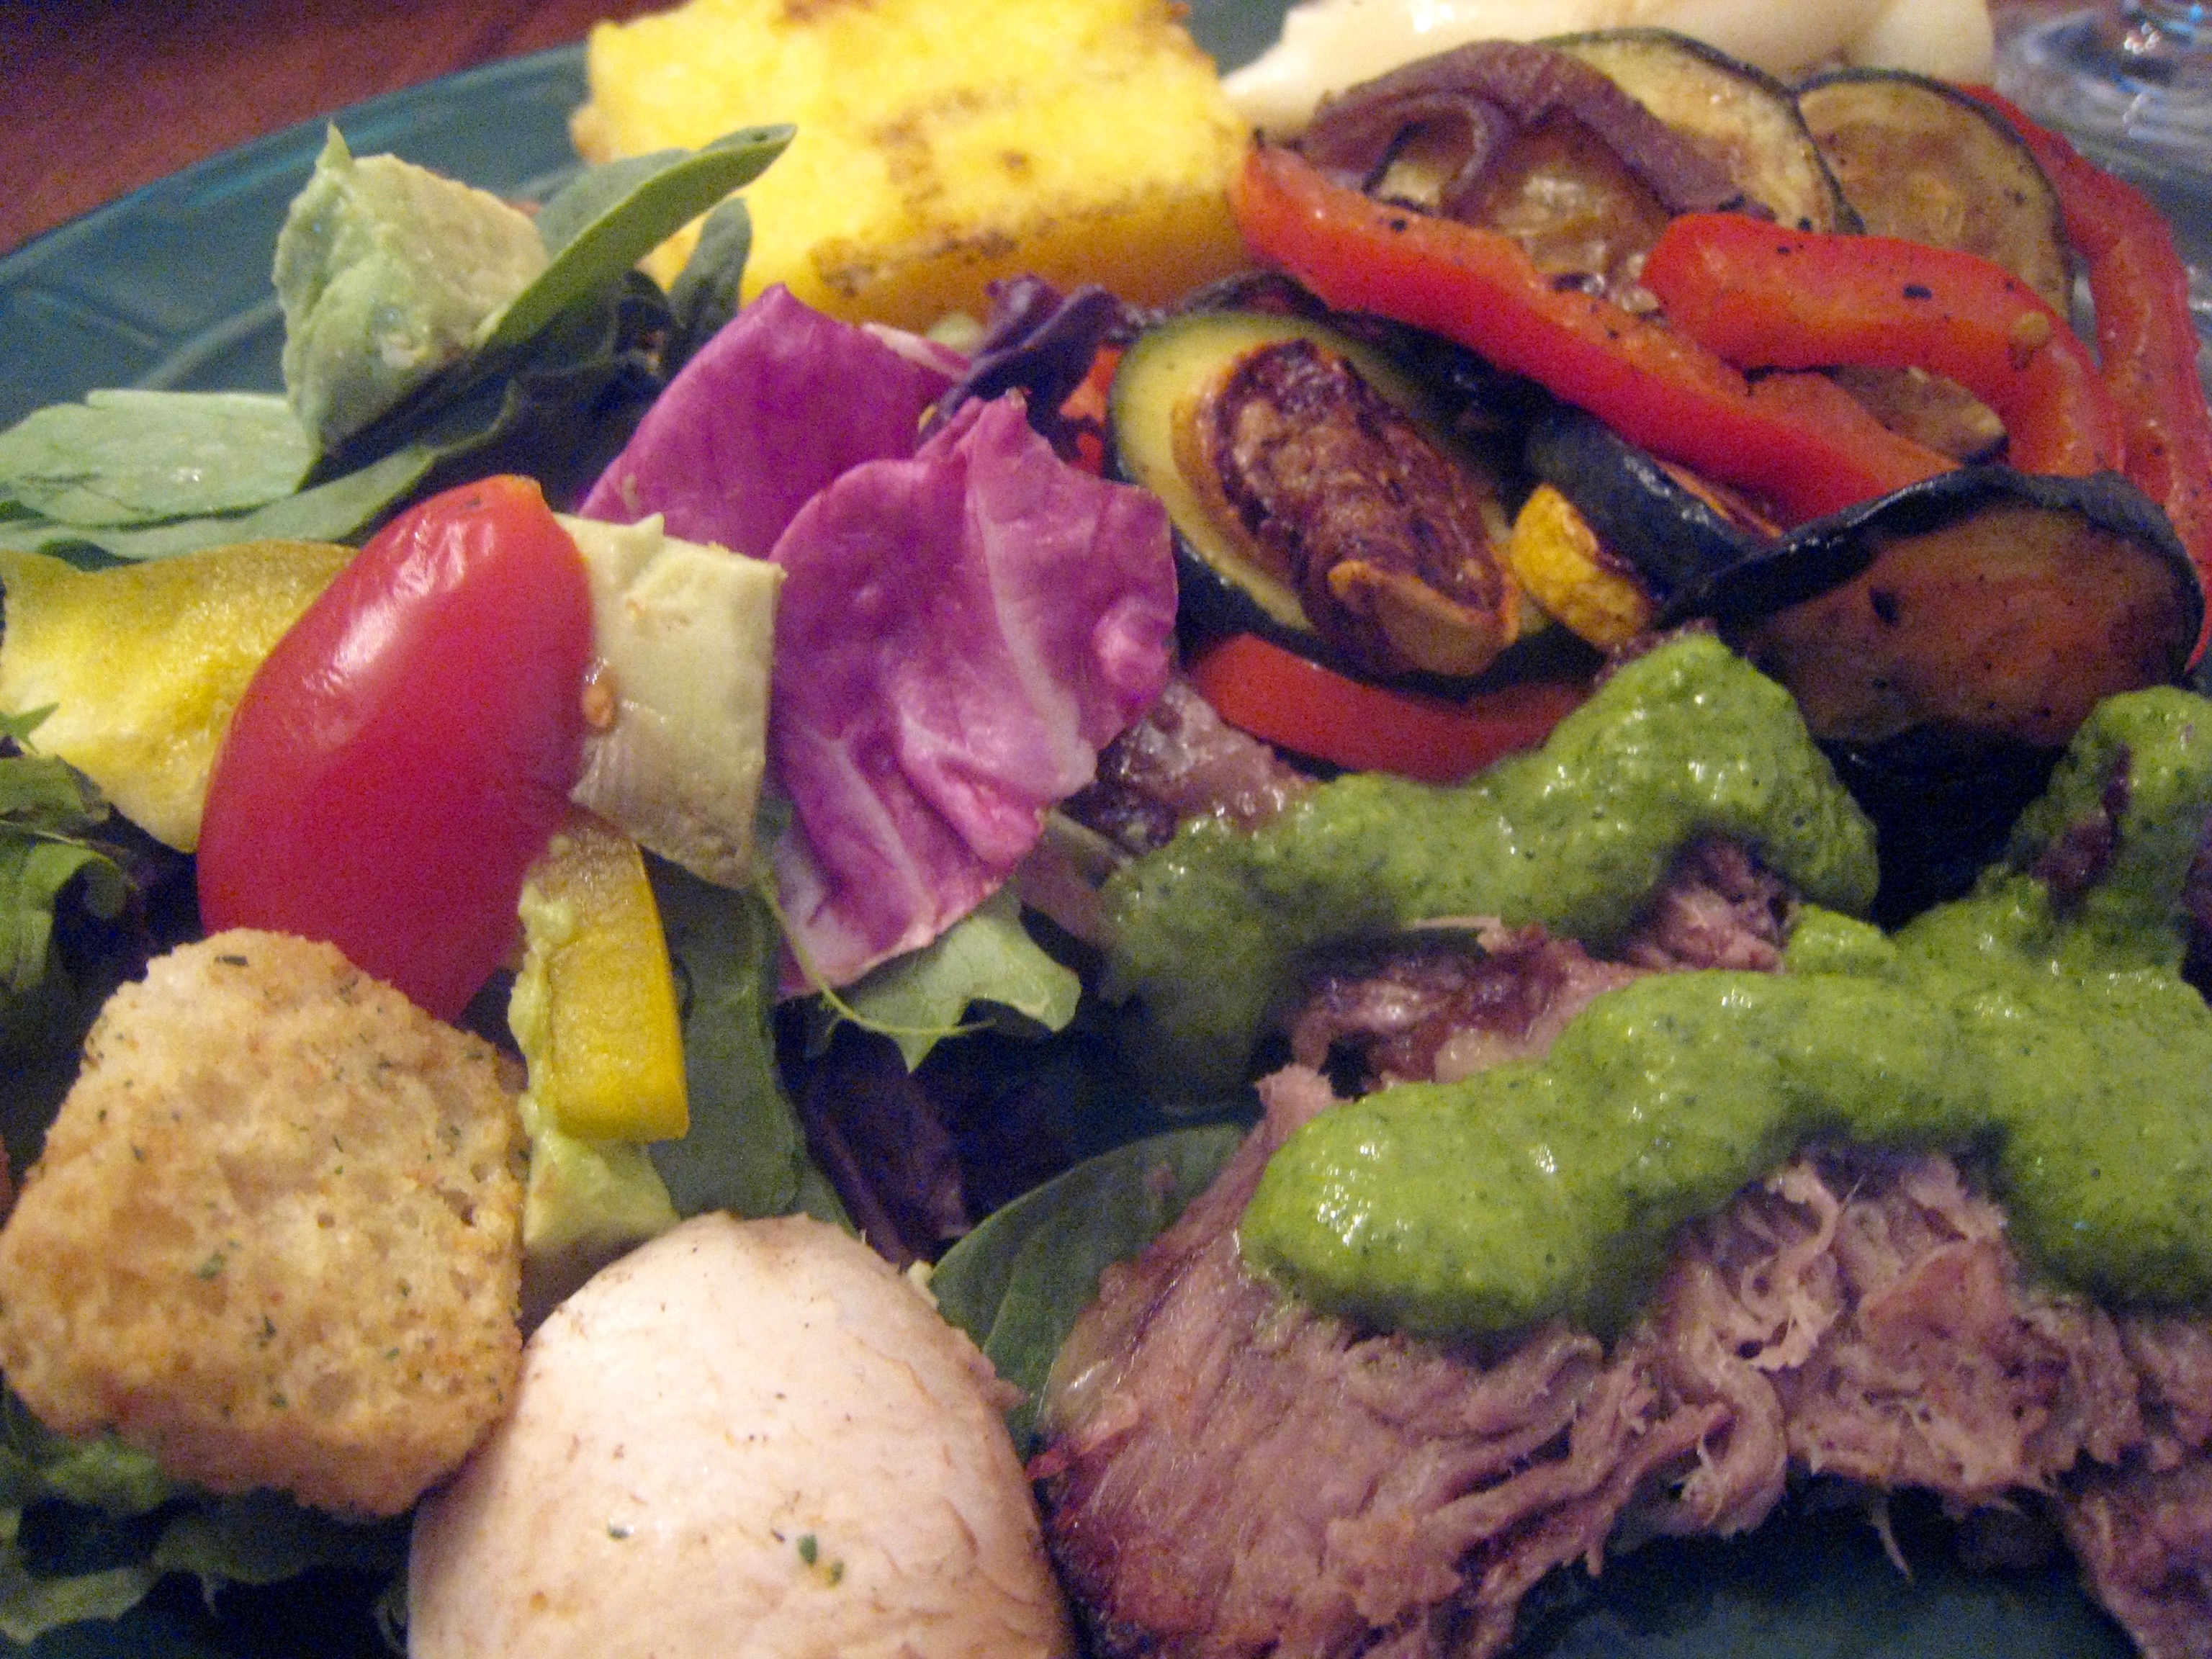
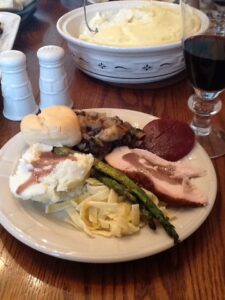
- Plated Memorial Day Dinner

Memorial Day is the day when Americans honor the fallen, and it’s also the unofficial beginning of Summer here. This year, as usual at our house, it was a weekend of cooking outside.
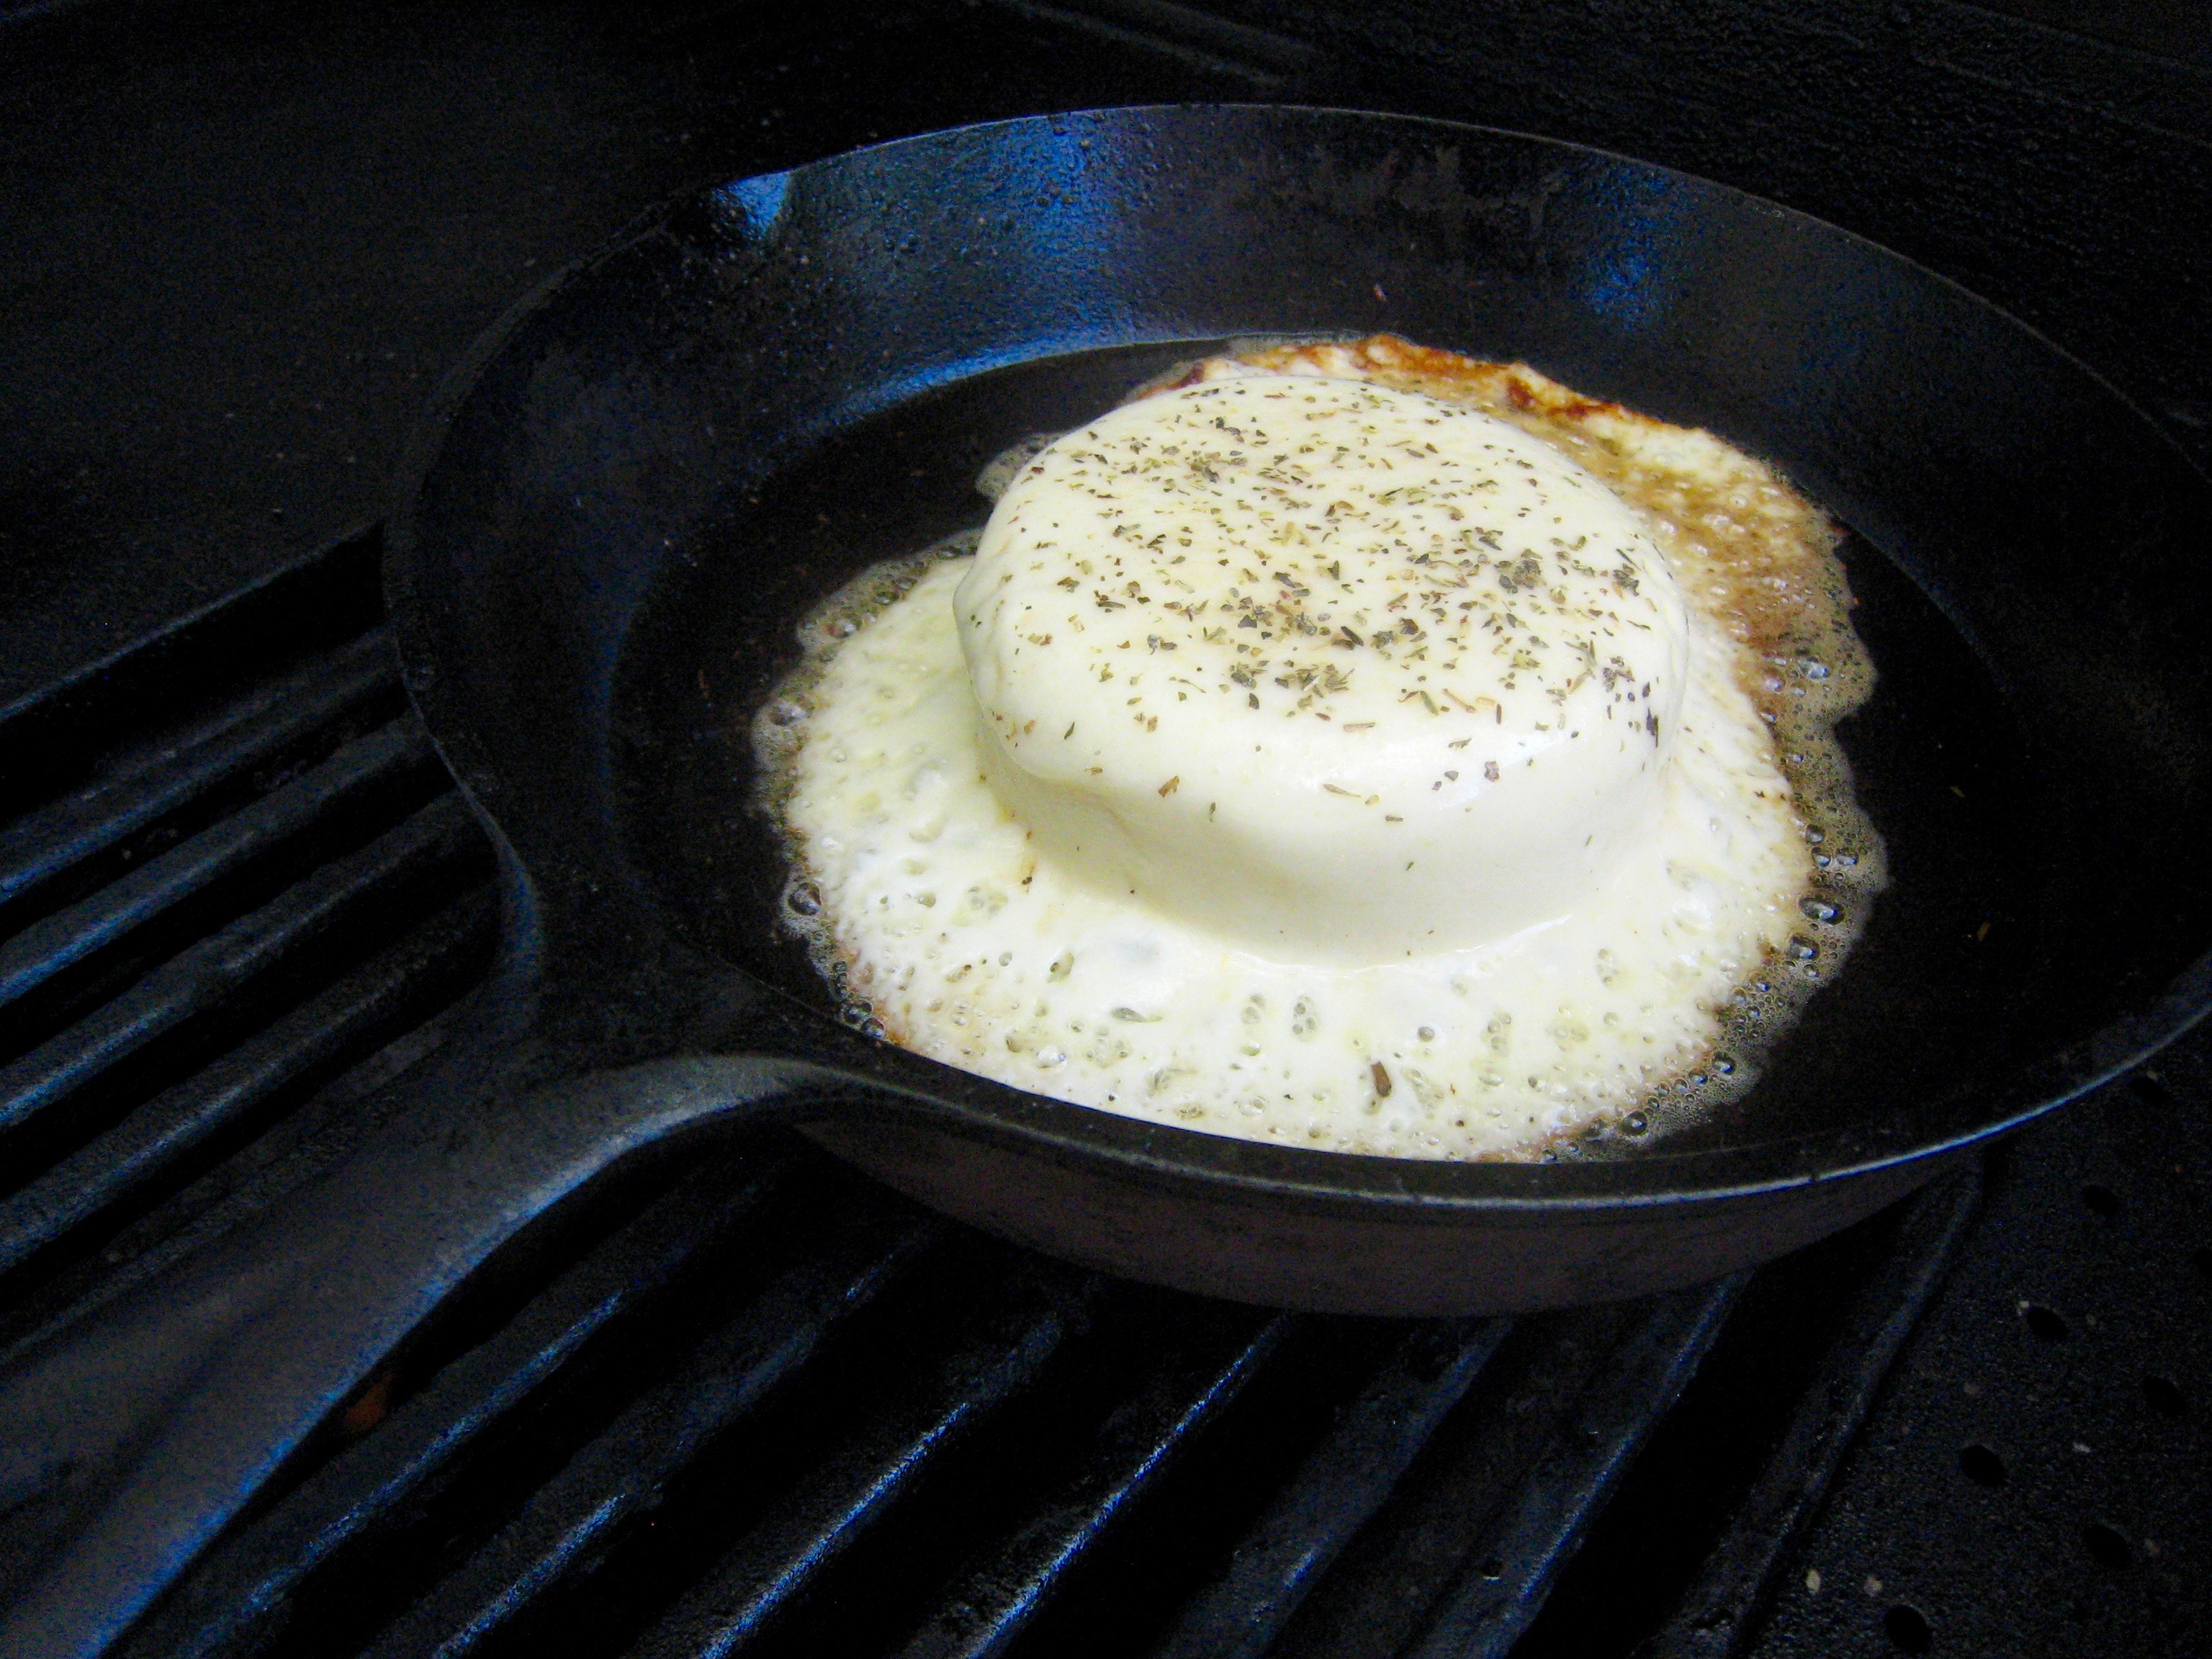
On Friday evening, we had some friends over and I cooked New York Strip steaks, baked potatoes and roasted asparagus on the Weber Genesis. For an appetizer, I baked a wheel of Brie with herbs and a wedge of Havarti with Blackberry Jam on a cedar plank.
Saturday we took a break from cooking and cleared out some of the delicious leftovers. Sunday morning, we drove down to Friends Creek Cemetery where my parents are buried, leaving some flowers. It was nice to see that the place is still well kept.
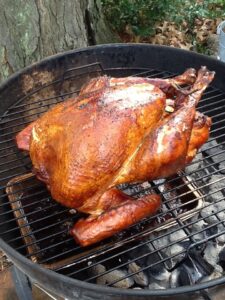
Sunday afternoon Claudia’s folks joined us for dinner. I used the rotisserie on the Weber Kettle for the first time this year to roast a chicken. It turned out tasty and perfect, with lots of hickory smoke flavor. The drip pan potatoes were a hit, as always, and I also grilled some roastin’ ears on the Genesis.
Monday, it was cowboy cooking. First, there was my wife’s favorite baked beans from her Aunt Nancy’s recipe. Wolfe Pit cole slaw and Hidden Valley potato wedges cooked on the plancha rounded out the side dishes. The more I cook on the plancha, the more I like it. It adds a crispy crust to everything from potatoes to burgers, and it helps to hold the heat steady on the Genesis which is great when you’re using it as an oven.
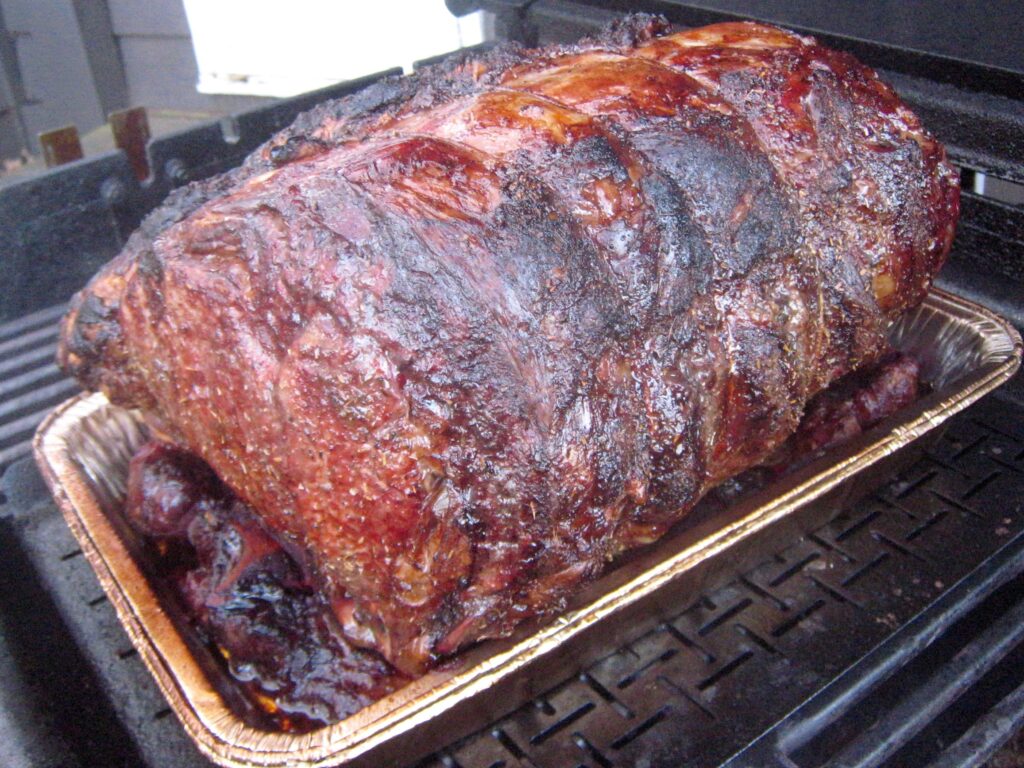
The star of the show was Grownup Sloppy Joes from Weber’s Big Book of Grilling by Jamie Purviance. This time, I seared then smoked the roast with Cherry and Hickory on the Kettle, and did the braising in a Lodge cast iron dutch oven over on the Genesis.
By the time everything was finished, I’d been on my feet all day and was pretty beat, but a nice glass of Petite Sirah from Lodi served as a fine restorative. The bold flavor was a perfect match to all the smoke and char of the barbecue. The folks joined us again and we had a lovely time. We’d been expecting my sons to join us as well, but they weren’t able to make it. I wish I could have emailed the smoky smell of the patio while the roast was on the Kettle.
The only dish from the entire weekend that needs work is the cole slaw. We eventually added some additional cider vinegar and sugar, because it ended up a little flat and salty tasting. I doubt that it’s the fault of the recipe. I cut it in half, and may have screwed up the proportions along the way.
It’s one of the joys of life to turn out a decent meal to share with people you love, and cooking outdoors is a feast for the senses from start to finish. I can’t think of any way I’d rather spend a long weekend.